How to get screen recording in Snipping Tool in Windows 11
Finally, Microsoft is introducing its own screen recording tool on Windows 11. For a long time, users had to rely on Xbox Game Bar and other third-party screen recording apps on Windows 11. But with the new update of Snipping Tool, now you can easily record screen on Windows 11. A new update has been released for Dev channel users, but you can also install the new tool in stable builds using the MSIXBundle linked below. So, without further ado, let's go ahead and find out how to get screen recording in Snipping Tool on Windows 11.
In this guide, we have detailed instructions on how to install the new Snipping tool on Windows 11. If you no longer need the new tool, you can follow our guide and revert to the old version.
Install the new Snipping Tool with Screen Recording in Windows 11
Before you install the new Snipping tool, let me be clear that it is currently buggy. This is the first public release for Dev users only on the Insider channel, so it's as expected. The new Snipping tool throws errors from time to time and sometimes refuses to start recording. However, to give you some information about the screen recording capability, it currently supports MP4 (H.264) export but is limited to 30fps only.
Also, there are no toggles to record the microphone, device sound, system sounds, or add a webcam view. It's basically a simple app at the moment and should get better in future versions. As soon as there are new package updates, we will definitely inform you about it. So if you want to experience the screen recording feature of Snipping Tool, please follow the steps below.
1. First, you need to download the new Snipping Tool using the link here . We scanned the package with VirusTotal and none of the vendors flagged it as malicious, so it's safe to use.
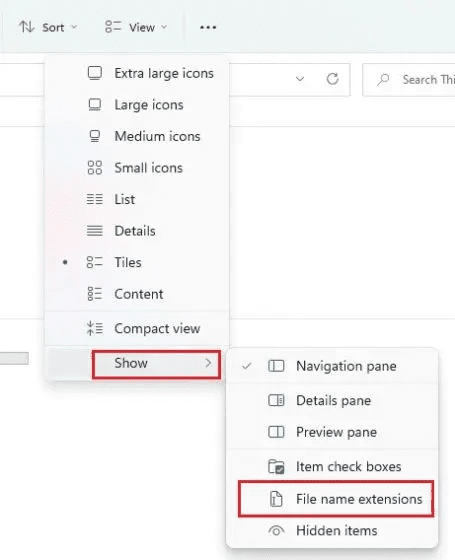
2. After that, be sure to display the file extensions in Windows 11 Explorer. To do this, click View -> Show -> Filename Extensions on the top menu bar.
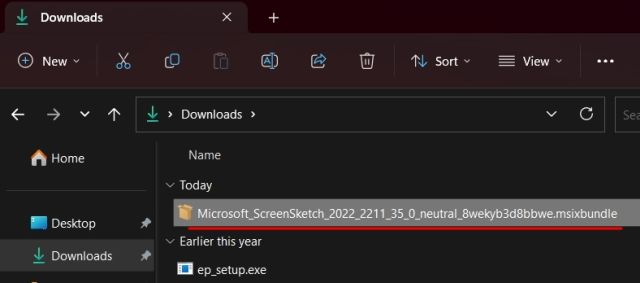
3. Then rename the file and make sure it ends with .msixbundle.
4. Once done, double click the downloaded file and it will automatically launch the installer. As you can see here, he discovered the old Snipping Tool and offered to update it.
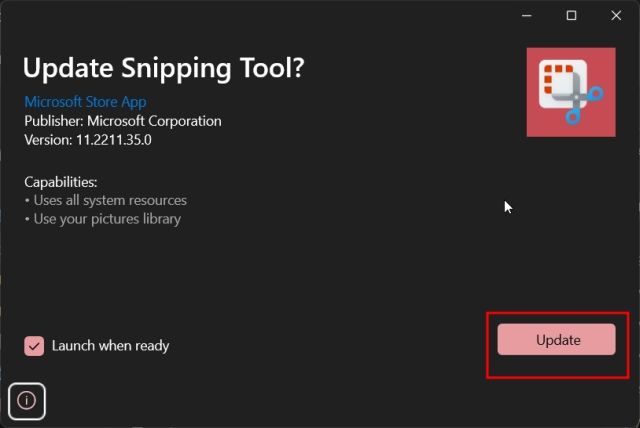
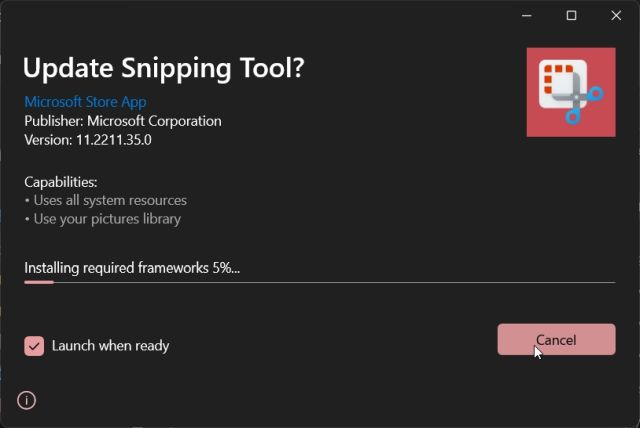
5. Just click "Update" and the new Snipping Tool with Screen Recorder will be installed on your Windows 11 PC.
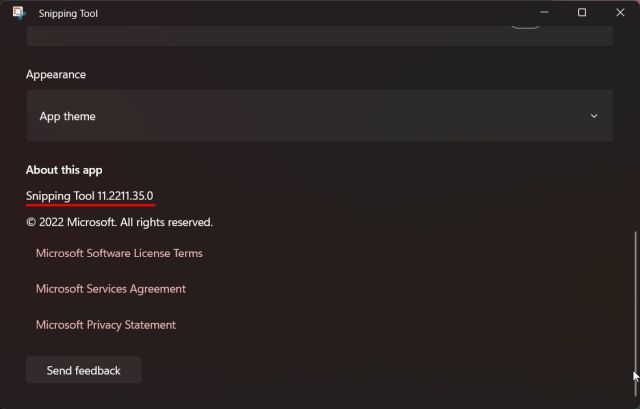
6. Once installed, open it. On the tool settings page, you can find the version number of the new Snipping Tool - 11.2211.35.0.
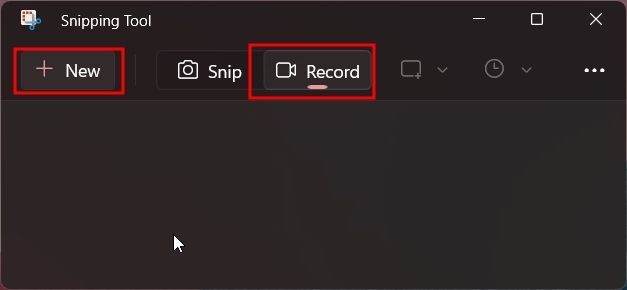
7. Well, to record your screen in Windows 11 with the Snipping tool, switch to the Record option and then click the Create button.
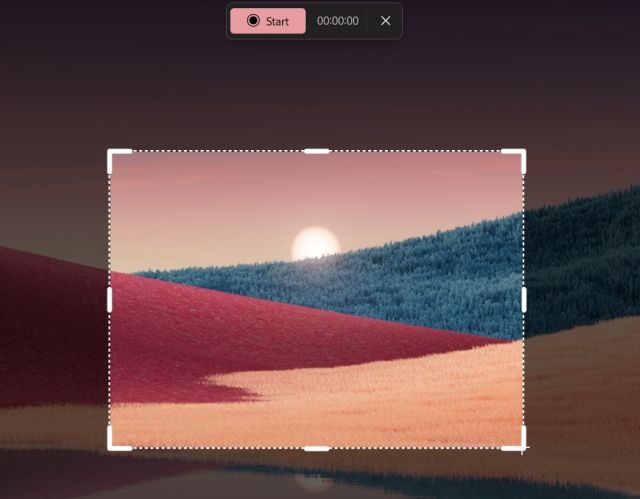
7. Select the area you want to record and a 3 second timer will start. Click "Start" to start screen recording.
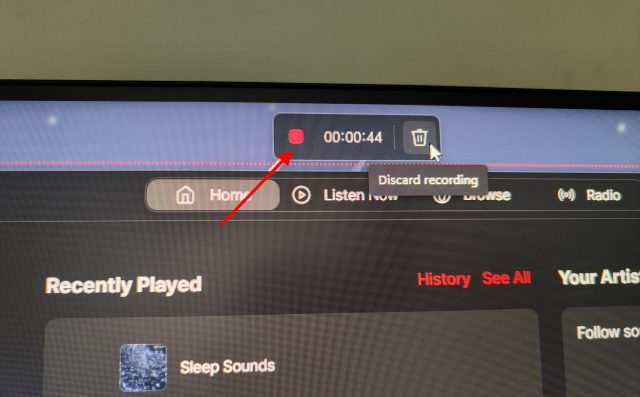
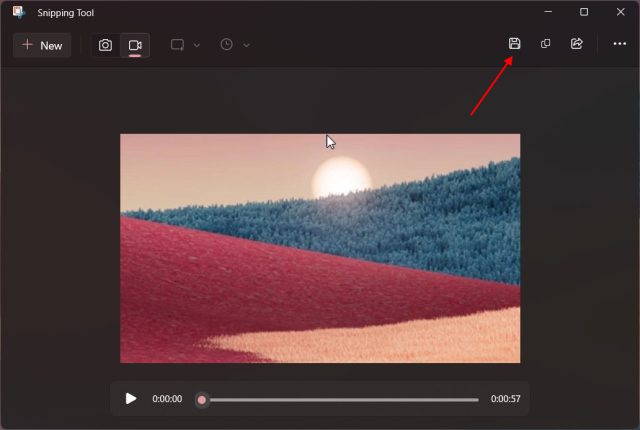
8. Click the "Stop" button at the top to end the screen recording. You can also click the Trash icon to delete an entry.
9. The Snipping Tool will now open. It may show an invalid file path error but ignore it. Here you need to click the "Save" button on the top right corner to save the screen recording to the location you want.
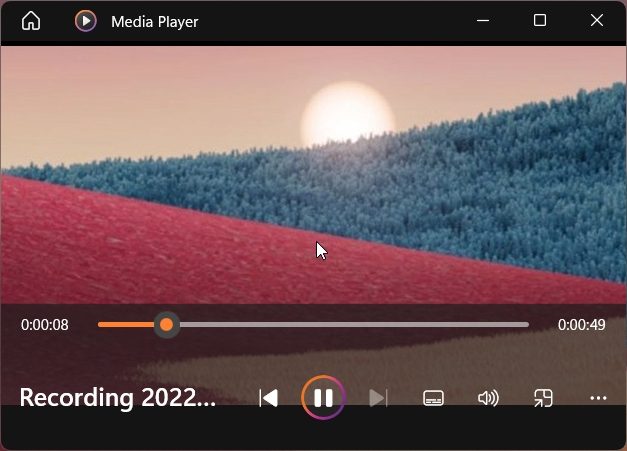
10. Finally, you can play or share the screen recording from Windows 11 File Explorer.
Uninstall the latest version of Snipping Tool and downgrade to an older version.
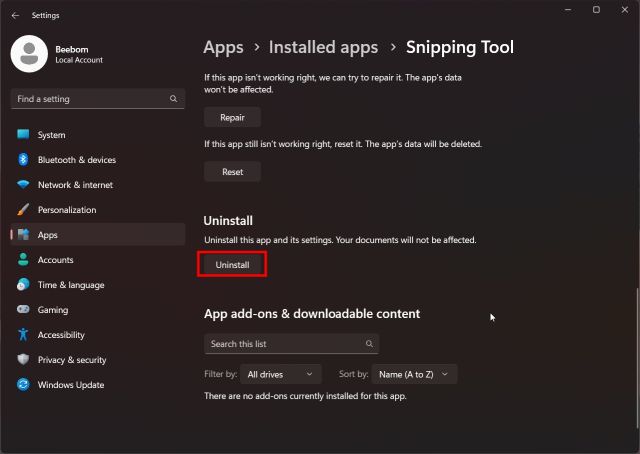
1. Open the start menu and right click on the scissors. Then select Application Settings from the context menu.

2. Scroll down here and click "Delete". This will remove the Snipping Tool from your system.
3. Then open Microsoft Store and search for "Scissors". You can also click here to open the list of applications in the Microsoft Store directly.
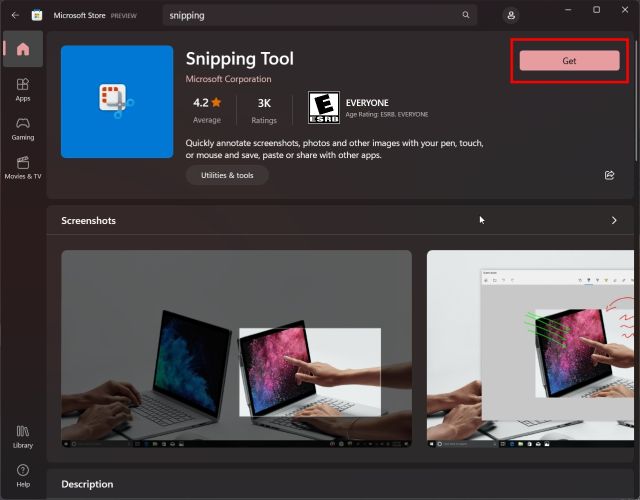
4. Now go ahead and install the stable version of Snipping Tool on your Windows 11 PC. You will get an older version of Snipping Tool from Store, without screen recorder.
So, here are the steps you need to follow in order to install the new Snipping tool and record screen on Windows 11 PC. In my brief usage, it seemed that Microsoft is still very actively developing the screen recording feature and it is far from a public release. Perhaps the Snipping Tool screen recorder will be feature rich and usable in future releases. Anyway, in the meantime, be sure to check out some of these best screen recording extensions for Chrome. Also, check out our list here to find great Snipping Tool alternatives in 2022. Finally, if you have any questions, please let us know in the comments section below.