How to Format a Hard Drive or SSD in Windows 11
There are times when you need to format a hard drive or SSD on a Windows 11 PC. Whether it's giving the storage device to someone or deleting all data to start from scratch. Formatting a storage drive reduces the chance of bad drive sectors, common drive errors, and drive defragmentation. So, to learn how to format your hard drive or SSD in Windows 11, we have developed this guide with four easy ways. You can perform a quick format, wipe data from all sectors, create primary partitions, and more. So, without delay, let's go ahead and learn how to format HDD or SSD in Windows 11.
Format your hard drive or SSD in Windows 11 (2022)
In this guide, we have included four ways to format a hard drive or SSD in Windows 11. From File Explorer to Settings, Disk Management and Command Prompt, we have mentioned all the common methods. Expand the table below and navigate to any section you want.
1. Format your hard drive or SSD in Windows 11 from File Explorer (the easiest way)
The easiest and fastest way to format a hard drive or SSD in Windows 11 is through Windows 11 File Explorer. It works with both external and internal drives and is much faster than other methods. Here is how this method works:
1. Press the Windows 11 keyboard shortcut "Windows + E" to open File Explorer. Here, right-click on the hard drive or SSD that you have connected to your computer and choose Format from the context menu.
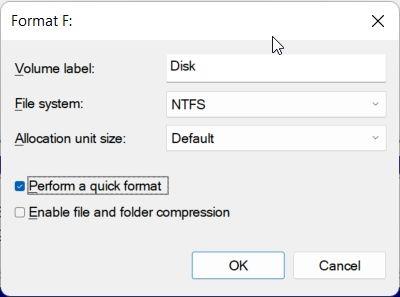
2. Then in the pop-up window that opens, make sure "File System" is selected as "NTFS" which is the Windows file system. If you want your hard drive to be compatible with macOS as well, you can choose either "FAT32" or "exFAT" file systems.
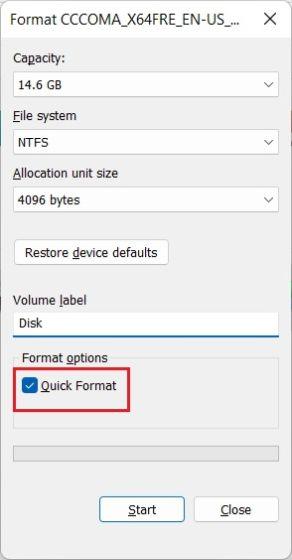
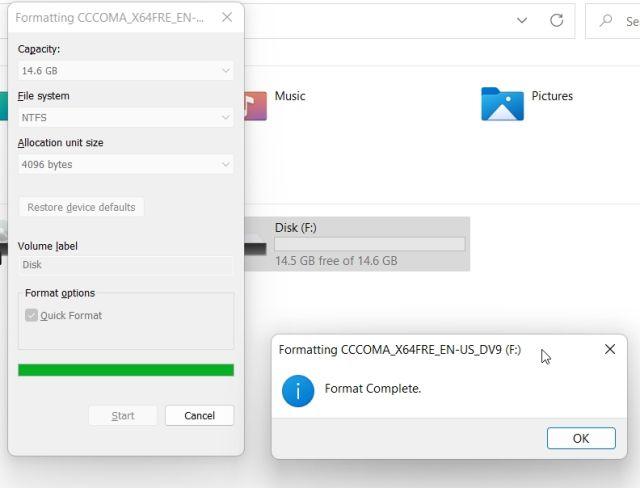
3. Don't change the selection size and let it be the default. Then check the "Quick Format" box under "Format Options" and click "Start" to format the storage drive. Then, within seconds, you will format your hard drive or SSD in Windows 11.
Note. Quick Format is faster, but does not delete data completely. Instead, it simply removes memory references, making them unreachable. The data will be overwritten when you start adding new files to the storage drive. If you want to completely erase data from all sectors, uncheck "Quick Format". This step is handy when you want to give the storage device to someone else as it makes it difficult to recover deleted data using third party software.
2. Format your hard drive or SSD in Windows 11 in Settings.
Besides File Explorer, you can also format your hard drive or SSD in Windows 11 from the Settings app. Here's how to do it:
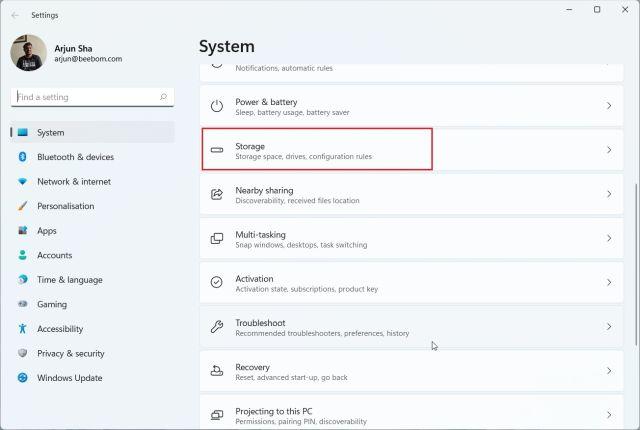
1. Just press "Windows + I" to open the "Settings" app in Windows 11. Here, go to "System" -> "Storage".
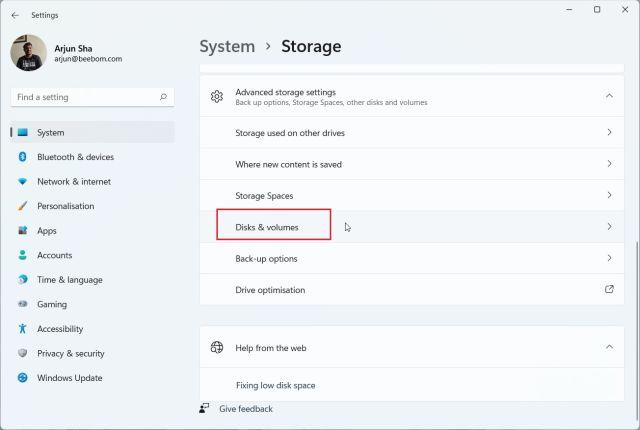
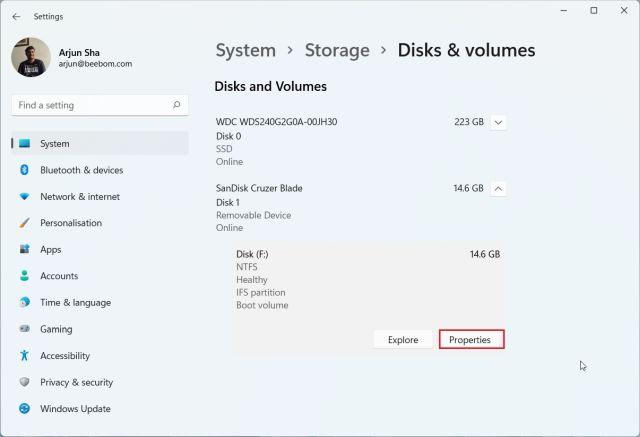
2. Then expand the "Advanced storage options" option and select "Disks and volumes".
3. Here, click on the main partition below the hard drive or SSD you want to format. Then select the "Properties" option.
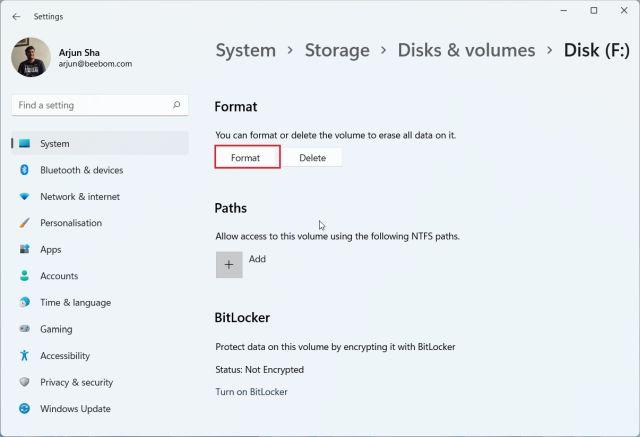
4. Then click Format.
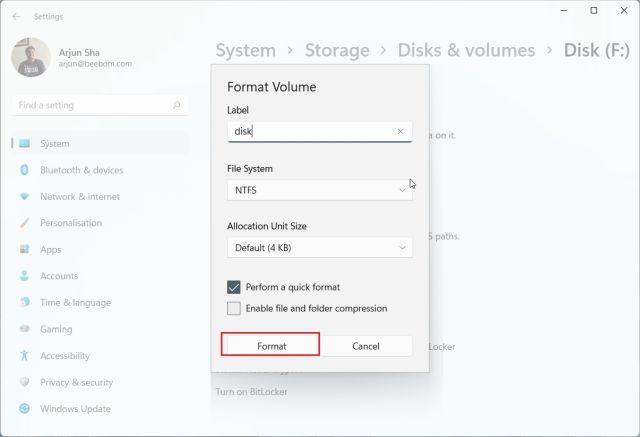
5. In the pop-up window that opens, enter a name in the "Label" field and select "NTFS" as the file system. Finally, click "Format" and you're done. This is how you can format your hard drive or SSD in Windows 11 using the settings.
3. Format your hard drive or SSD in Windows 11 using Disk Management.
Although Disk Management may seem a little intimidating to many, it is actually the best way to format a hard drive or SSD in Windows 11. This is my favorite way to format hard drives, SSDs, SD cards, flash drives, etc. Given That said, let's get started.
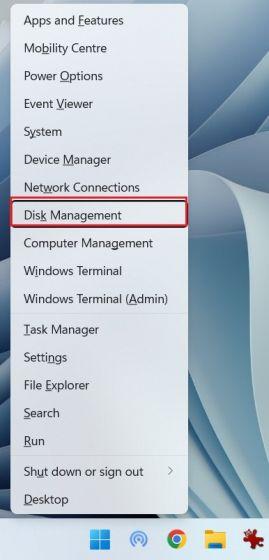
1. Press "Windows + X" or right-click the Start menu to open the Quick Links menu. Now click "Disk Management".
2. In the Disk Management window, you will find the connected hard drive or SSD drive, usually labeled as "Disk 1" or higher, at the bottom. On the right side, it will show the main section. Right click and select Format.

3. Then give a name to your hard drive or solid state drive in the Volume Label field and click OK. You can uncheck "Perform a quick format" if you want to actually erase all data instead of memory references.
4. This is how you can format your hard drive or SSD in Windows 11 using Disk Management.

4. Format HDD or SSD in Windows 11 from Command Prompt (CMD)
You can also format your hard drive or SSD in Windows 11 using the command line terminal. You need to run the popular diskpart command to format a drive, drive or partition. So let's see
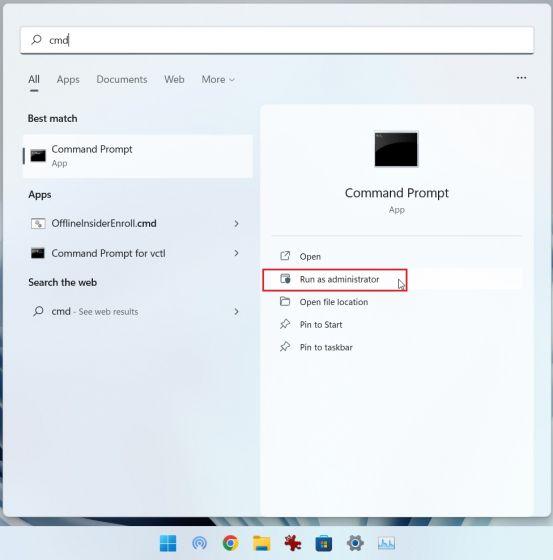
1. Press the Windows key and type "cmd" in the search box on the start menu. Then click "Run as administrator" in the right pane to open a command prompt window. If you want to always run CMD as an administrator, you can go to our linked article.
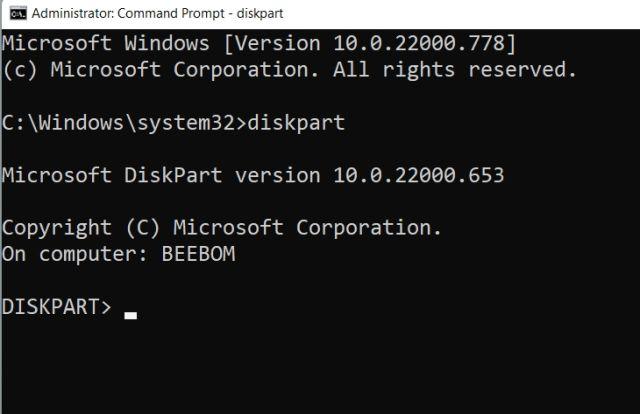
2. Then, in the command prompt window, type the following command and press Enter to open DiskPart.
diskpart
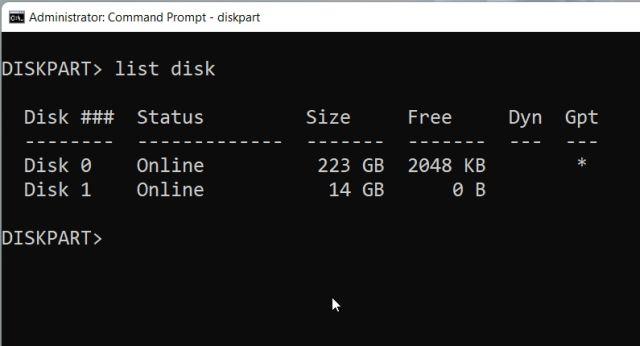
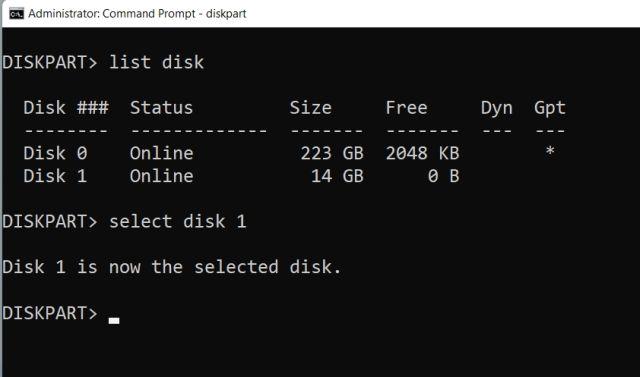
3. Then run the command below to list all hard drives and solid state drives connected to your Windows 11 PC. Write down the drive number (listed in the second column) of the hard drive you want to format. Be sure to select the correct drive number, as selecting the wrong drive will inadvertently wipe data.
list disk
4. Then select the drive by running the command below. Here, replace X with the disk number you listed above.
select disk X
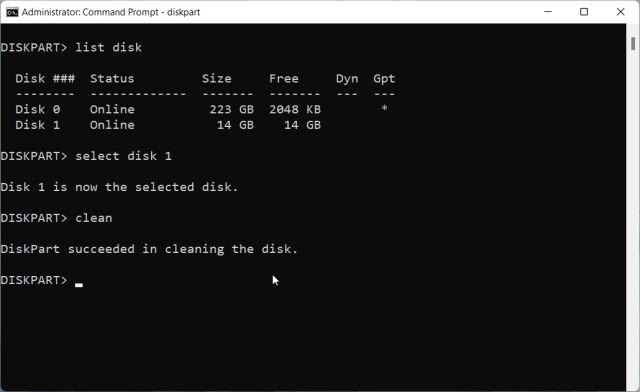
5. Finally, run the command below to format your hard drive or SSD in Windows 11.
clean
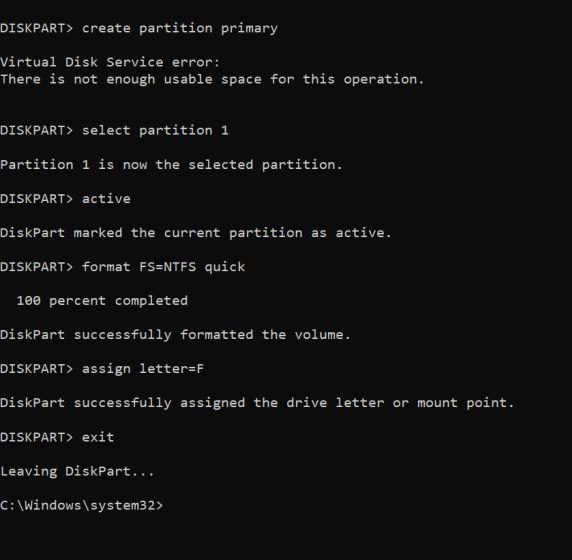
6. Now you need to initialize the disk in order to use it. To do this, run the commands below one by one. In the fifth command, where you assign a drive letter, replace X with your preferred letter. When you're done, you can use a formatted hard drive or SSD through File Explorer.
create partition primaryselect partition 1 active format FS=NTFS quick assign letter=X exit
Erase your hard drive or SSD in Windows 11 in four easy ways
This is how you can erase, format, partition, and initialize a drive in Windows 11. I love the fact that Windows 11 has several built-in tools to format your hard drive or SSD drive. You can perform a quick format or uncheck the box and erase the entire disk sector by sector for complete peace of mind. Anyway, that's all for this guide. If you are looking for a way to remove apps in Windows 11 from system programs to hidden apps, you can follow our article. And for those who want to convert disk from MBR to GPT without data loss in Windows 11/10, please go to our detailed guide to see the step by step process. If you have any questions, please let us know in the comments section below.