How to download and install Apache Kafka [Windows and Linux]
Apache Kafka is a streaming messaging service that allows different applications in a distributed system to communicate and exchange data through messages.
It functions as a publishing system/subsystem where producer applications publish messages and consumer systems subscribe to them.
Apache Kafka allows you to use a loosely coupled architecture between the parts of your system that produce and consume data. This simplifies system design and management. Kafka relies on Zookeeper to manage metadata and keep the various cluster members in sync.
Features of Apache Kafka
Apache Kafka has become popular, among other things, because
- Scalability with clusters and partitions
- Fast, capable of 2 million writes per second
- Maintains the order in which messages are sent
- Reliable thanks to its replica system
- It can be upgraded with zero downtime
Now let's look at some common use cases for Kafka.
Common Use Cases for Apache Kafka
Kafka is often used to process big data, record and aggregate events such as button clicks for analytics, and combine logs from different parts of the system into one central location.
This helps ensure communication between different applications in the system and real-time processing of data from IoT devices.
Now let's take a detailed look at the steps to install Kafka on Windows and Linux.
Installing Kafka on Windows
First, check if you have Java installed on your machine to install Apache Kafka on Windows. Open a command prompt in administrator mode and enter the command:
java --version
If Java is installed, you should get the currently installed JDK version number.
If you receive an error message saying that the command is not recognized, Java has not been installed and you need to install Java. To install Java, go to Adoptium.net and click the download button.
This should download the Java setup file. When the download is complete, run the installer. This should open an installation window.
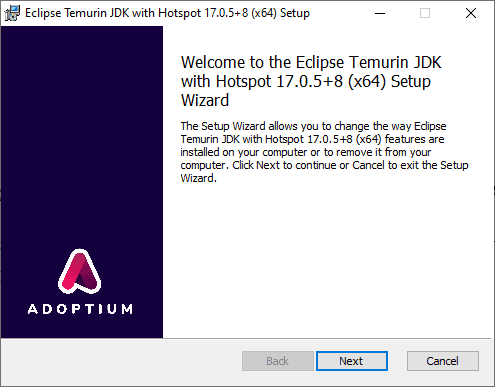
Click Next several times to select the default options. After that, the installation should begin. Verify the installation by closing the command prompt, reopening another command prompt in administrator mode, and typing the command:
java --version
This time, you should get a freshly installed version of the JDK. Once the installation is complete, we can start installing Kafka.
To install Kafka, first go to the Kafka website.

Click on the link and you should be taken to the downloads page. Download the latest available binaries.
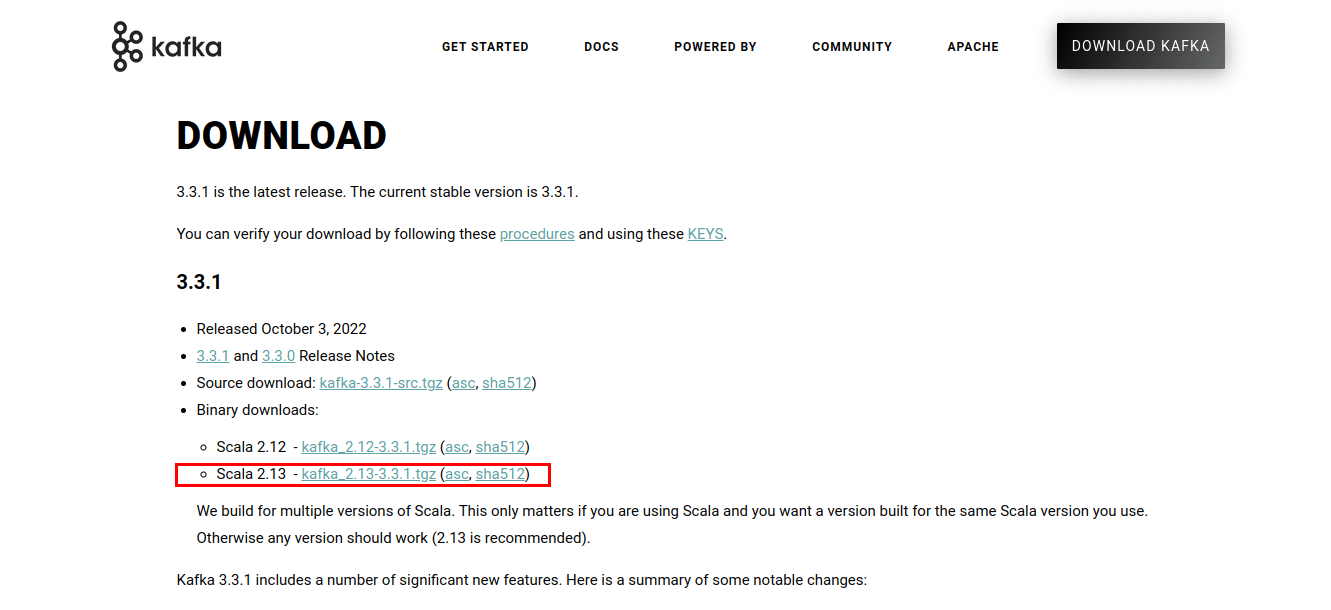
This will download the Kafka scripts and binaries packaged in a .tgz file. After downloading, you need to extract the files from the .tgz archive. For unpacking, I will use WinZip, which can be downloaded from the WinZip website.
After extracting the file, move it to the C: drive so that the file path becomes C:kafka.
Then open a command prompt in administrator mode and start Zookeeper by first navigating to the Kafka directory. And run zookeeper-server-start.bat file with zookeeper.properties as config file.
cd C:kafkabinwindowszookeeper-server-start.bat configzookeeper.properties
With Zookeeper running, we need to add the wmic executable that Kafka uses in our system PATH,
set PATH=C:WindowsSystem32wbem;%PATH%;
After that, start the Apache Kafka server by opening another command line session in administrator mode and navigating to the C:kafka folder.
cd C:kafka
Then start Kafka by running
binwindowskafka-server-start.bat configserver.properties
In this case, Kafka should work. You can set server properties such as where logs are written in the server.properties file.
Installing Kafka on Linux
First, make sure your system is up to date by updating all packages
sudo apt update && sudo apt upgrade
Then check if Java is installed on your machine by running
java --version
If Java is installed, you will see the version number. However, if it doesn't, you can install it with apt.
sudo apt install default-jdk
After that, we can install Apache Kafka by downloading the binaries from the website.
Open a terminal and navigate to the folder where the download was saved. In my case, I need to go to the Downloads folder.
cd Downloads
Once in your downloads folder, extract the downloaded files using tar:
tar -xvzf kafka_2.13-3.3.1.tgz
Navigate to the extracted folder
cd kafka_2.13-3.3.1.tgz
List directories and files.
Once in the folder, start the Zookeeper server by running the zookeeper-server-start.sh script located in the bin directory of the extracted folder.
The script will require a Zookeeper configuration file. The default file is named zookeeper.properties and is located in the config subdirectory.
So, to start the server, use the command:
bin/zookeeper-server-start.sh config/zookeeper.properties
With Zookeeper running, we can start the Apache Kafka server. The kafka-server-start.sh script is also located in the bin directory. The command also expects a configuration file. The default is server.properties stored in the configuration file.
bin/kafka-server-start.sh config/server.properties
This should start Apache Kafka. Inside the bin directory you will find a lot of scripts for things like creating themes, managing producers and consumers. You can also set server properties in the server.properties file.
Final words
In this tutorial, we have covered how to install Java and Apache Kafka. While you can set up and manage Kafka clusters manually, you can also use managed options like Amazon Web Services and Confluent.
Next, you can explore data processing with Kafka and Spark.