Fix YouTube Audio Renderer Error on Windows 10
It would be annoying when you try to open a YouTube video and get an audio rendering error. Please restart your computer. YouTube error. Many possible causes are causing the YouTube audio rendering error on your Windows 10 PC. This does not only apply to Google Chrome. This has even been reported in Opera, Edge and Firefox browsers. Other users have reported this error when listening to iTunes and using the built-in audio player. However, there are so many troubleshooting methods to help you fix the Audio renderer error YouTube Windows 10 error. So, keep reading!
How to Fix YouTube Audio Renderer Error in Windows 10
If you encounter an audio renderer error, restart your computer with a YouTube error while enjoying YouTube audio content. The most likely cause is incompatible audio settings. Here are some common causes that contribute to this problem.
- The sound may be muffled or very quiet.
- Sound enhancement features are enabled on PC.
- Other applications on your computer use sound.
- Outdated/corrupted audio drivers on computers.
- Damaged cables, plugs and speakers.
- Access to use the microphone is not granted.
- Outdated Windows operating system and outdated browser.
- The presence of corrupted files on the PC.
- Several important Windows Audio services are not enabled.
- Browser cache corrupted.
- Incompatible browser extensions.
In this section, you will learn about troubleshooting methods to help you fix this YouTube error. Apply the methods according to the instructions in the same order for perfect results.
Preliminary checks
Before you move on to advanced troubleshooting methods, a few simple tricks will help you fix this error in a few clicks. Make sure your computer meets all of these prerequisite checks. However, if you don't receive any fix, continue to the next section.
- Restart your computer. Any temporary computer-related glitches will be fixed.

- Make sure you have a proper internet connection as high-quality YouTube audio content requires an appropriate bandwidth limit. When you are in the middle of any video/audio file, you may experience audio issues if some data packets are lost due to insufficient bandwidth.
- Make sure you are using a high quality microphone and that it is securely attached to your PC. To avoid outside noise, make sure you use the highest quality speakers or microphones.
- Check cables for loose connections and make sure all other cables are connected or not. Make sure all other cables and cords are connected to the correct jack. If you are unsure of the correct connectors, contact your hardware manufacturer.
- Check the volume levels and if the speaker power is on.
- If you have connected headphones, unplug them and see if that helps.
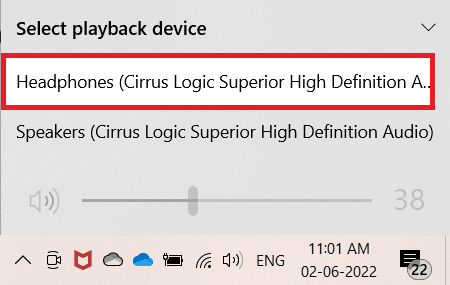
- When using more than one audio output device, you need to confirm when the device is used as the output device.
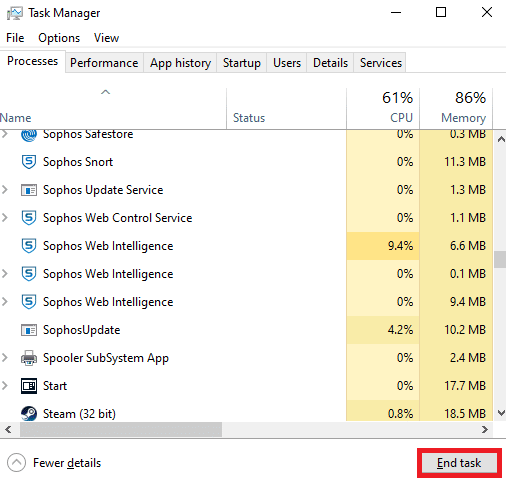
- If your audio device is being used by other applications on your Windows 10 PC, you may experience this error. You are advised to close all other programs or applications running in the background one by one, or force quit them using Task Manager.
Method 1: Enable Sound Device Settings
You must ensure that the sound settings are correct and compatible with the audio device. It will help you fix this issue by following the instructions below.
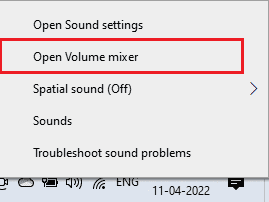
1. Right-click the Speakers icon in the lower right corner of the screen.

2. Click Open Volume Mixer.
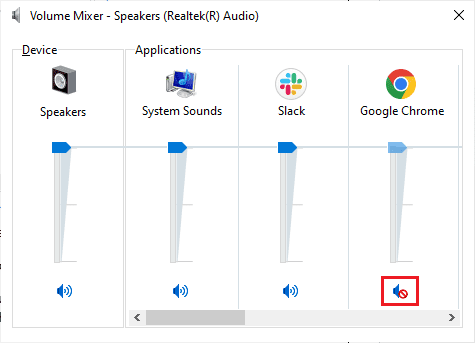
3. Make sure all volume levels are not muted. If you find a red circle with a line, turn up the volume.
4. Now press the Windows + I keys at the same time to open Settings.
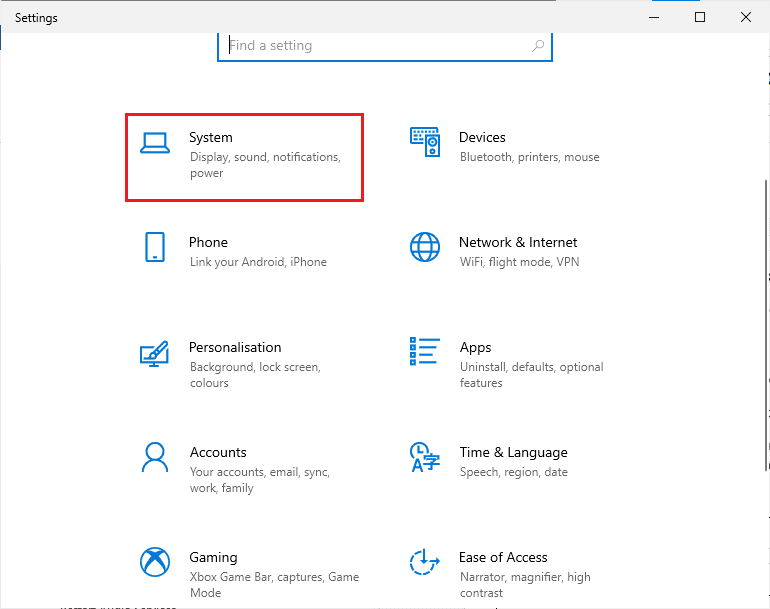
5. Click System.
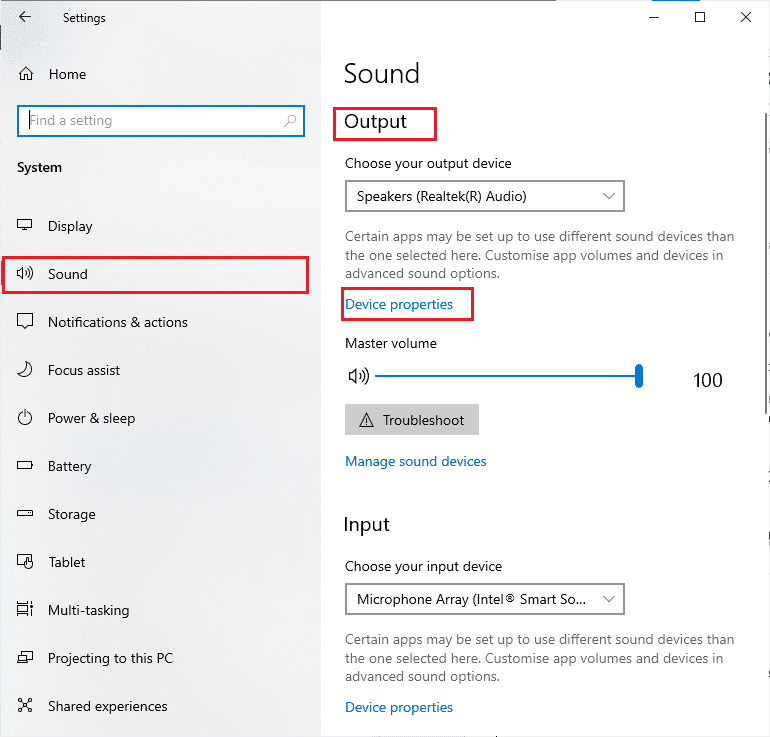
6. Then click Sound on the left panel.
7. Click "Device Properties" in the "Exit" menu, as shown in the figure.
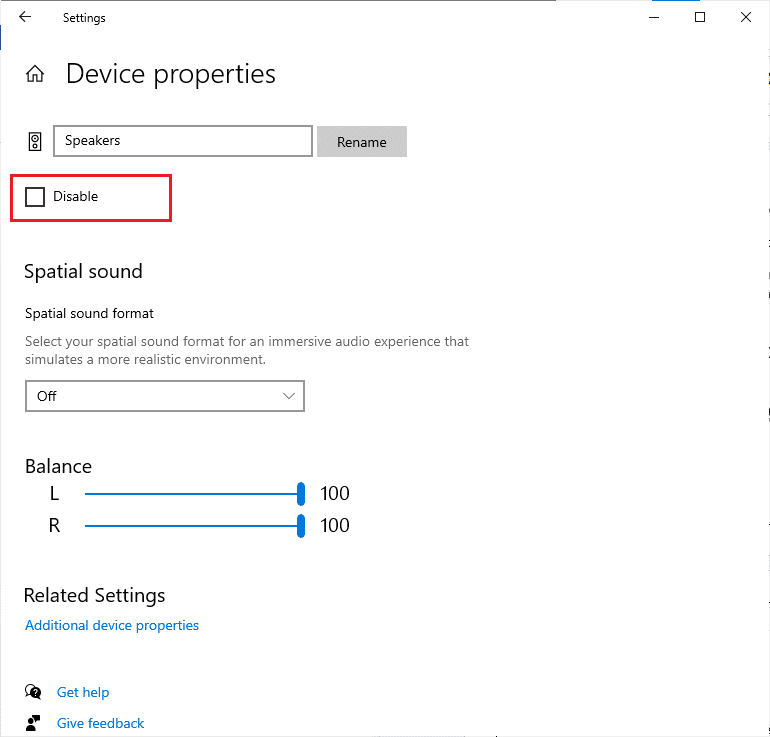
8. Uncheck "Disable".
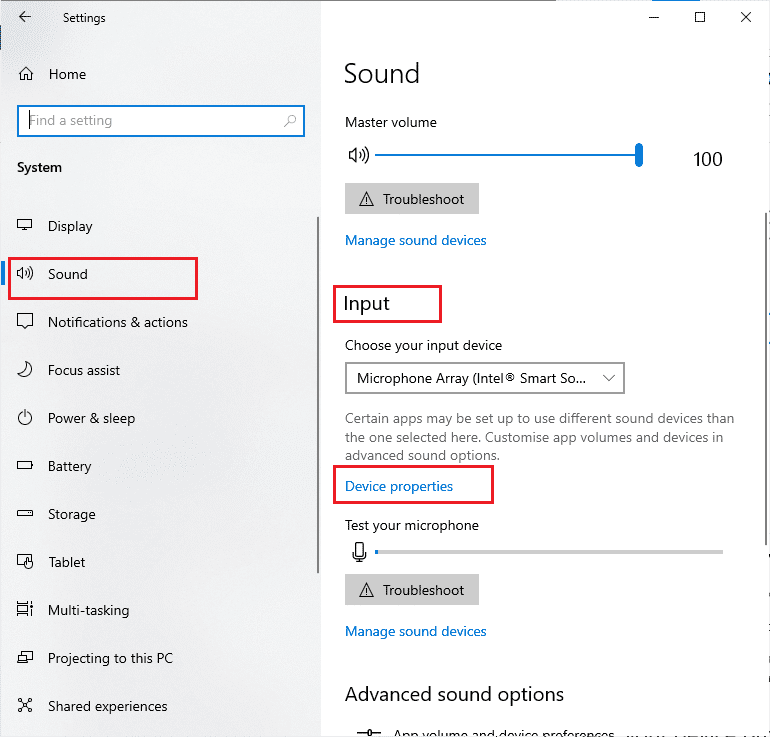
9. Repeat steps 7 and 8 for input devices as shown.
Note. Below we have shown methods for Google Chrome browser. If you are using a different browser, follow the same methods in that one as well.
Method 2: Update Google Chrome
If you are experiencing this error, it may be due to an outdated browser. The best way to fix this problem is to update your browser as mentioned below. After updating your browser, check if you have fixed the problem.
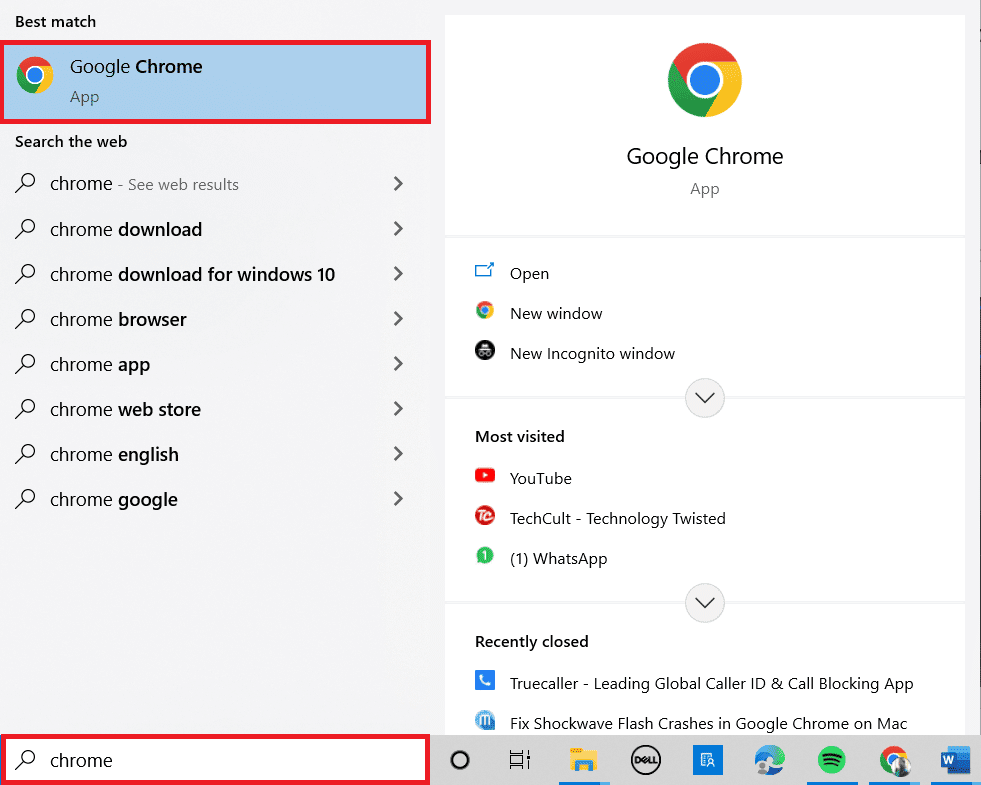
1. Press the Windows key. Enter Google Chrome and launch it.
Note. You can also type chrome://settings/help and press the Enter key to open the About Chrome page directly.
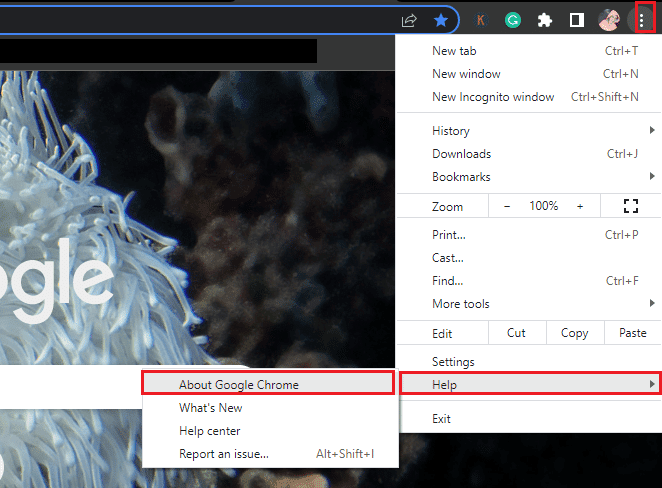
2. Now click the three dot icon and select the Help option as shown below.
3. Then select the "About Google Chrome" option.
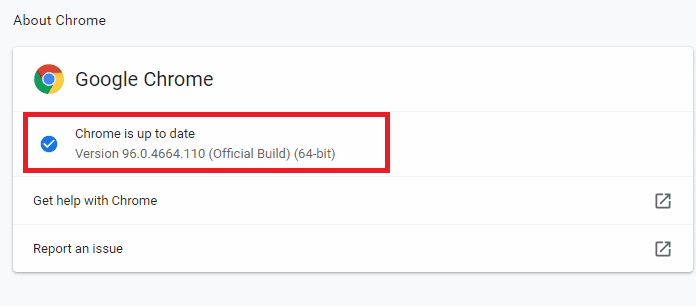
4A. If Google Chrome is updated to the latest version, it will show that Chrome is up to date.
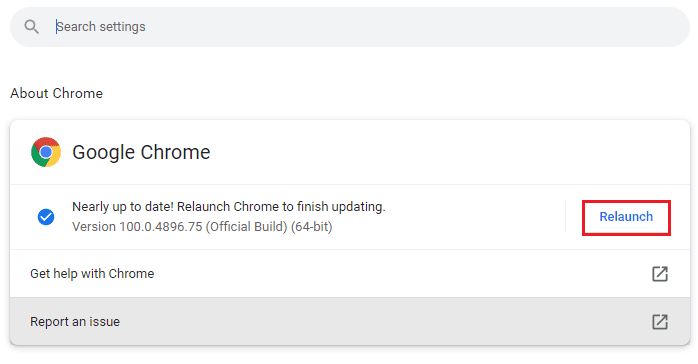
4B. If a new update is available, the browser will automatically update the browser to the latest version. Click "Restart" to complete the update process.
5. Finally, restart your browser with its latest version.
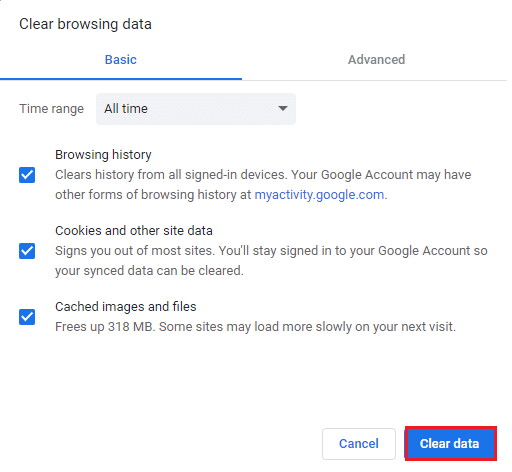
Method 3: Clear Browser Cache
Although the cache improves browsing speed, it can accumulate over several days and thus cause some problems in the browser. Hence, you are advised to clear your browser cache and cookies as mentioned below. Read our guide on how to clear cache and cookies in Google Chrome and clear browsing data.
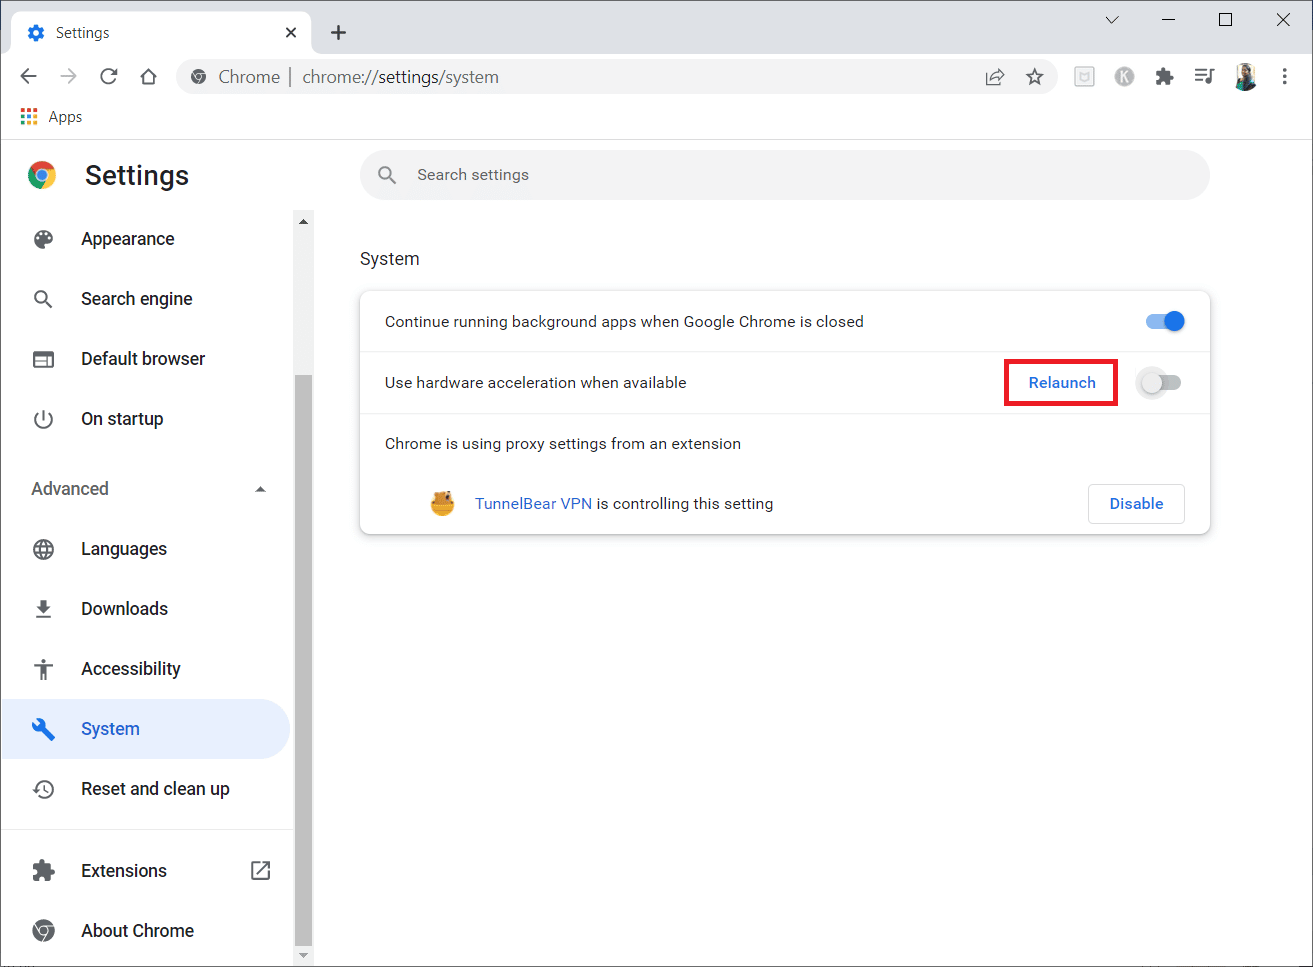
Method 4: Disable hardware acceleration (if applicable)
Few of your web pages and browser sites consume additional GPU resources when the hardware acceleration feature is enabled. Follow the steps below to disable this feature in order to fix this error.
1. Launch the Chrome browser as it was done earlier.
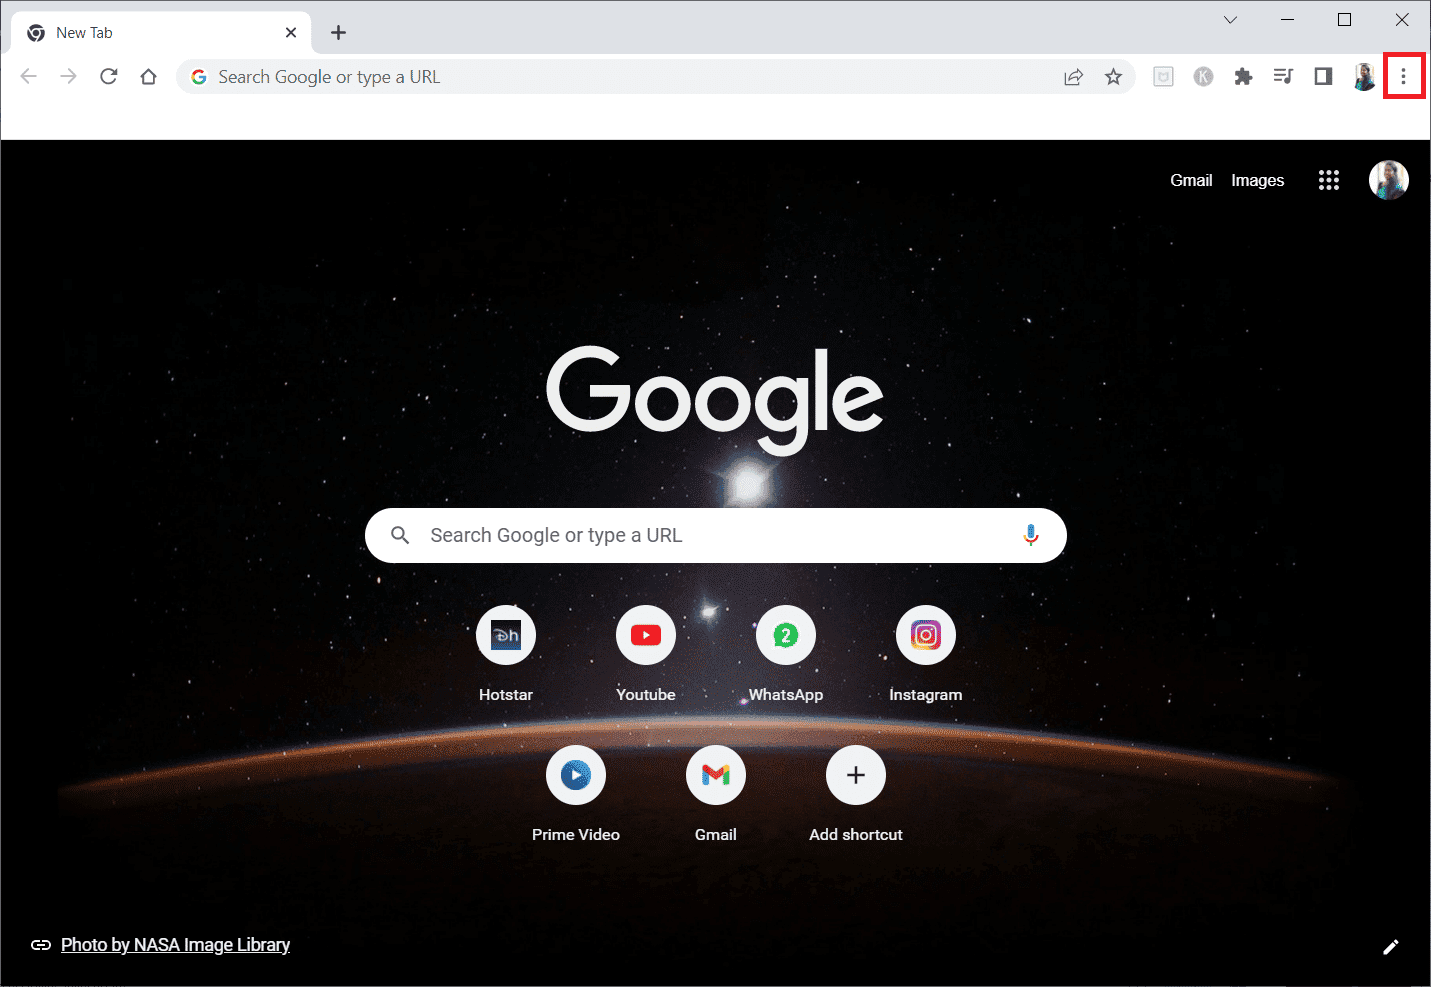
2. Click the three dots icon in the upper right corner.
3. Now click "Settings".
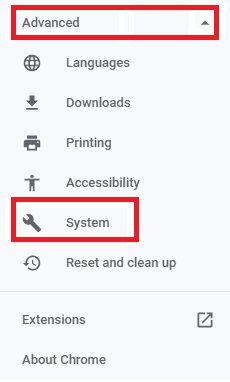
4. Expand the Advanced section by clicking the arrow next to it in the left pane, and then click System.
5. Now uncheck Use hardware acceleration if available.
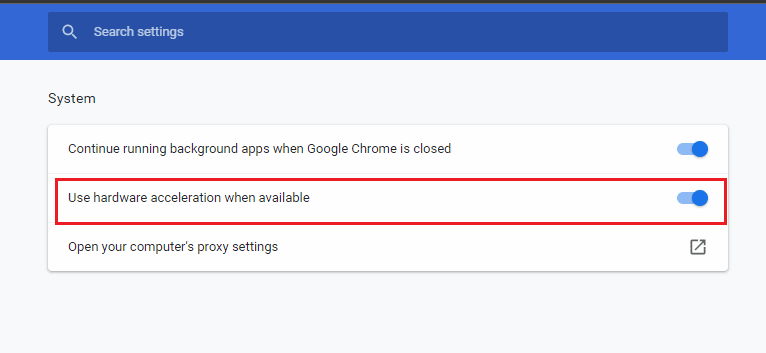
5. Finally, click "Restart".
Method 5: Disable extensions (if applicable)
Check if any incompatible extensions conflict with your thumbnails. If so, disable them in your browser or remove them entirely. This method will help you fix this YouTube audio rendering error issue by following the steps as instructed.
1. Launch the Google Chrome browser as it was done earlier.
Note. To skip the steps to navigate to the extensions page, type chrome://extensions/ in the search bar and press Enter.
2. Now click on the three-dot icon on the top right corner.

3. Here, select the More Tools option and then Extensions.
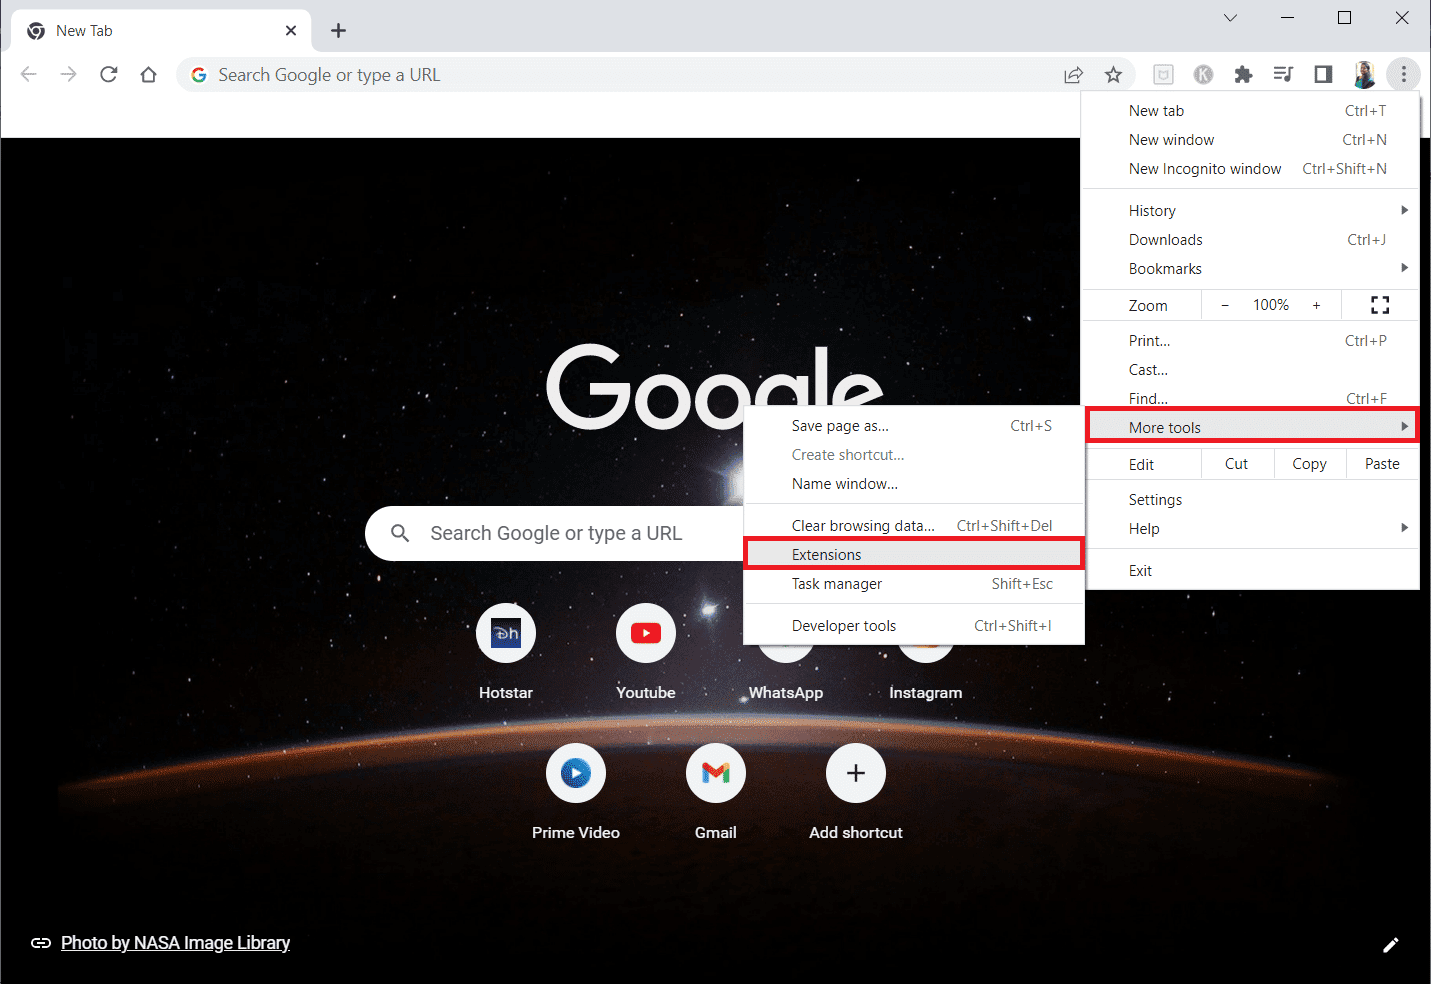
4. Finally, disable the extension you want to disable. Here, Google Meet Grid View is chosen as an example.
Note. If the error was resolved after disabling any particular extension, click "Remove" to remove it from the browser.
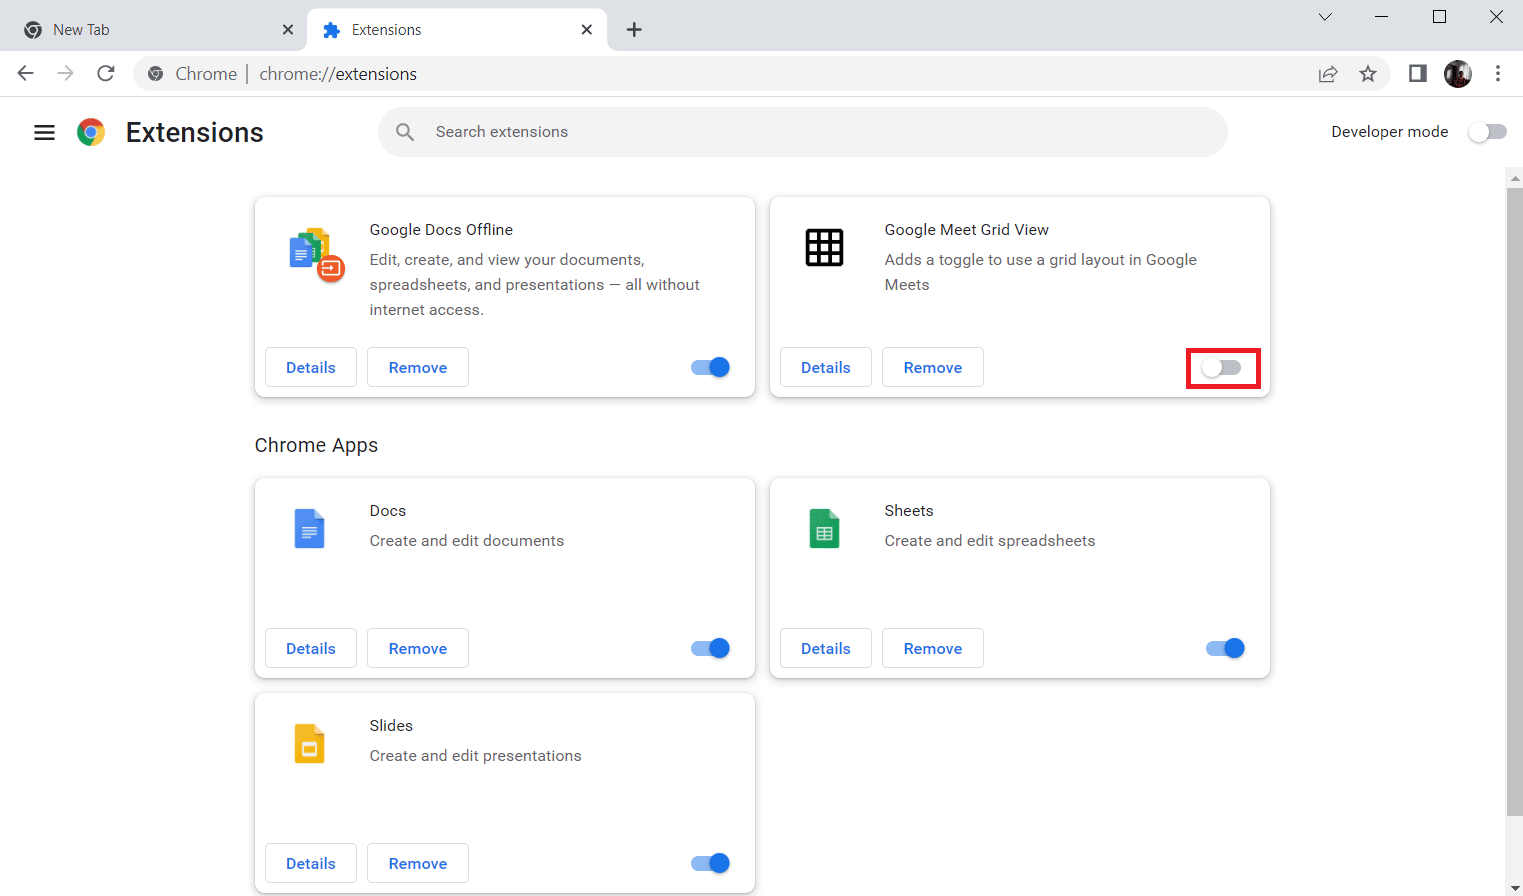
5. Finally, refresh your browser.
Method 6: Run the Sound Troubleshooter
Your computer contains a built-in troubleshooter to fix the Windows 10 YouTube audio renderer error on your own. All your devices will be scanned and the process will become easier. Follow our How to Run the Hardware and Devices Troubleshooter guide to troubleshoot all audio-related hardware issues on your PC. Alternatively, you can run the Sound Troubleshooter individually as outlined in our How to Run the Windows Update Troubleshooter guide, but make sure you select the Play Sound option as shown.

Method 7: Update Windows
If any new Microsoft updates are waiting to be installed on your computer, some errors and issues cannot be fixed on your computer. According to many users, updating Windows 10 PCs will help you resolve this error. Follow our guide How to download and install the latest Windows 10 update.
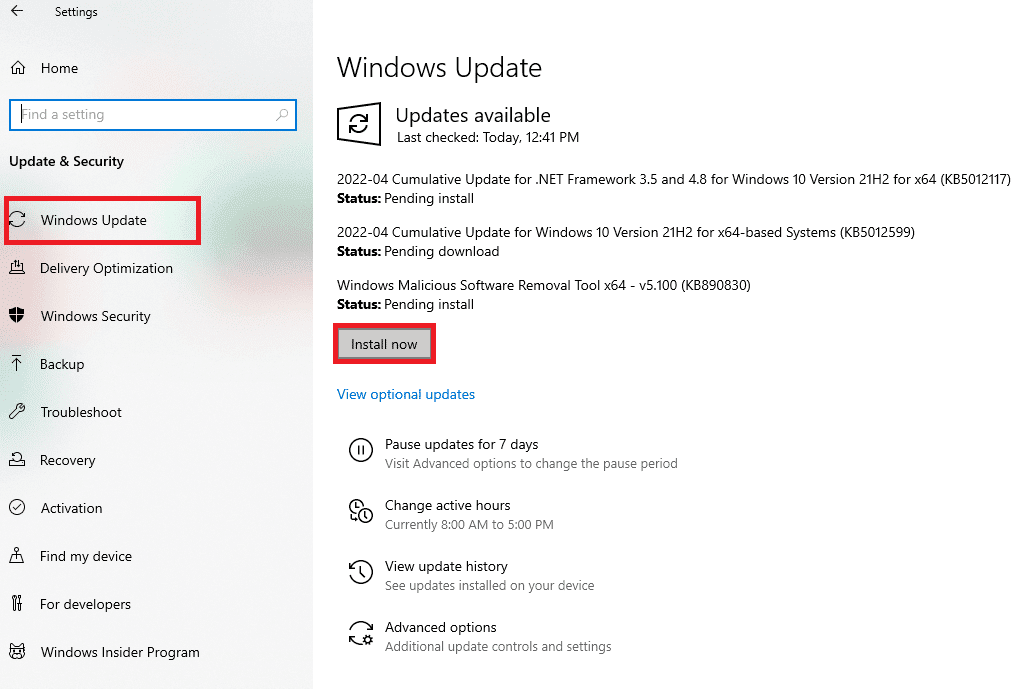
After updating your Windows operating system, check if you can access YouTube audio.
Method 8: Update Audio Drivers
Outdated and incompatible audio drivers will always result in an audio rendering error. Please restart your computer YouTube error. Always make sure you are using the updated version of your audio drivers. If your computer is missing the latest drivers, it's a good idea to update them as outlined in our How to Update Realtek HD Audio Drivers in Windows 10 guide.
Once you have updated your audio drivers to the latest version, check if you have fixed the Windows 10 YouTube audio renderer error.
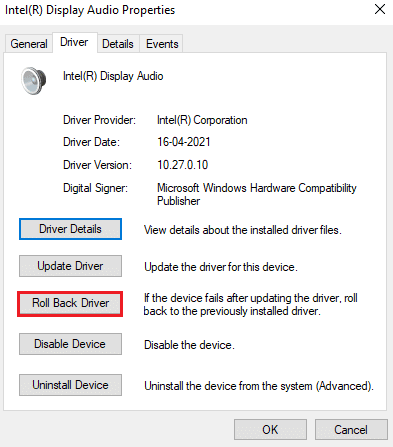
Method 9: Roll Back Audio Driver Updates
Sometimes the current version of audio drivers may cause some kind of audio conflict. In this case, you need to restore the previous versions of the installed drivers. This process is called driver rollback and you can easily roll back your computer drivers to their previous state by following our guide How to roll back drivers in Windows 10.
Wait until the previous versions of the drivers are installed on your Windows 10 PC. After that, check if you have fixed the YouTube audio renderer error.
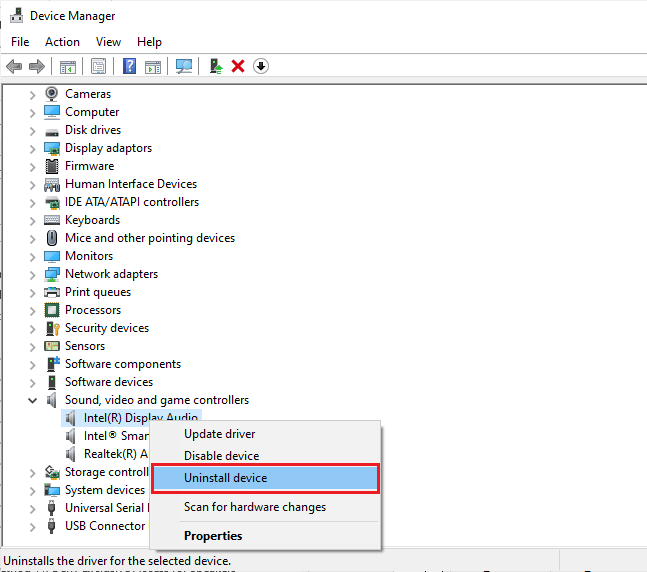
Method 10: Reinstall your audio drivers
To resolve this error, you must reinstall the incompatible drivers. You are only advised to reinstall device drivers if you cannot get any fix by updating them. The steps to reinstall drivers are very simple and you can do it by using a third party app or by following the steps manually as mentioned in our How to Uninstall and Reinstall Drivers in Windows 10 guide.
After reinstalling the audio drivers, check if you can hear YouTube sound in Windows 10.
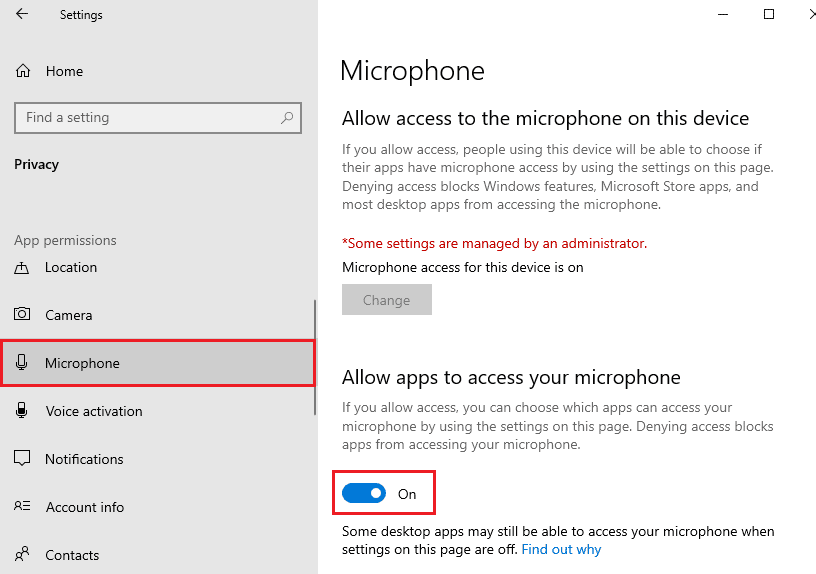
Method 11: Allow Audio Access
Only a few limited programs will have access to your audio devices on your PC. If the YouTube Direct App is not listed, sometimes you may not hear sound. So make sure the audio settings are enabled on YouTube on your PC by following the steps below.
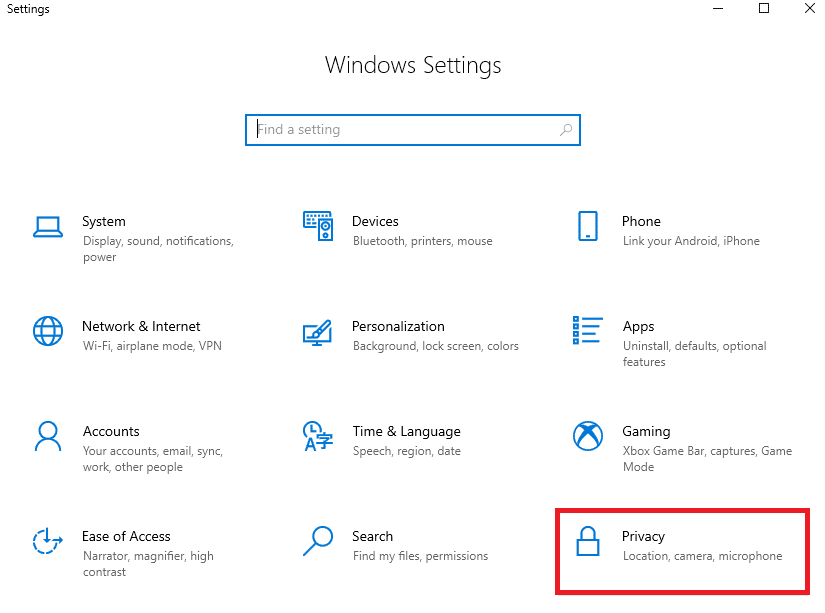
1. Launch Windows Settings by pressing the Windows + I keys at the same time.
2. Now click "Privacy" as shown in the picture.
3. Here, scroll down the left pane and click on the “Microphone” option.
4. Make sure "Allow apps to access your microphone" is enabled as shown in the picture.
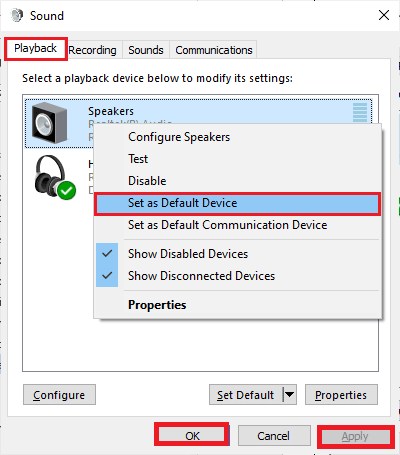
Method 12: Set your audio device as the default device
You have to make sure your audio device is set as the default device to avoid conflicts like YouTube Windows 10 audio renderer error. To fix this error, you need to set your audio device as the default device as mentioned below.
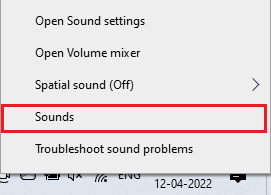
1. Right-click the Speakers icon in the lower right corner of the screen.

2. Select the "Sounds" option.

3. Then go to the Playback tab and right-click on the audio device you want to set as the default device.
4. Now select the "Set as default device" option as highlighted.
5. Click Apply > OK to save your changes.
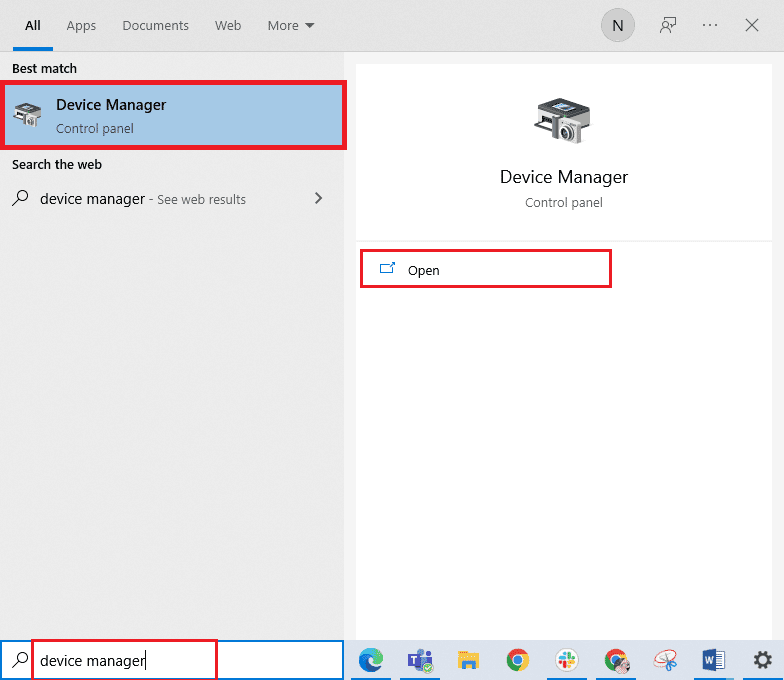
Method 13: Re-enable your sound card
You can easily fix the YouTube audio renderer error by restarting your sound card as mentioned below.
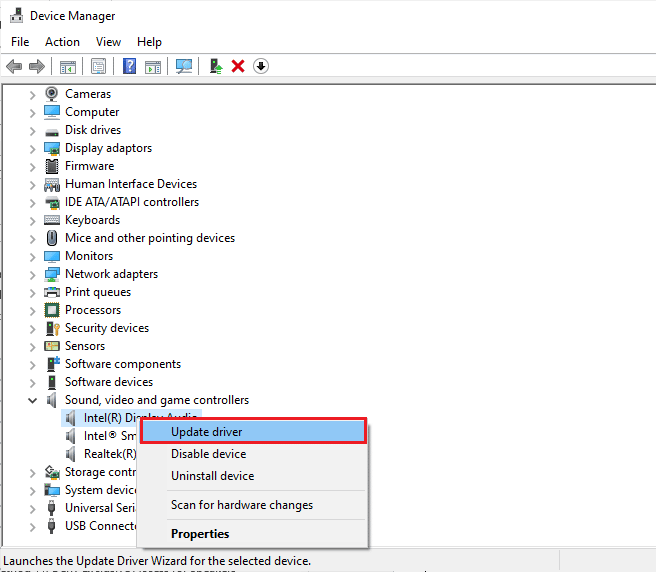
1. Press the Windows key and type Device Manager. Now click Open.
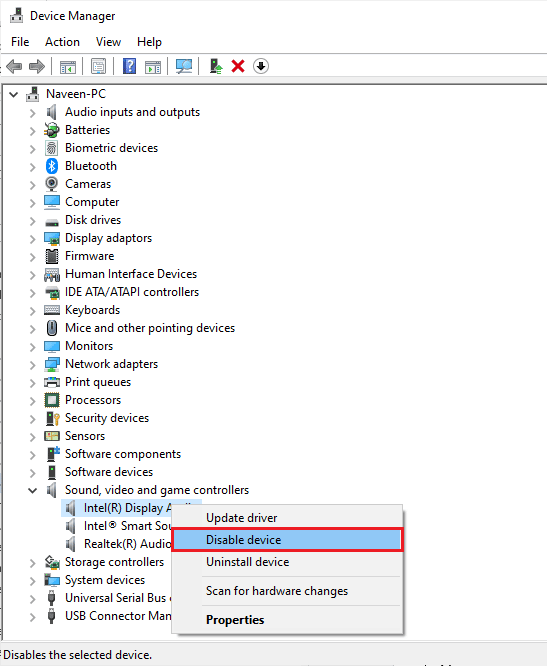
2. Double-click Sound, video and game controllers to expand the drivers.
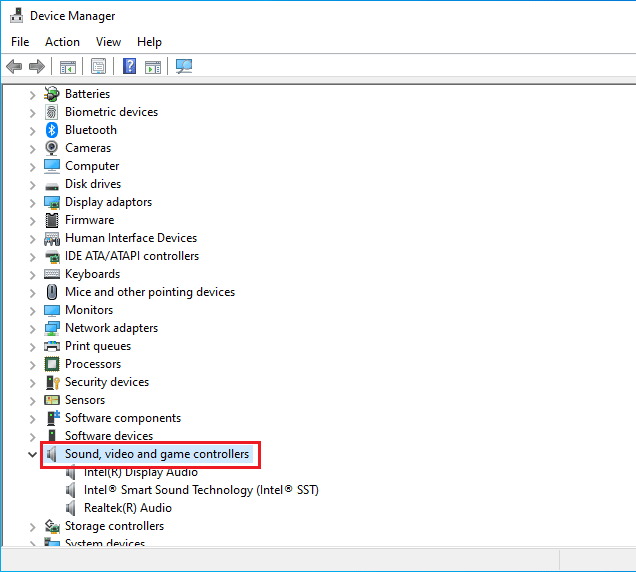
3. Next, right-click on the sound card and select the "Disable device" option.
4. Now confirm the prompt by clicking Yes and restart your computer.

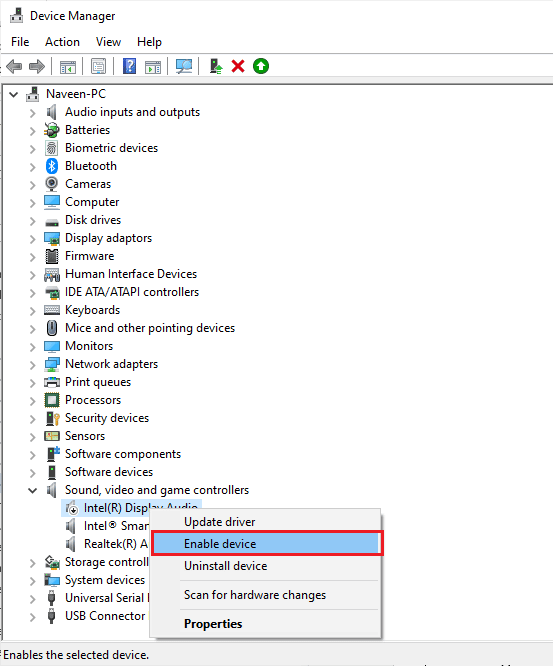
5. Then repeat steps 1 and 2.
6. Next, right-click on the disabled sound card and select the Enable Device option.
Method 14Disable Sound Enhancements
If your audio works well for other apps or programs, but the audio doesn't work just for YouTube, it's a good idea to change the sample rate. A low sample rate will cause this error, but you can choose a higher sample rate by following the steps below.
1. Right-click the Speakers icon in the lower right corner of the screen and select the Sounds option.

2. Then go to the Playback tab.
3. Click the audio device and then the Properties button.

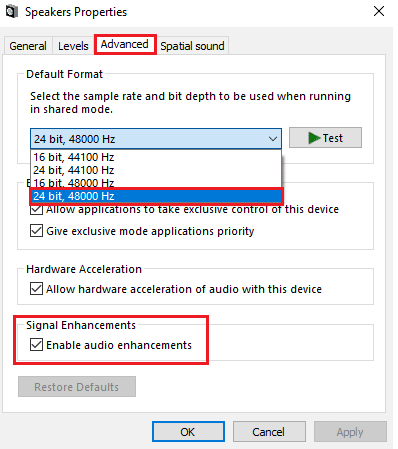
4. Then go to the "Advanced" tab.
5. Make sure that the highest frequency range (24 bits, 48000 Hz) is selected from the Default Format drop-down menu.
Note. Make sure the "Disable Audio Enhancements" option is unchecked under "Signal Enhancements" as shown in the picture.
6. Click Apply and then OK to save your changes.
Note. If an error exists, adjust the different levels of frequency bands by repeating these steps and confirming which band solves the problem.
Method 15: Repair System Files
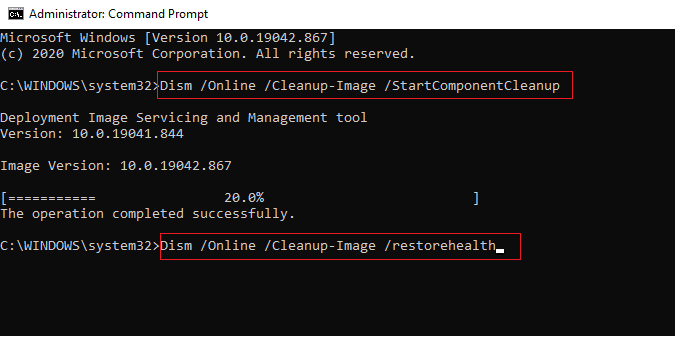
If you want to enjoy uninterrupted YouTube audio services, certain files and programs must be active on your PC. But, if they are corrupted or misconfigured, you will encounter an audio rendering error. Please restart your computer YouTube error. However, corrupted misconfigured files can be repaired using the built-in utilities of your Windows 10 PC, namely System File Checker and Deployment Image Servicing and Management. Read our guide to restoring system files in Windows 10 and follow the steps to repair any corrupted files.
Wait for the commands to complete and check if you have fixed this YouTube error.
Method 16: Restart audio services
A few basic Windows audio services will help you prevent this error. If in case these services are disabled, you may encounter several conflicts. Hence, you are advised to restart a few basic audio services as mentioned below.
1. Press the Windows key, type "Services" and click "Run as administrator".

2. Now scroll down and double click the Windows Audio service.
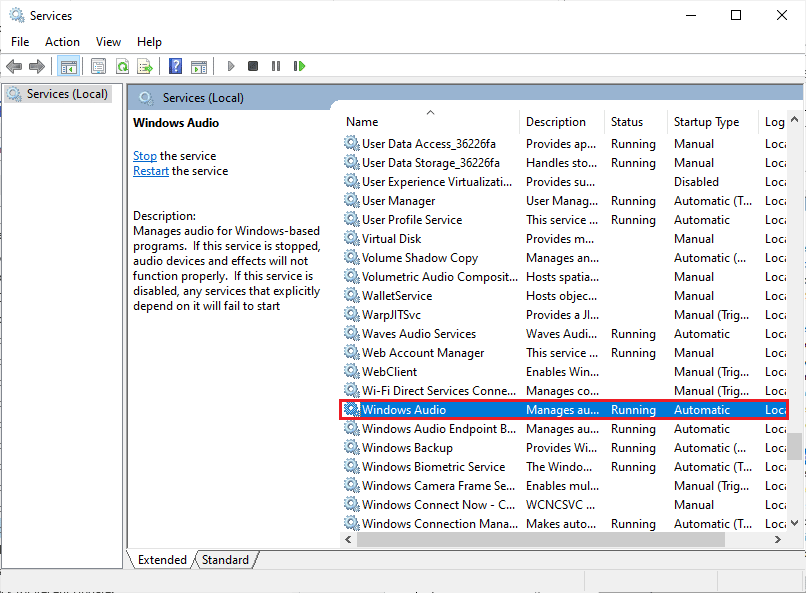
3. Set the Startup type to Automatic in the new pop-up window as shown in the figure.
Note. If the status of the service is "Stopped", click the "Start" button. If the status of the service is "Running", click "Stop" and "Start" again.
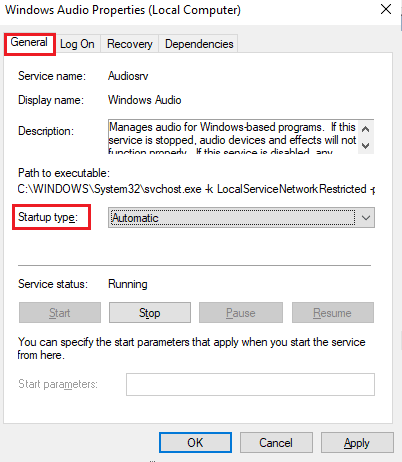
4. Click Apply > OK to save your changes.
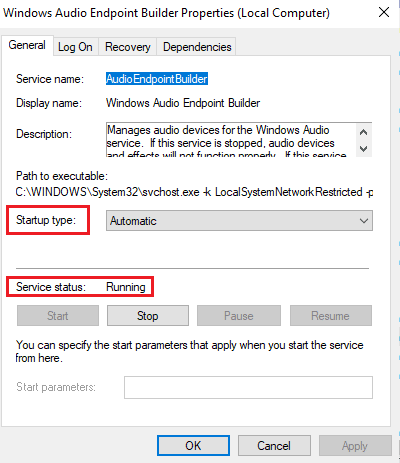
5. Repeat all these steps for other Windows services such as Windows Audio Endpoint Builder and Remote Procedure Call (RPC).
Method 17: Disable Exclusive Mode
However, if you are struggling with this error, you must ensure that no other applications take exclusive control of your audio device. You can disable the feature in question by following the steps below.
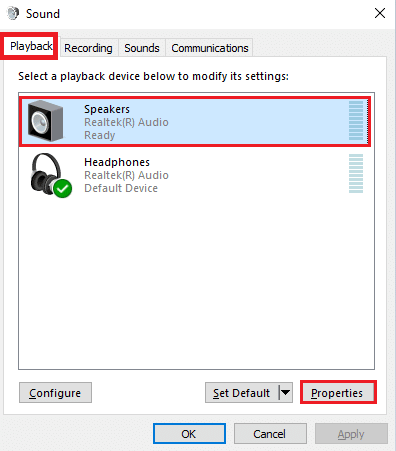
1. As before, right-click on the "Speakers" icon and select the "Sounds" option.
2. Click the Playback tab.
3. Then select your audio device and click the "Properties" button as shown in the picture.
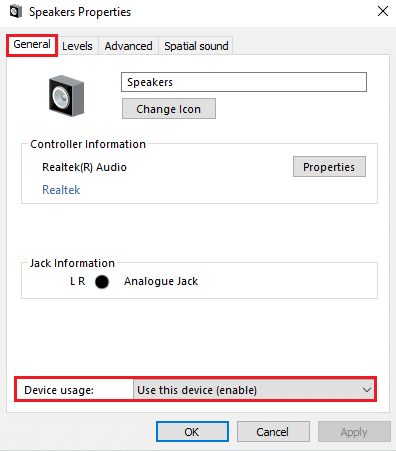
3. On the General tab, make sure Device Usage is set to Use This Device (Enable) as shown in the figure.
4. Click Apply > OK if you have made any changes.
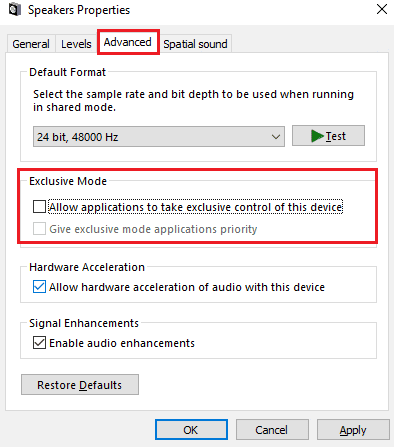
5. Now go to the Advanced tab and under the Exclusive Mode section, make sure the following options are unchecked.
- Allow applications to take exclusive control of this device.
- Give priority to exclusive mode applications.
Note. As soon as you clear the Allow applications to take exclusive control of this device check box, the Give priority to applications in exclusive mode setting is automatically unchecked.
6. Finally, click Apply > OK to save your changes.
***
We hope the guide was helpful and you were able to fix the YouTube audio rendering error. Let us know what you want to know next. Feel free to contact us with your questions and suggestions through the comments section below.