Fix Windows found drivers for your device but encountered an error
When trying to install a Windows 10 driver update, you may experience that Windows found the drivers for your device but encountered an error message. This message is displayed to you because an error occurred while updating the driver. This error can also appear when you connect a device to the system, even if Windows has found a driver for your device. You can try to fix this error using the built-in troubleshooting utilities in Windows 10. Read this article to resolve the issue.
How to fix Windows that found drivers for your device but encountered an error
There are several possible reasons why Windows has found a driver error for your device on your system. Some of these reasons are listed below.
- Error due to outdated Windows driver
- Error due to incorrect driver installation
- Error caused by system files
- Error due to incorrect registry keys
The following guide provides methods for fixing driver software errors found by Windows for your device.
Method 1: Restart your computer
The main troubleshooting method for any problems will be to restart your device. This will easily fix any temporary glitches. Follow these steps:
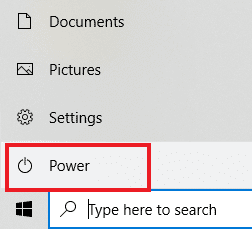
1. Press the Windows key and select the Power option.
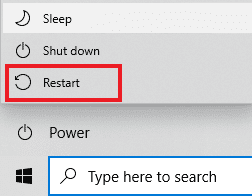
2. Select Restart.
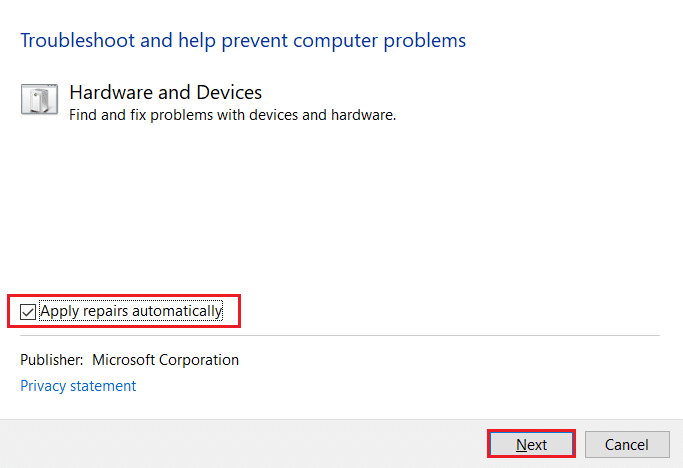
Method 2: Run the Hardware and Devices troubleshooter
Windows 10 has a built-in troubleshooter to fix various system errors. The Windows 10 troubleshooter can be very helpful in resolving driver issues on your system. See the guide to run the Hardware and Devices troubleshooter to troubleshoot issues to run the troubleshooter on Windows 10.
Method 3: Update device drivers
The most effective solution if Windows has found drivers for your device but encounters an error is to update your computer's drivers. You can easily update Windows 10 drivers from Device Manager.
Option I: Automatic Driver Update
You can follow these simple steps to update your Windows 10 drivers safely. Read our guide on updating device drivers in Windows 10 to update device drivers in Windows 10.
Option II: Manually update the driver
One of the most effective solutions when Windows has found drivers for your device but encounters an error is to manually install the drivers. You can manually install your computer's drivers from the Device Manager utility. Follow these simple steps to install drivers safely.
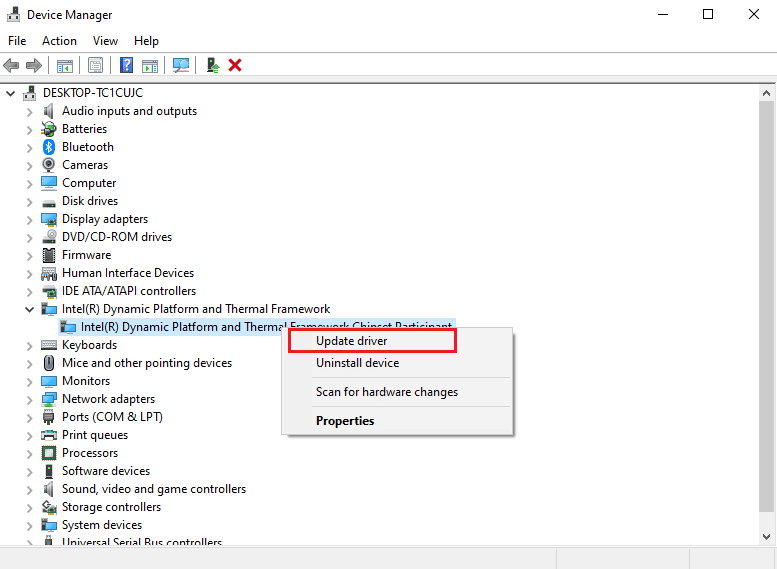
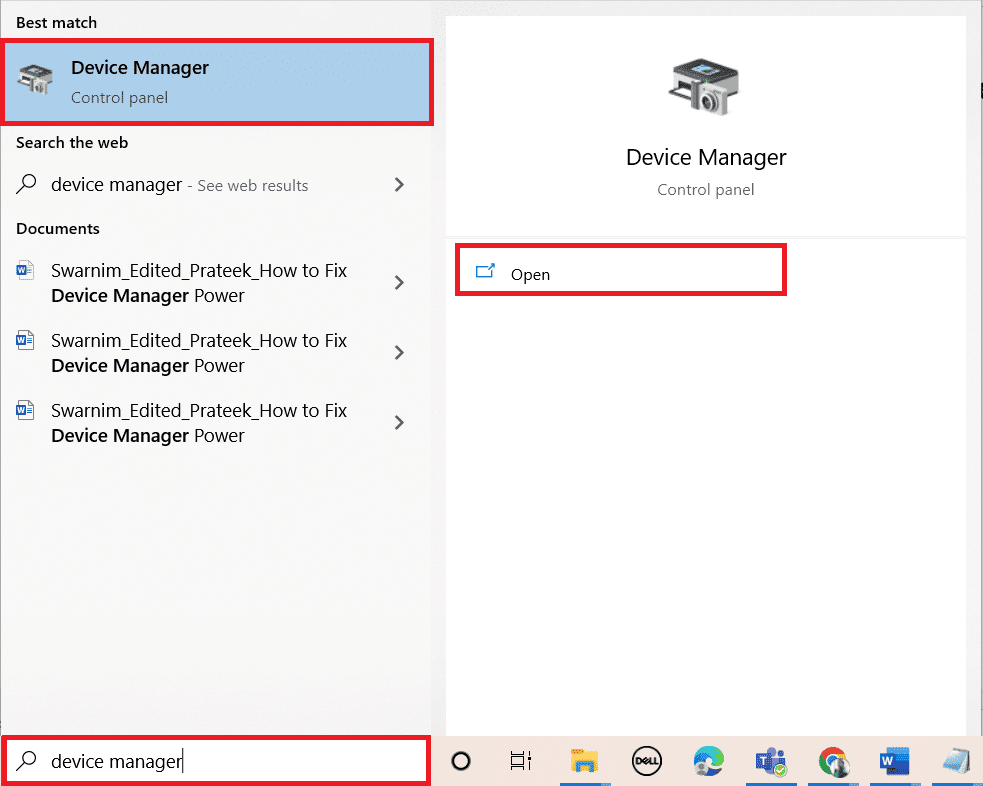
1. Press the Windows key, type "Device Manager" and click "Open".
2. Right-click the problematic driver (for example, a member of the Intel(R) Dynamic Platform and Thermal Framework Chipset) and select Update driver.

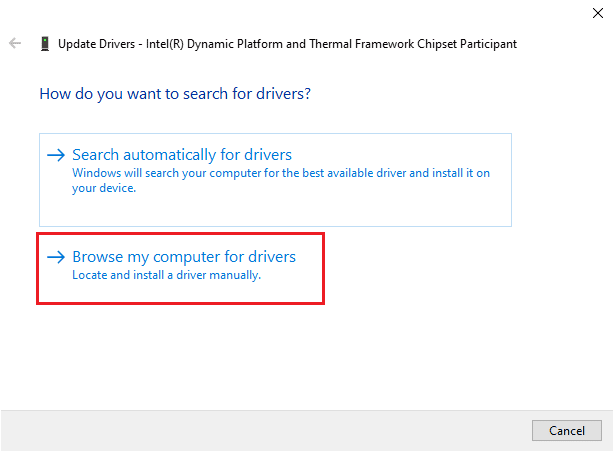
3. Click Search my computer for driver software.
4. Enter the following location in Search for drivers in this location and click Next.
C:WindowsWinSxS
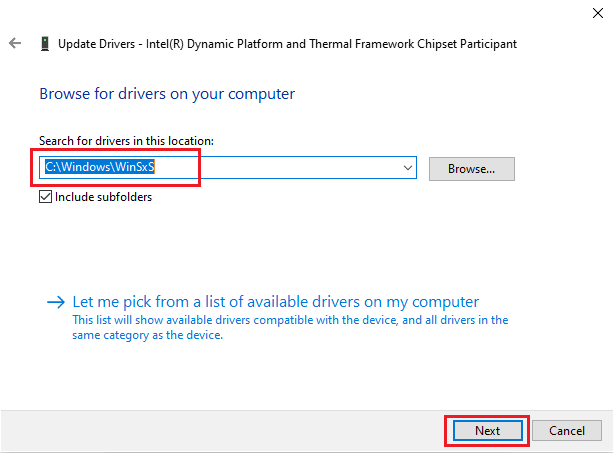
Your computer will look for a driver update at this location.
Method 4: Reinstall device drivers
Installing a driver incorrectly can also cause Windows to find the driver software for your device but encounter an error. You can also try uninstalling and reinstalling the problematic driver to prevent this error. Read our guide to uninstall and reinstall drivers in Windows 10 and follow it.

Method 5: Repair System Files
There may be problems with system files that can be solved with the built-in tools. Read our guide "How to repair system files in Windows 10" and follow the instructions to restore all corrupted files on your computer.
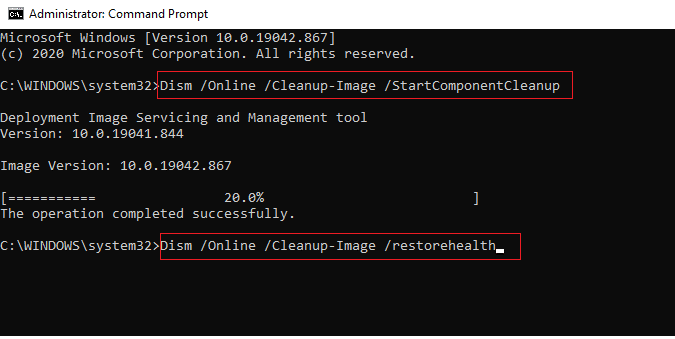
Wait for the commands to complete and check that Windows found the drivers for your device but encountered an error.
Method 6: Grant Full Control to TrustedInstaller
The TrustedInstaller utility is a built-in user account. This user account is available for Windows 7, Windows 8, Windows Vista, and Windows 10. This account is made up of various system files such as program files and Windows folders. You need to give TrustedInstaller full access to resolve driver issues by troubleshooting the system. You can follow these simple steps to give TrustedInstaller full control.
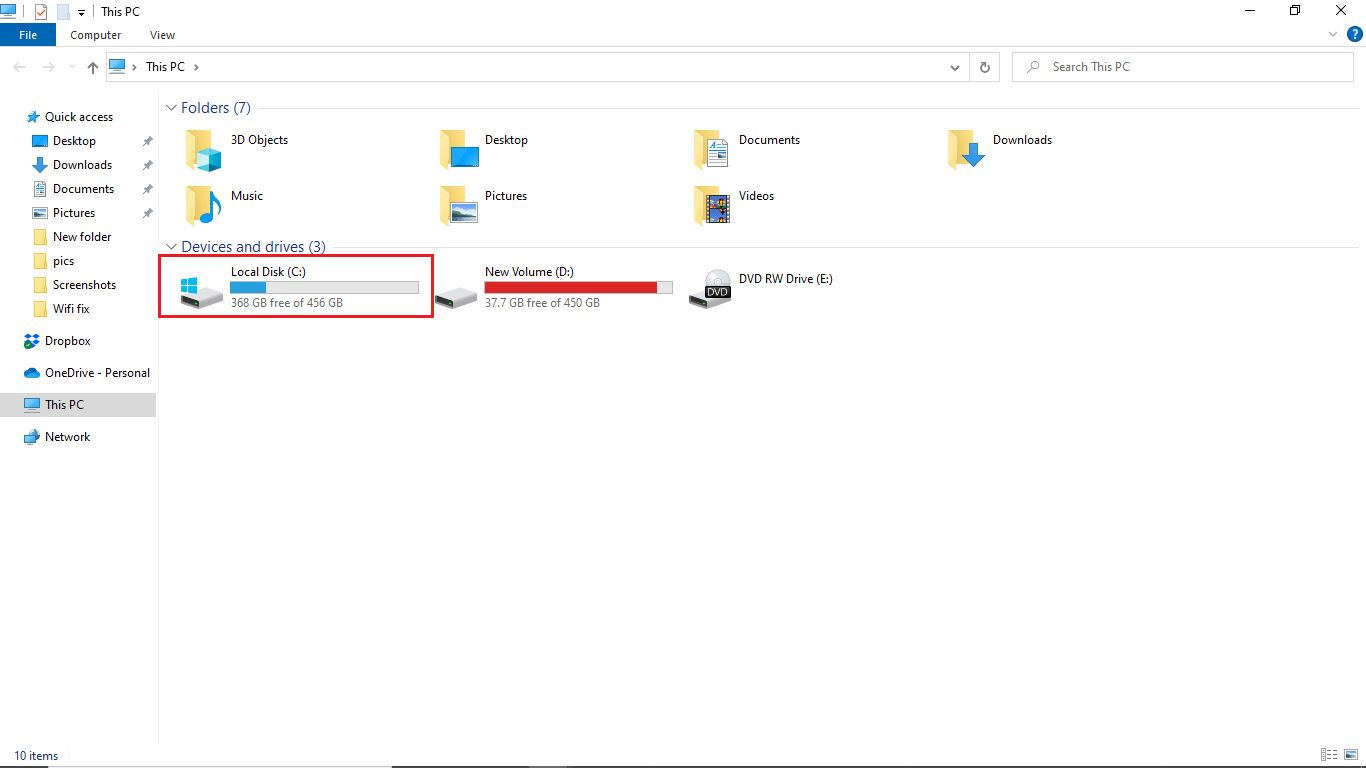
1. Press the Windows + E keys at the same time to open File Explorer.
2. Double-click Local Disk (C:) to open the folder.
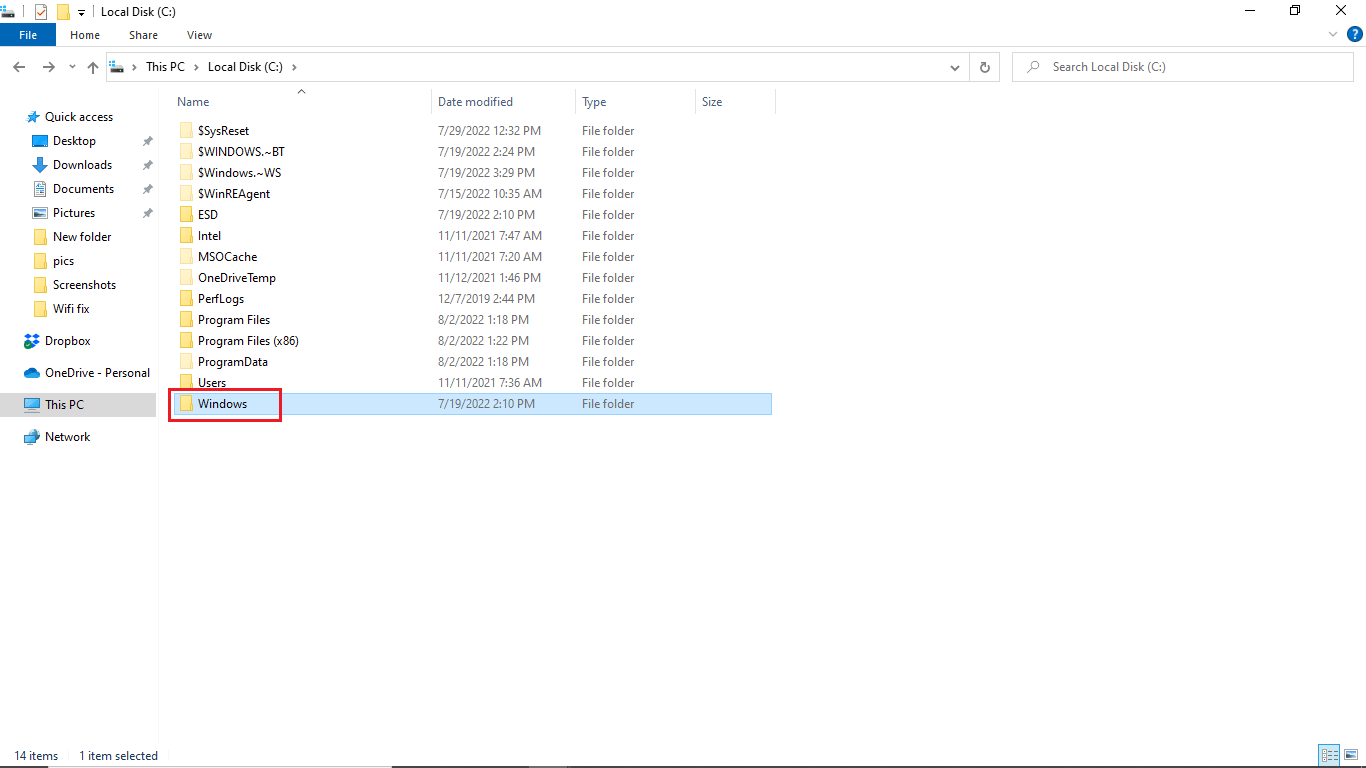
3. Now open the Windows folder by double clicking it.
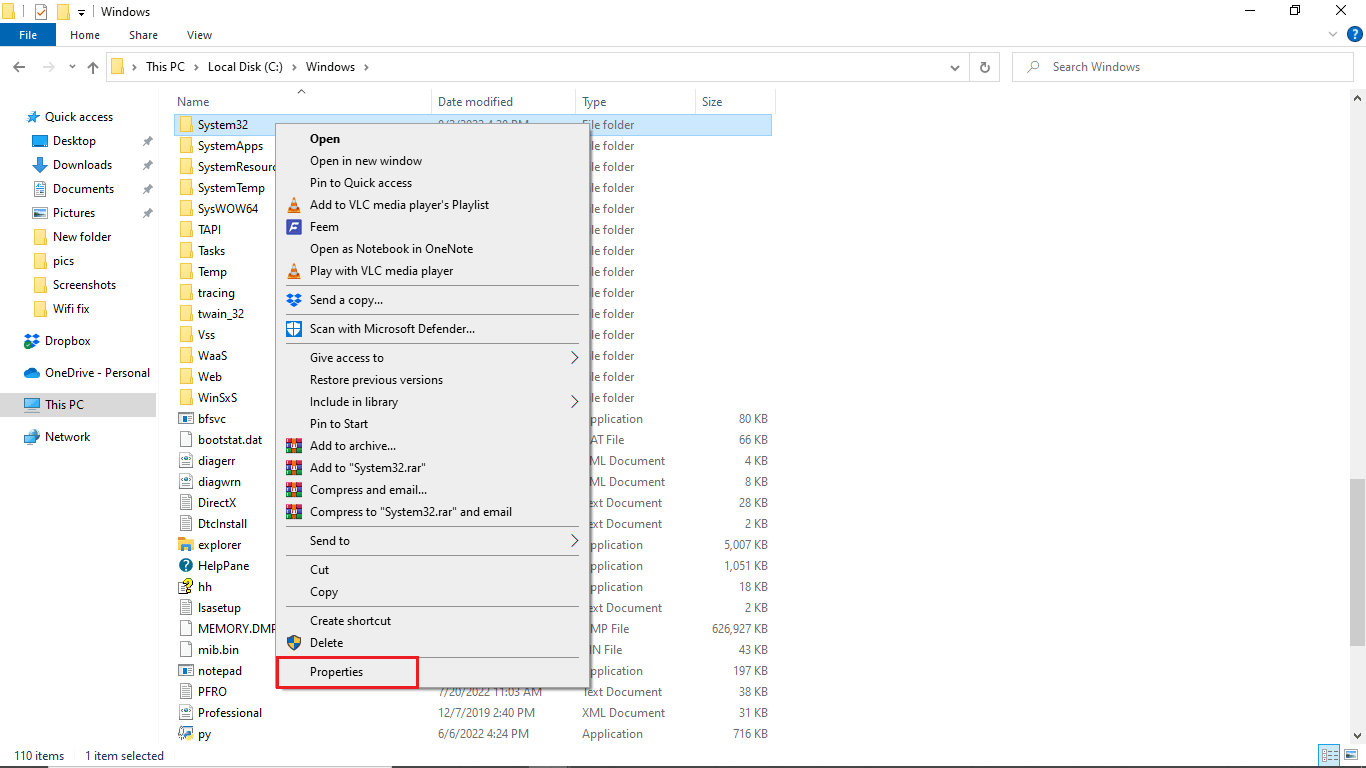
4. Navigate and right-click the System32 folder.
5. Select Properties.
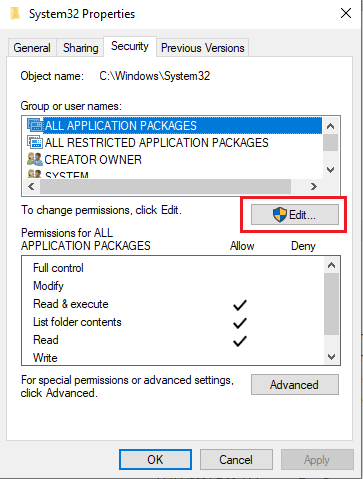
6. Go to the "Security" tab and click the "Edit" button.
Note. Give the Edit button admin rights (if needed).
7. In the Groups or Usernames section, select TrustedInstaller.
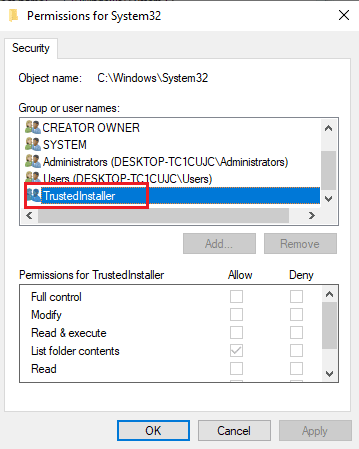
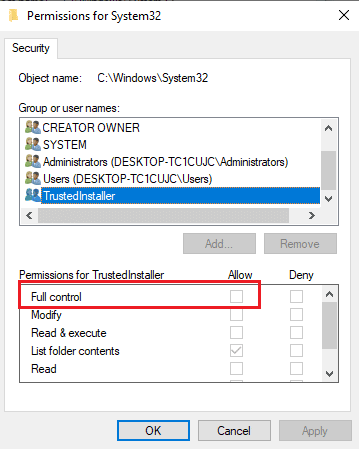
8. In the "Permissions for TrustedInstaller" section, check the "Allow" box next to "Full Control".
9. Repeat the same steps for the SysWOW64 folder in the Windows folder on the local drive (C:).

Method 7: Install using a hidden administrator account
If a manual update did not fix the drivers detected by Windows for your device, but an error occurred, install using a hidden administrator account. This would give more hidden benefits. Follow these steps:
1. First, restart your computer .
2. On the login screen, hold down the Shift key.
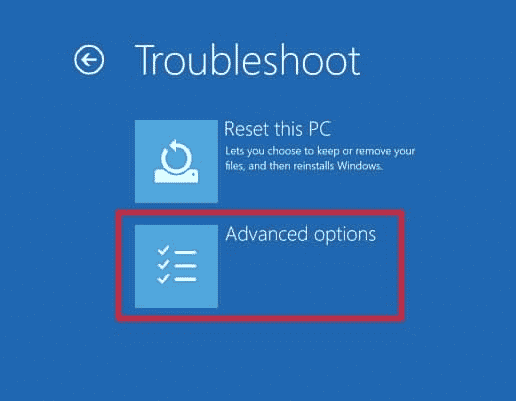
3. Select "Troubleshoot" and then "Advanced Options".
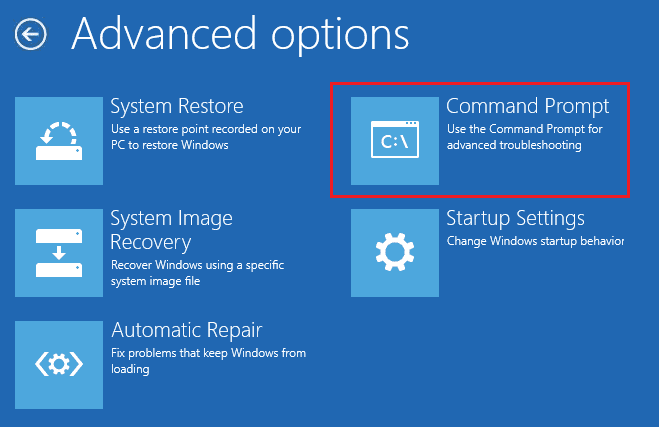
4. Now select the Command Prompt option.
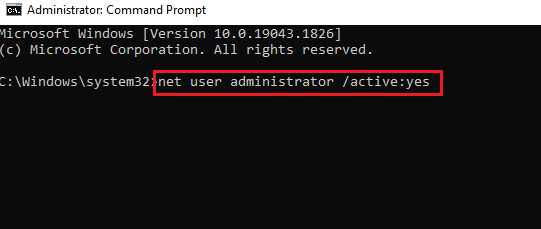
5. Type the following command and press the Enter key.
net user administrator /active:yes
6. Now login to this account and install the driver.
7. After installing the driver, press the Windows key. Enter command prompt and click "Run as administrator".
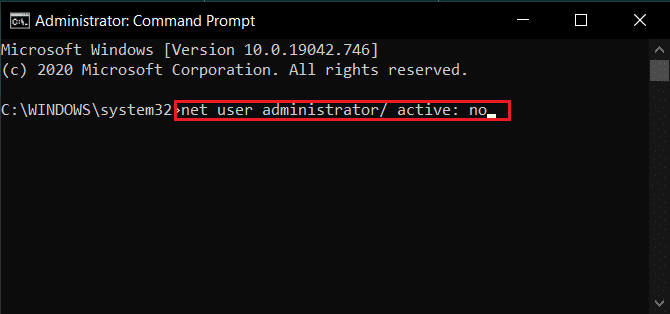
8. Type this command and press the Enter key to disable administrator rights.
net user administrator /active: no
9. Finally, restart your computer and sign in with the primary account you always use.
Method 8: Change Registry Editor Keys
Incorrect or corrupted registry keys can cause Windows to find drivers for your device but fail. Removing keys for filter drivers may solve the problem. To make changes to registry keys, you need to know the GUID of the driver. Follow the steps below.
Note. Make a backup copy of the registry keys to restore the previous settings in case of manual errors during the modification.
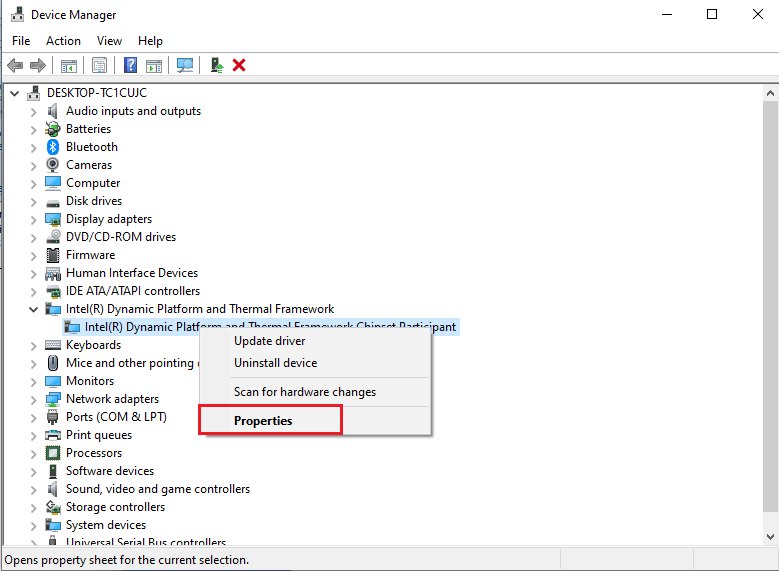
1. Launch Device Manager.

2. Right-click the problematic driver and select Properties.
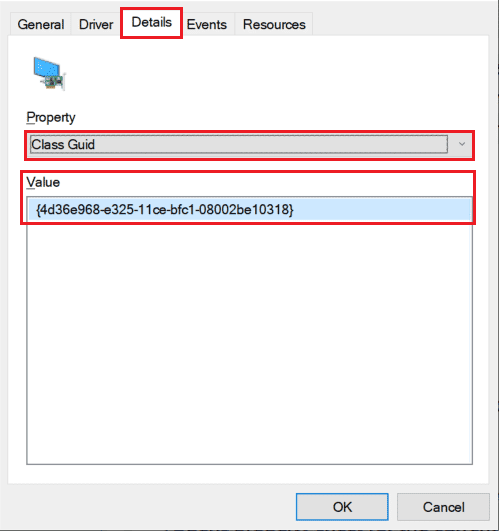
3. Click the Details tab. Select Class Guid from the properties dropdown.
4. Write down the displayed value.
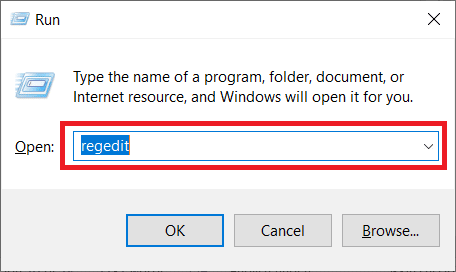
5. Now press the Windows + R keys to open the Run dialog box.
6. Type regedit and press the Enter key to open the Registry Editor window.
7. Click Yes on the prompt.
8. Navigate to the next key folder path.
ComputerHKEY_LOCAL_MACHINESYSTEMCurrentControlSetControlClass
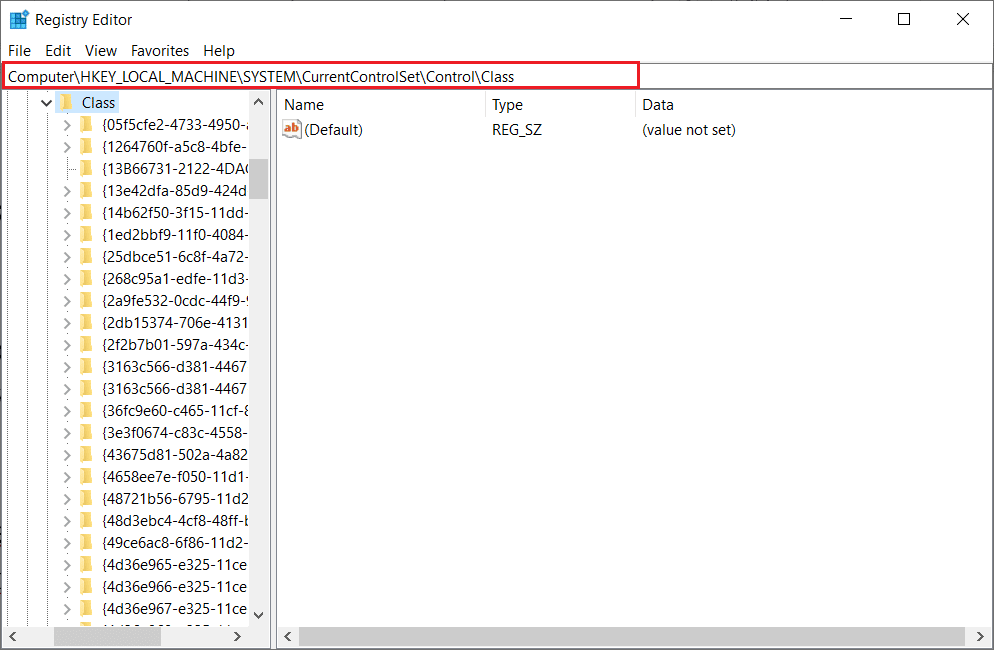
9. Locate the value marked in the Value column and click on it.
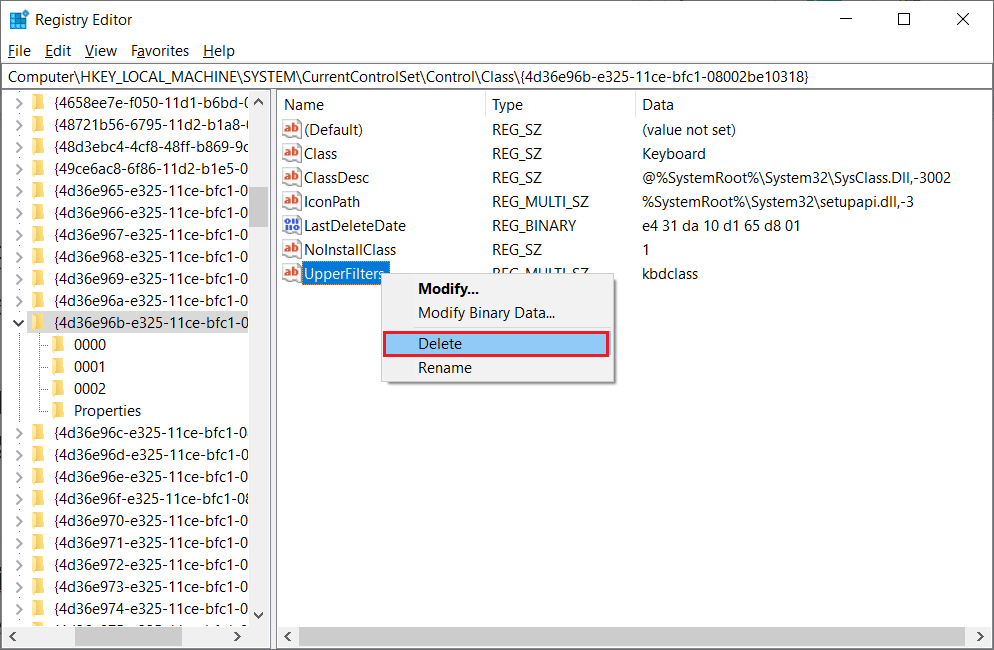
10. Right-click on UpperFilters and select the Delete option.
Note. If you can't find UpperFilters, look for LowerFilters.
11. Confirm the warning and restart your computer.
Frequently Asked Questions (FAQ)
Q1. What are Windows Drivers?
Answer Windows drivers are an integral part of your computer system. Drivers are software components in your system that communicate between your device and your computer's operating system.
Q2. Where can I update drivers in Windows 10?
Answer You can go to Device Manager on your computer to see a list of all active drivers on your computer. You can also update drivers from Device Manager.
Q3. Can I install new drivers on Windows 10?
Answer Yes, you can install new drivers on your Windows 10 PC manually or using the system utility.
***
We hope this guide was helpful and that you were able to fix the drivers detected by Windows for your device, but encountered an error. Comment and let us know which method worked for you. Also, if you have questions, questions, or suggestions, feel free to share them with us.