Fix Windows 10 update error 0x80190001
If there are any updates pending, your Windows computer downloads them automatically. But this process is not always successful. Numerous error codes appear during the update process. One such error code is 0x80190001 Windows 10. You usually encounter this error code when you try to install a feature update on your device and when you encounter any problems related to the installation files. The full error message will look like this: Something went wrong or An unexpected error occurred while trying to download the files required for the update. Error code: 0x80190001. If you are also facing the same error, you are not alone! We will help you resolve the same error with simple and effective hacks.
How to fix Windows 10 update error 0x80190001
There are several reasons that contribute to the error code in question appearing on your Windows 10 PC. They are listed below.
- The Windows version is incorrect/incompatible for updating the computer.
- Interference from an external USB device.
- Some basic services are not working.
- The antivirus is blocking the update.
- Not enough space in the section.
- Corrupted data.
- Outdated BIOS and very old computer.
Now you know the reasons causing the discussed error. Let's do some preliminary checks.
Preliminary checks
If there are no hardware issues with your PC, then you should check if Windows 10 update error 0x80190001 is occurring due to some internal issue. To successfully install the latest update on your computer, you must check if your computer meets the minimum update requirements. Your computer must meet the hardware and software requirements for the update, and you can verify this by following the steps below.
- Processor: 1 gigahertz (GHz) or faster processor or SoC.
- RAM: 1 gigabyte (GB) for 32-bit or 2 GB for 64-bit.
- Hard disk space: 16 GB for 32-bit OS or 20 GB for 64-bit OS. May 2019 update, space increased to 32 GB.
- Video Card: DirectX 9 compatible or later with WDDM 1.0 driver.
- Display: 800 x 600.
1. Check the system requirements
1. Press and hold Windows Key + I to open Windows Settings.
2. Now click System.
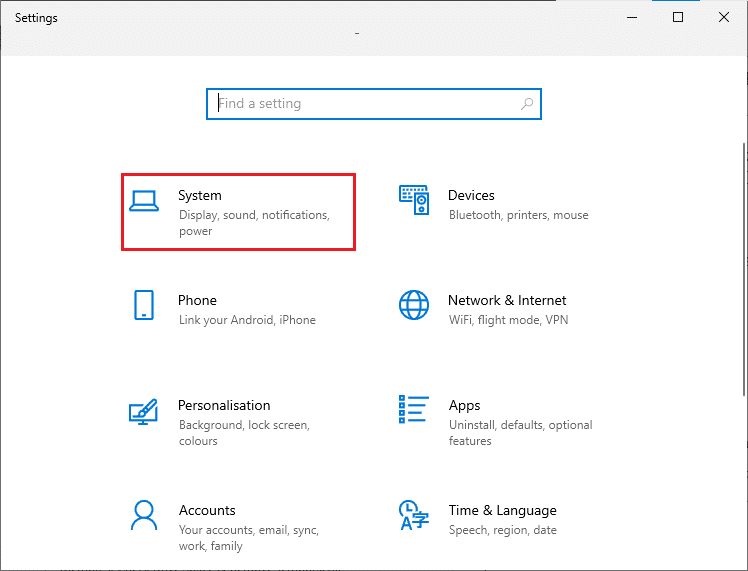
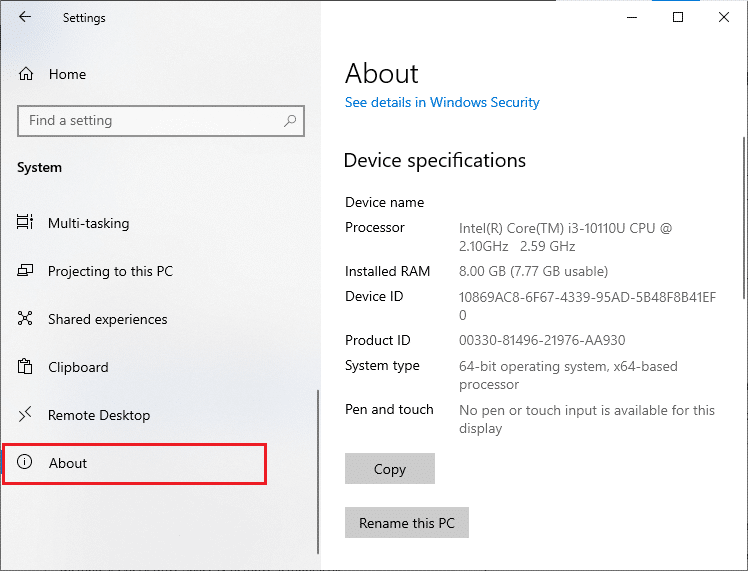
3. Now, on the left pane, click "About", then you can check the specifications of the device as shown on the right screen.
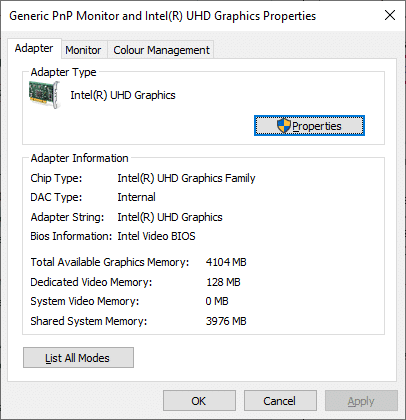
2. Check your video card requirements
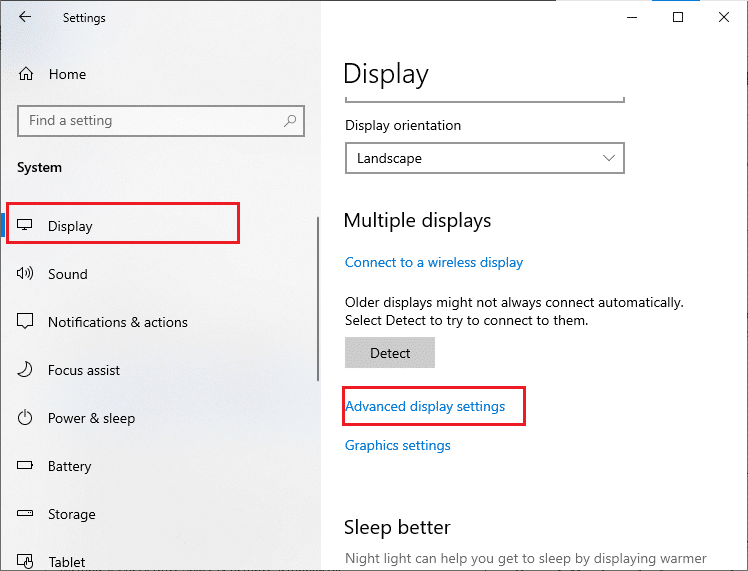
1. Open "Settings" and click "System Preferences".

2. Then click "Display" in the left pane and then "Advanced display options" in the right pane as shown in the figure.
3. Now click Display adapter properties as shown in the picture.
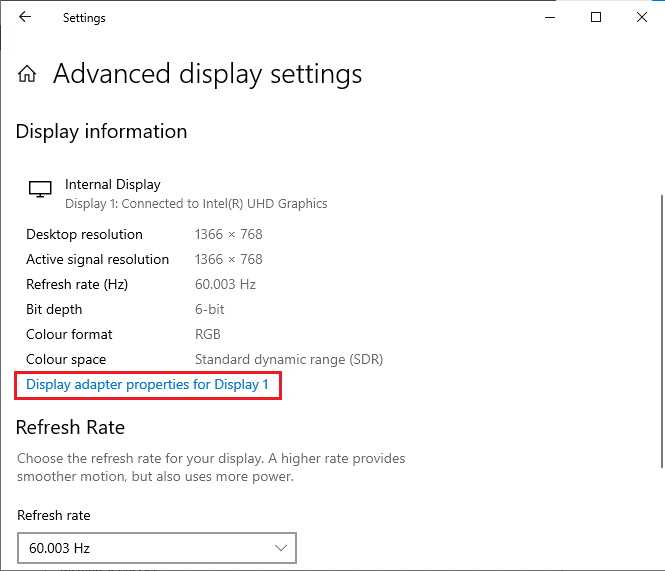
4. Detailed information about your video card will now be requested.
3. Check your DirectX version
1. Press the Windows + R keys at the same time to open the Run dialog box.
2. Type dxdiag and click Open.
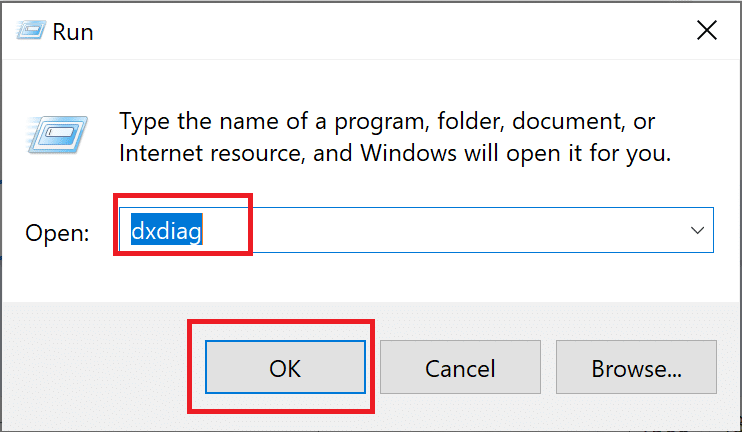
3. Here, check if your system contains DirectX 12.
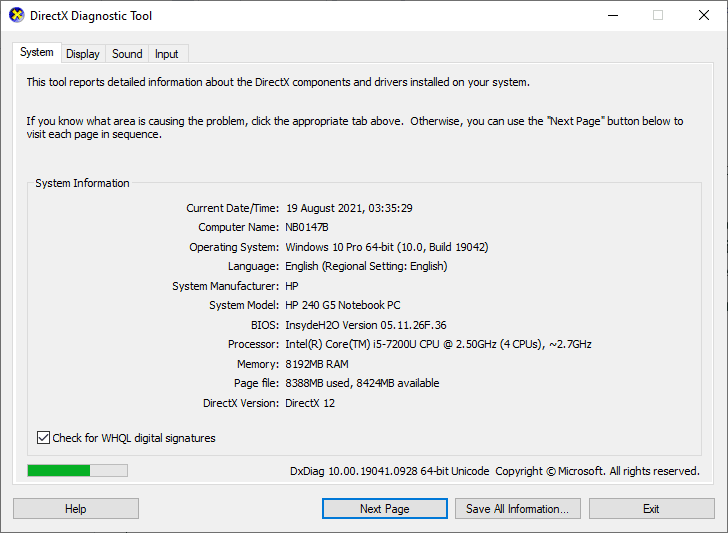
After checking all of these requirements, make sure they match the requirements of the application you are installing.
Here are the troubleshooting methods to fix the update error.
Method 1: Remove External Peripherals
When you encounter update error 0x80190001 on your Windows 10 computer, check if you have any external peripherals or USB devices connected. If so, you are advised to remove them to avoid electromagnetic interference contributing to the error. Follow the instructions.
1. First, disconnect all external USB devices connected to your computer.

2. Next, disconnect your webcam, printer, and other peripherals, and leave the most essential devices connected.
3. Finally, check if you have fixed update error 0x80190001.
Method 2: Run the Windows Update troubleshooter
If your computer has any errors and problems, you cannot update your Windows PC. The built-in Windows troubleshooter helps fix network connection issues, corrupted registry keys, and corrupted Windows components that lead to update error 0x80190001 can also be fixed with this tool. Follow the instructions in our guide to running the Windows Update troubleshooter.
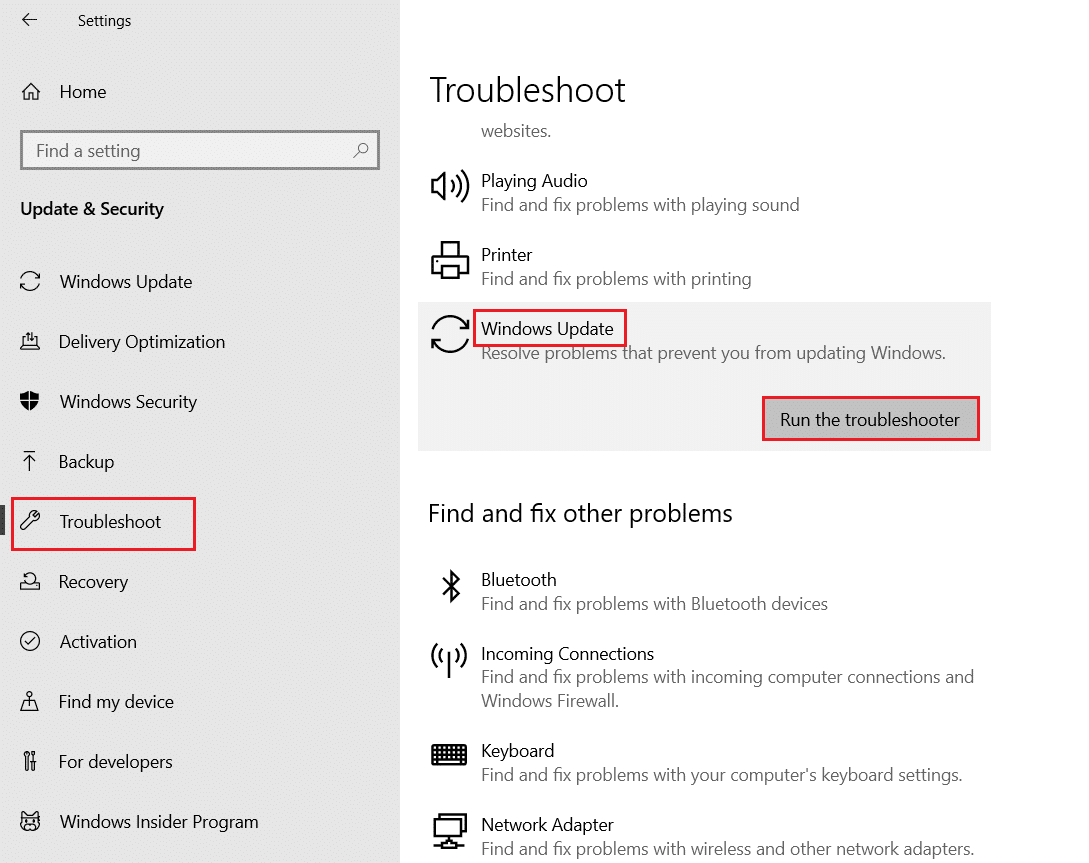
Follow as shown and thus fix the problems identified by the troubleshooter.
Method 3: Restart Essential Windows Services
Some important Windows services such as Windows Update and Background Intelligent Transfer Services must be enabled on your computer to avoid error code 0x80190001. Background Smart Transfer Services uses available bandwidth to install any latest updates, so your computer only installs any updates if no other installation is in progress. If these services are disabled on your system, you will most likely experience the error in question. Hence, restart the core Windows services as mentioned below.
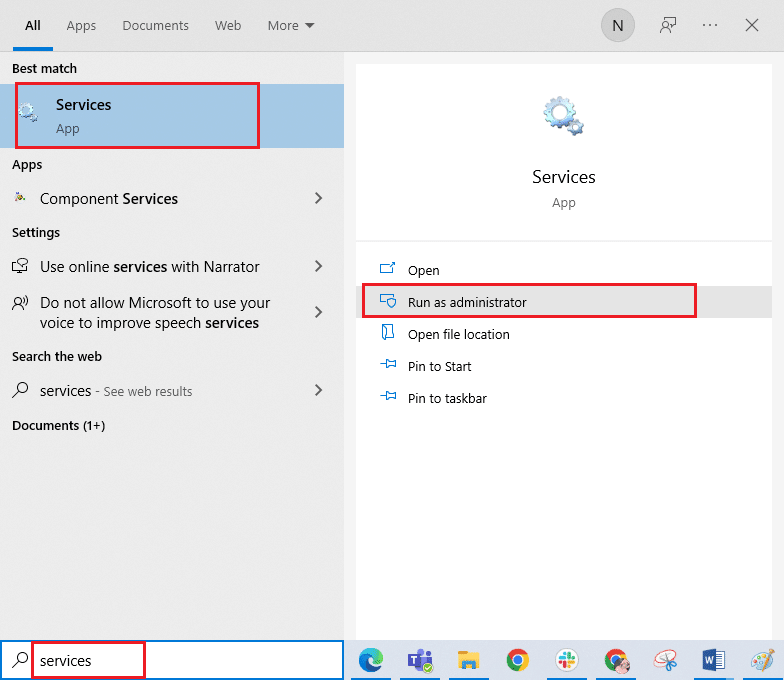
1. Press the Windows key, type "Services" and click "Run as administrator".
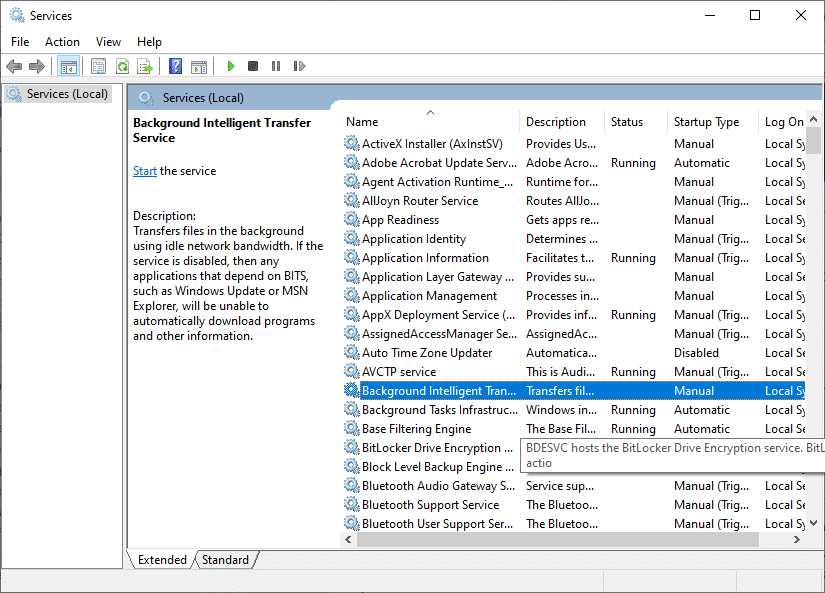
2. Now scroll down and double click Background Intelligent Transfer Service.
3. Now set Startup Type to Automatic as shown in the figure.
Note. If the status of the service is "Stopped", click the "Start" button. If the status of the service is "Running", click "Stop" and "Start" again.

4. Click Apply > OK to save your changes. Check if you can install the latest updates.
5. Repeat all these steps for other Windows Services such as Cryptographic, MSI Installer and Windows Update Services.
Method 4: Repair System Files
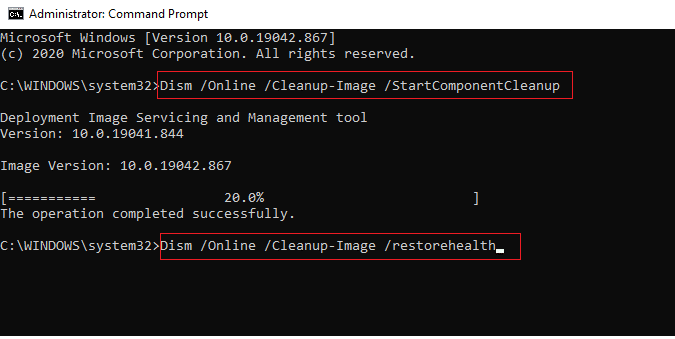
If there are any corrupted files on your system, you must repair them first before installing any updates. System File Checker (SFC command) scans and fixes any corrupted files on your computer. Deployment Image Servicing and Management (DISM) fixes Windows errors using a powerful command line. To resolve update error 0x80190001, it is recommended that you run the SFC/DISM utilities on your Windows 10 computer as outlined in our guide How to Repair System Files in Windows 10.
Once the scanning process is complete, check if you can install the latest updates.
Method 5: Delete the SoftwareDistribution folder
If you have verified that Windows Update services are still encountering Windows 10 update error 0x80190001, there is another easy workaround to fix update issues. First, stop the Windows Update service and delete the SoftwareDistribution folder in File Explorer. Then start the Windows Update services again. Follow the instructions below.
1. Run the "Services" window as an administrator, as in method 3.
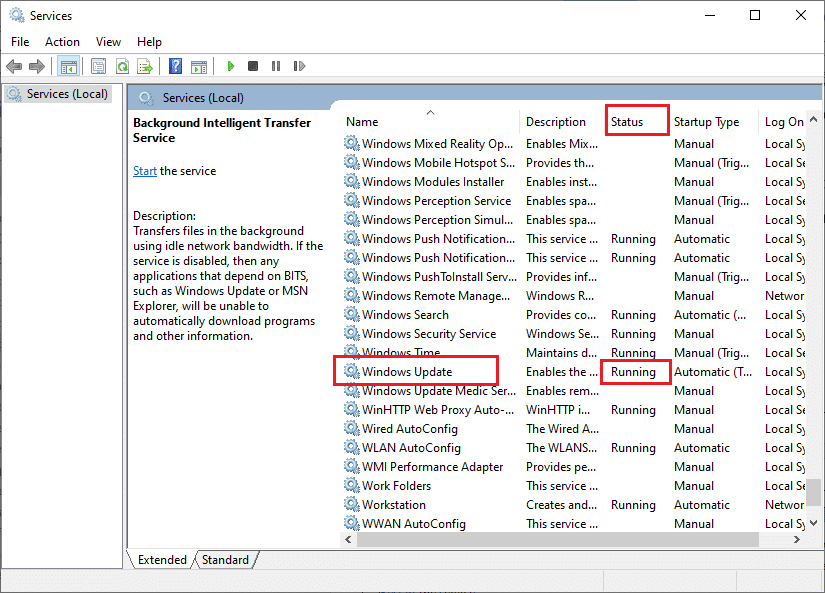
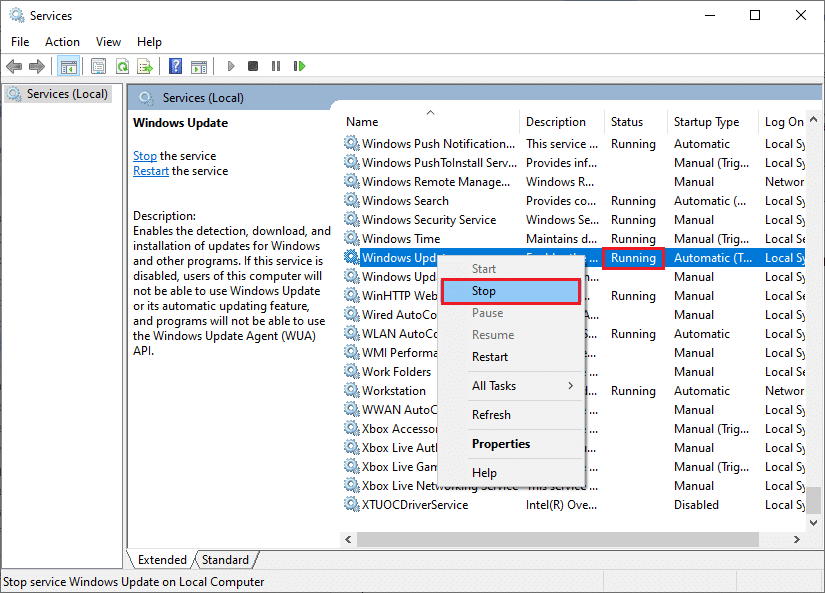
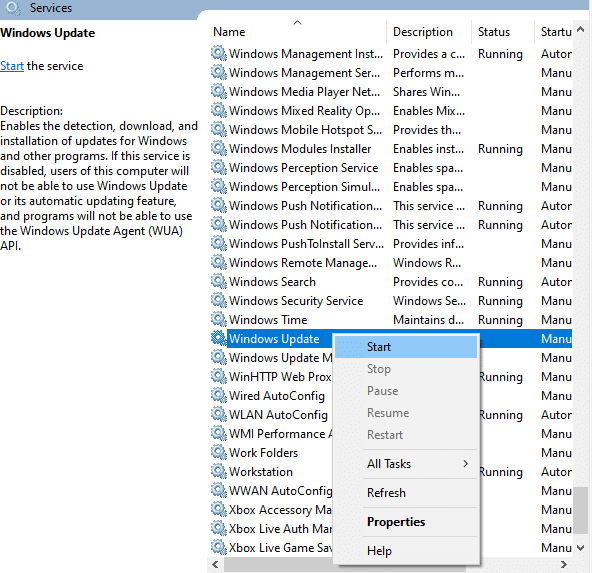
2. Now scroll down the screen and right click Windows Update.
3A. If the status is not set to Running, go to step 4.
3B. If the status is "Running", click "Stop" as shown in the figure.
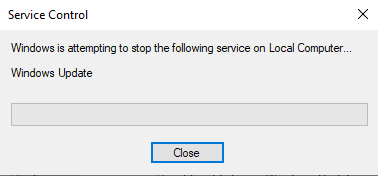
5. Wait 2-3 seconds at the prompt screen, Windows is trying to stop the following service on the local computer…
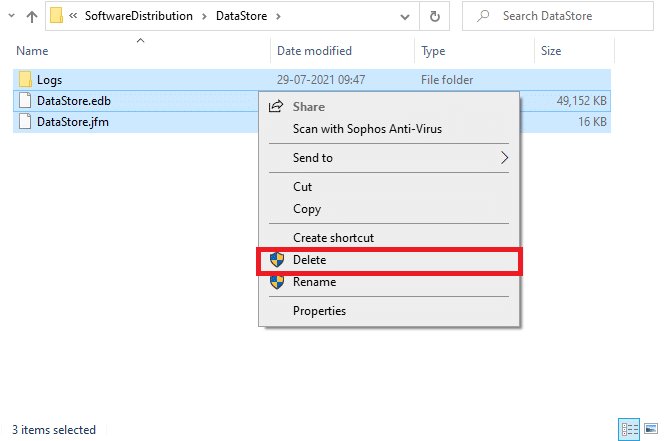
6. Now open File Explorer by pressing Windows + E keys at the same time. Now go to the following path.
C:WindowsSoftwareDistributionDataStore
7. Now select and right click on all files and folders and select the Delete option.
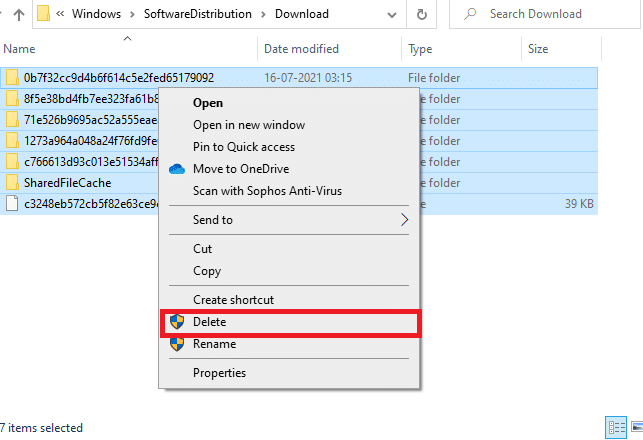
8. Similarly, follow the path C:WindowsSoftwareDistributionDownload and delete all files and folders.
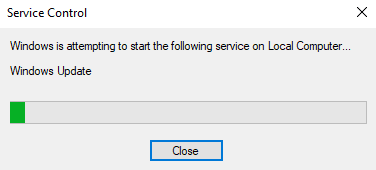
9. Switch back to the Services window, right-click on Windows Update and select the Start option.
10. Wait 3 to 5 seconds at the prompt, Windows is trying to start the following service on the local computer…
12. Finally, you have restarted the Windows Update services, thereby deleting the contents of the Software Distribution folder. Check if you can install the latest updates on your Windows 10 PC.
Method 6: Temporarily disable your antivirus (if applicable)
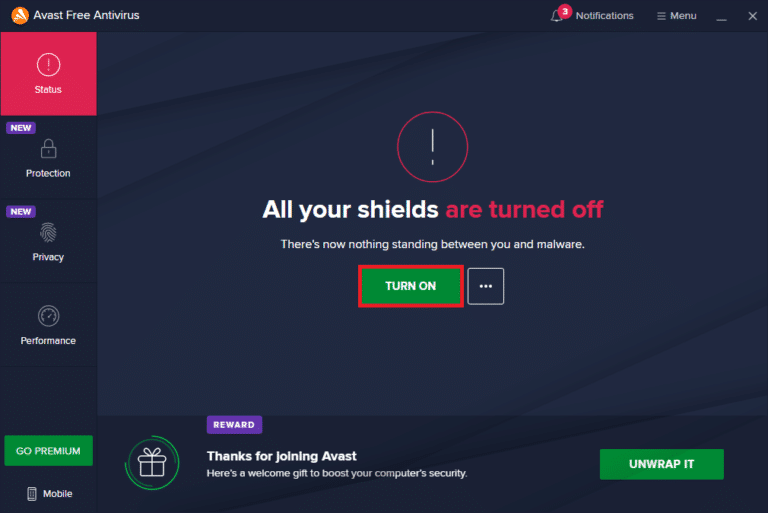
An antivirus package can sometimes prevent any of the latest updates from being installed on your computer. Many Windows users identify many compatibility issues that are difficult to fix. Antivirus software like Norton and Avast can interfere with any latest Windows update, and you are advised to temporarily disable any built-in or third-party antivirus software to fix this issue. Read our guide on how to temporarily disable your antivirus in Windows 10 and follow the instructions to temporarily disable your antivirus program on your PC.
After fixing error code 0x80190001 on a Windows 10 PC, be sure to re-enable your antivirus program as a system without a security pack is always a threat.
Method 7: Use Google DNS
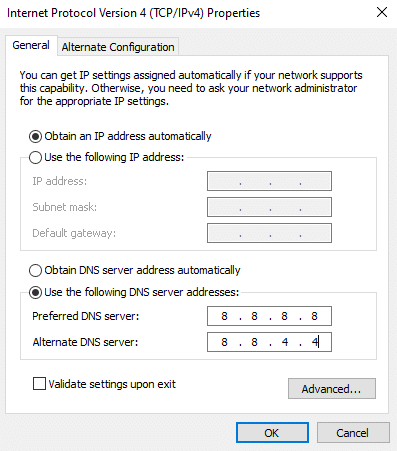
Some users have suggested that changing DNS addresses helped them fix update error 0x80190001 on Windows 10 PCs. Google DNS has IP addresses 8.8.8.8 and 8.8.4.4 which are simple and easy to remember to establish a secure DNS connection between client and server. Here is our simple guide on how to change DNS settings in Windows 10 to help you change DNS addresses on your computer. You can also switch to any Open DNS or Google DNS on your Windows 10 computer by following our guide on how to switch to OpenDNS or Google DNS on Windows. Follow the instructions and check if you can install cumulative updates on your computer.
Method 8: Uninstall the latest updates
Any previous incompatible updates on your Windows 10 PC may prevent you from downloading new updates to it. Hence, you are advised to uninstall the latest updates that are being installed on your PC in order to resolve error code 0x80190001. This is very easy to do and the steps are shown as follows.
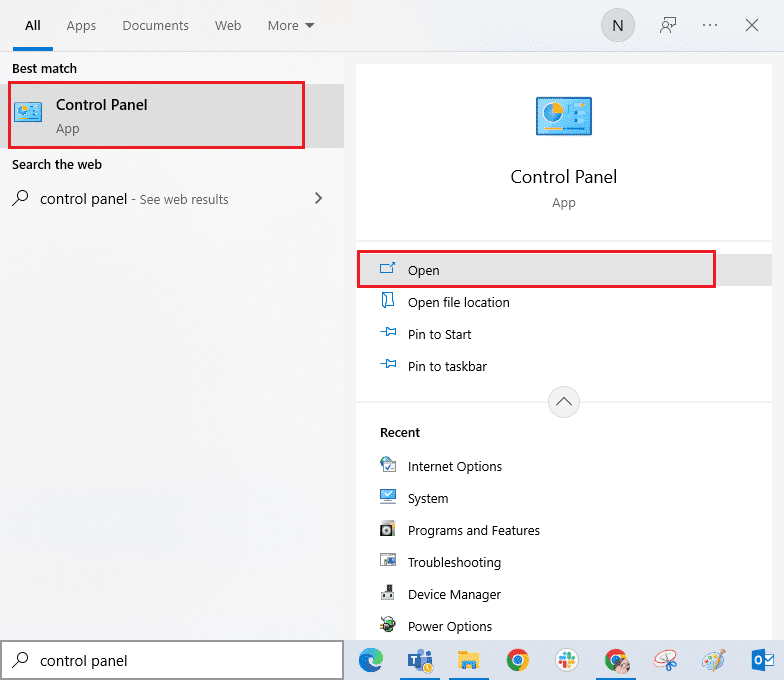
1. Press the Windows key, then type "Control Panel" and click "Open".
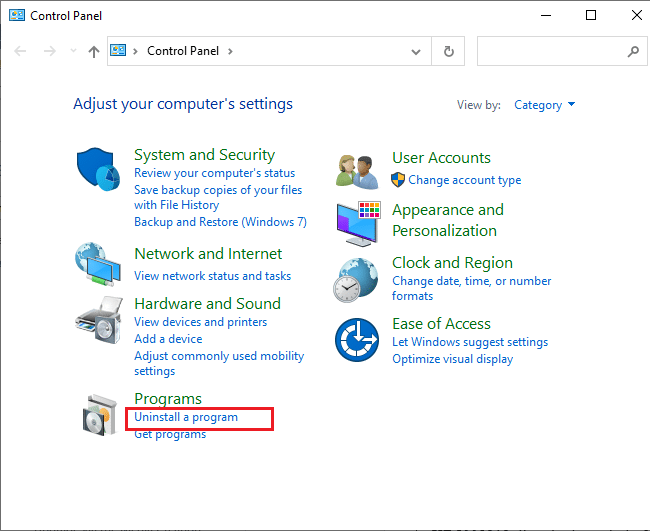
2. Set "View by > Category", then click "Uninstall a program" in the "Programs" menu, as shown in the figure.
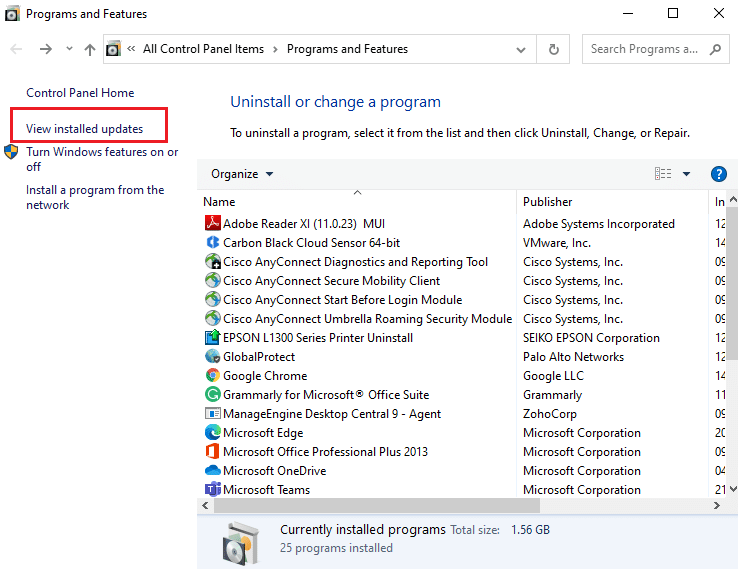
3. Now click "View Installed Updates" on the left pane as shown.
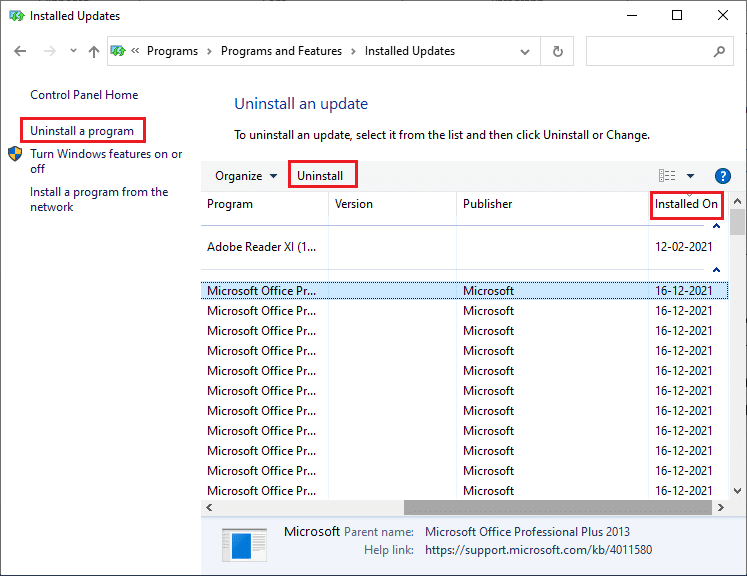
4. Now find and select the most recent update by entering the date "Installed on day" and clicking "Uninstall" as shown below.
5. Finally, confirm any prompt and restart your computer.
See if you can fix Windows 10 update error 0x80190001.
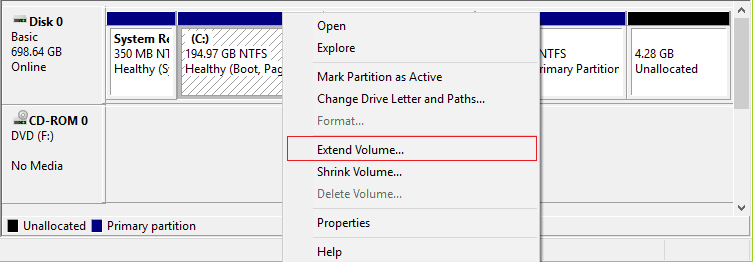
Method 9: Extend the system partition
If there is not enough space on the system partition, you will not be able to install new updates on your Windows 10 PC. There are a few other ways to increase your computer's memory, but they may not always work for you. You must extend the system reserved partition to fix update error 0x80190001. Although there are many third-party tools to expand the reserved system partition, we prefer to do it manually by following our guide "How to expand the system drive partition (C:)" in Windows 10.
Method 10: Clear Disk Space
If your computer doesn't have enough disk space to install new apps from the Microsoft Store, you'll encounter update error 0x80190001. Therefore, first check your disk space and clean up temporary files if necessary.
Step I: Check Disk Space
To check the disk space on a Windows 10 PC, follow these steps.
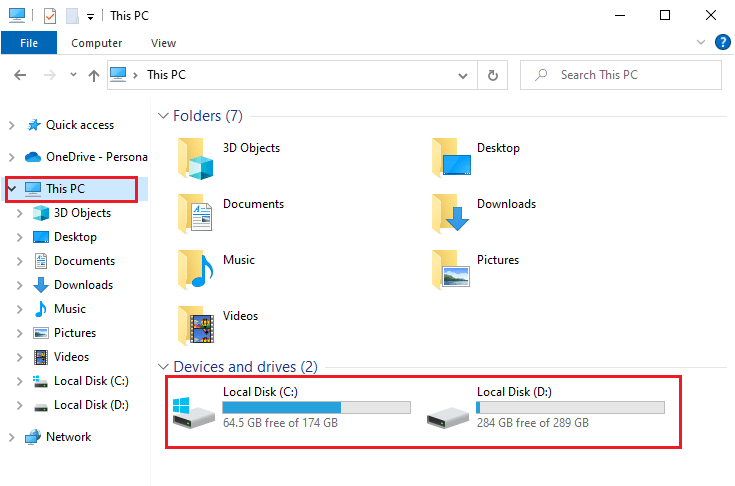
1. Press the Windows + E keys at the same time to open File Explorer.
2. Now click "This PC" on the left screen.
3. Check the free disk space in the "Devices and Drivers" section, as shown in the figure. If they are highlighted in red, consider cleaning up temporary files.
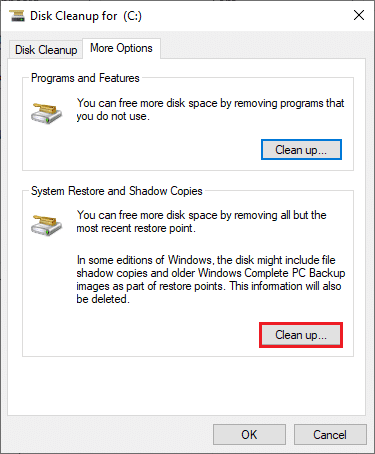
Step II: Perform Disk Cleanup
If your computer has minimal available space contributing to update error 0x80190001, follow our 10 Ways to Free Up Hard Drive Space in Windows guide to help you clean up all the junk files on your computer.
Method 11: Reset Windows Update components
An effective way to fix error code 0x80190001 is to reset Windows Update components if no other options have worked for you. All Windows update files are stored on your computer, and if they are corrupted or incompatible, you should be facing a number of annoying issues. To fix corrupted Windows Update components on your PC, follow our guide How to reset Windows Update components in Windows 10.
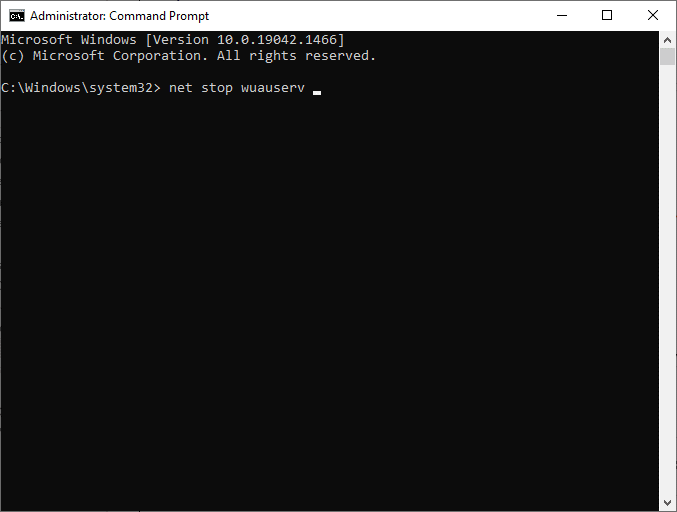
This simple process involves running a set of commands at the command prompt to restart all essential Windows services on your Windows 10 PC. After running all the commands, check if you can install cumulative updates.
Method 12: Install updates manually
If all the other solutions in this guide don't work for you, you can still manually download the required update. The Windows 10 Update History webpage has a complete history of the updates that have been released for your Windows PC. Follow the instructions below to force updates to be installed.
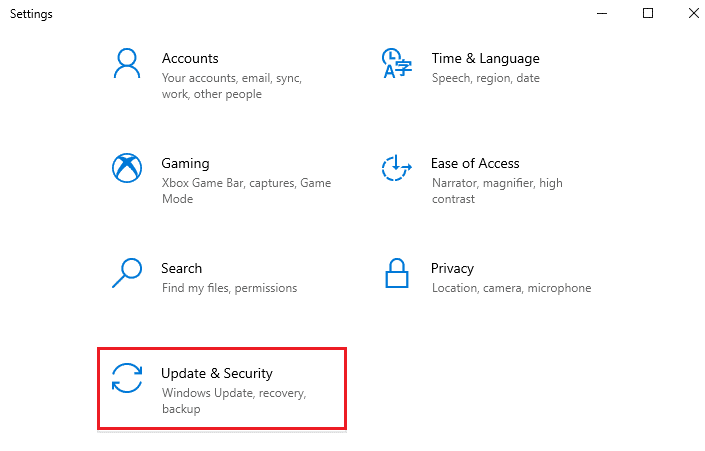
1. Press the Windows + I keys at the same time to open the settings on your system.
2. Now click on Update & Security.
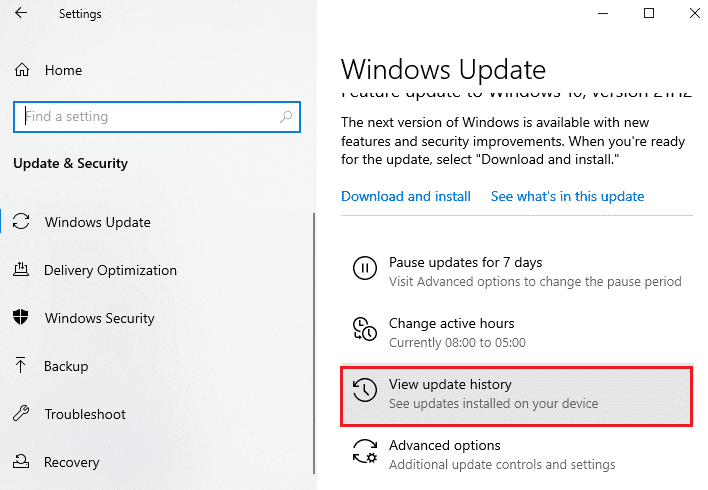
3. Now select the View Update History option as shown below.
4. In the list, verify that the KB number is pending download due to conflicting errors.
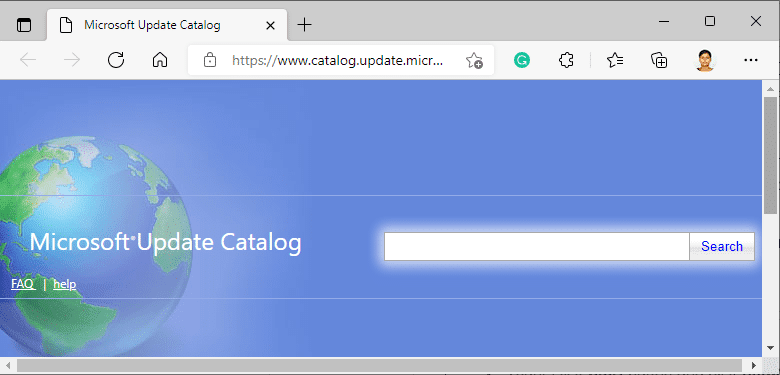
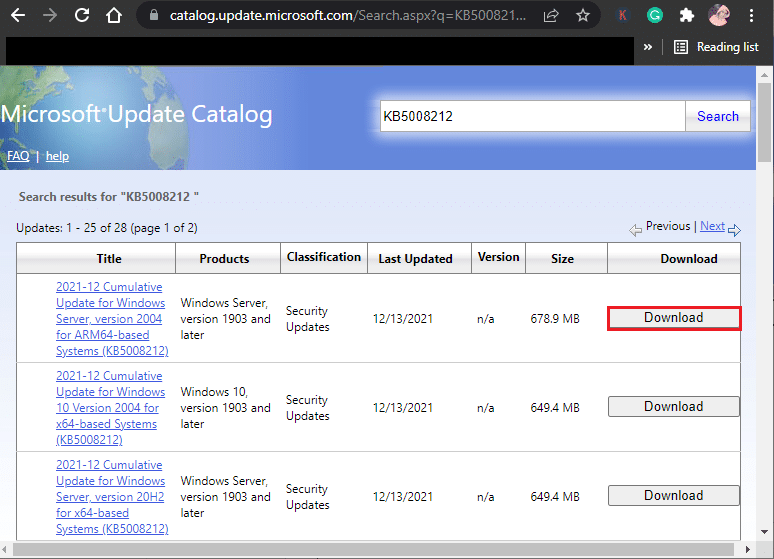
5. Here, enter the knowledge base number in the search bar for the Microsoft Update Catalog.
6. Finally, click "Download" according to your latest update and follow the on-screen instructions to complete the process.
Method 13: Update via Media Creation Tool
If you are unable to install the update manually, you can try installing it using the Media Creation Tool. This is the official download platform recommended by Microsoft to fix any update errors on your Windows 10 PC. Follow the steps below to do the same.
1. Open any browser and launch the official Windows 10 Media Creation tool download page.
2. Now click on the "Download tool now" button under "Create Windows 10 installation media". 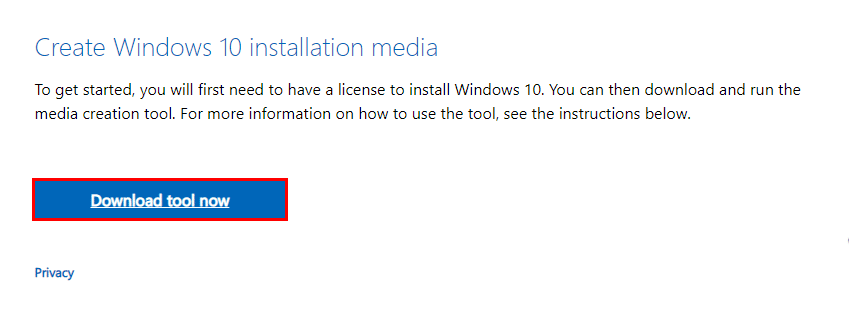
3. Run the setup file and click "Yes" in the User Account Control (UAC) window, if available.
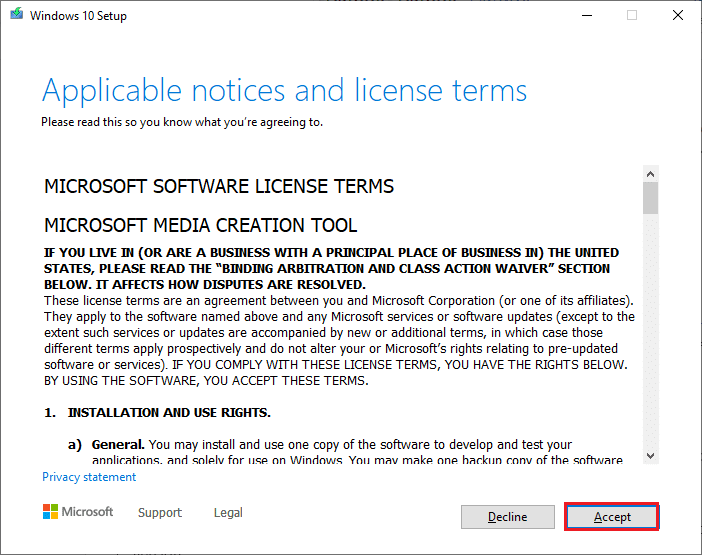
4. Now click the "Accept" button on the Windows 10 setup window as shown in the picture.
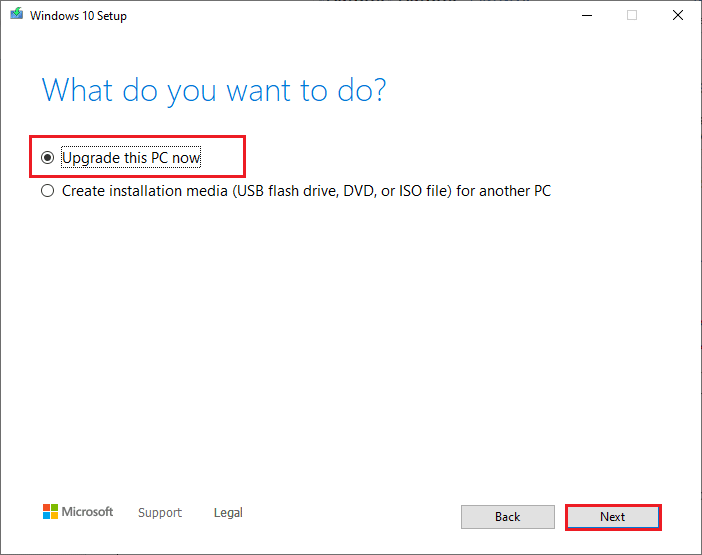
5. Wait for the scanning process to complete and select the "Upgrade this PC now" option, and then click the "Next" button.
6. Wait for the Windows ISO image to download to your computer and click Accept.
Note. You need to wait until all pending updates on your computer are installed on your computer so that Media Creation Tool can update your operating system to the most recent version.
7. Finally, click "Install" to complete the process.
Method 14: Update the BIOS
Several Windows 10 users around the world have reported that update error 0x80190001 is gone after updating the BIOS. But in case you have the latest BIOS installed and the error still occurs, you need to reinstall the BIOS. If all of the above methods fail to solve your problem, it is recommended to update your BIOS as outlined in our guide What is a BIOS and how do I update a BIOS?
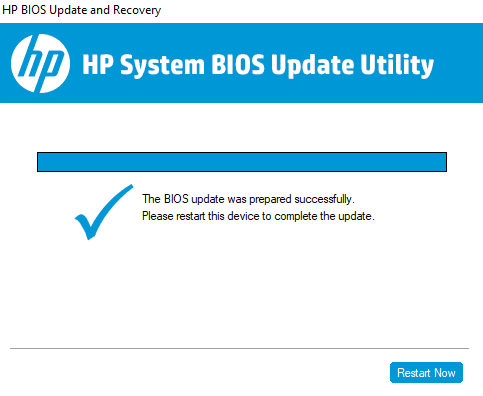
After updating the BIOS, you will have a fix for update error 0x80190001 in Windows 10.
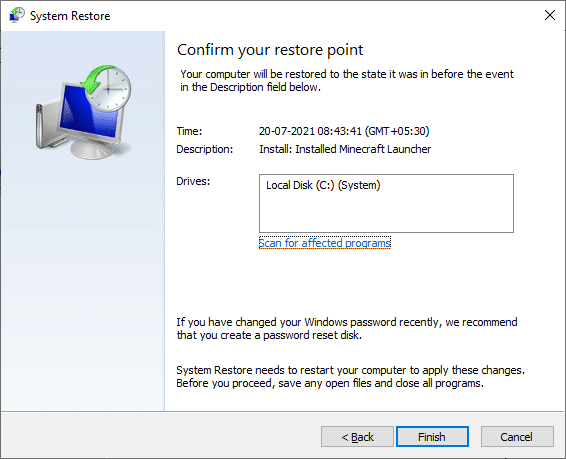
Method 15: Perform a System Restore
If you are not satisfied with any of these methods, the only option left is to restore the previous version of the computer. To do this, follow our guide "How to use System Restore in Windows 10" and follow the instructions as shown. In the end, your computer will be restored to its previous state, in which no errors will occur at all.
After restoring your Windows 10 PC, check if you have fixed update error 0x80190001.
Method 16: Restart your computer
If your PC is dealing with severely corrupted Windows components, an effective way to clean up all those corrupted components and boot up your data is to restore your installed PC, as outlined in our How to Reset Windows 10 Without Losing Data guide. Follow the instructions in this article and at the end you would have fixed the error in question.

***
We hope the guide was helpful and that you were able to fix Windows 10 update error 0x80190001. Let us know what you want to know next. Feel free to contact us with your questions and suggestions through the comments section below.