Fix Steam Error Code 118 on Windows 10
Steam is an online game management platform loved by millions of users around the world. It has a cloud game library that allows you to easily buy and install games on your computer. According to several online reports, gamers have been facing error code 118 on Steam lately. If you are also facing the same error code, don't worry! This troubleshooting guide will help you fix the Steam cannot connect to server error. So keep reading!
How to Fix Steam Error Code 118 on Windows 10
When you play or launch a game on Steam, you may encounter Steam Error Code 118. The full error message will be Unable to connect to the server. The server may be down, which is accompanied by error code 118. The most common causes that cause Steam error code 118 are listed below.
- Wrong internet connection.
- The Wi-Fi connection is broken.
- Steam is being blocked by the firewall and antivirus.
- Some apps on your device are blocking Steam games.
- Outdated Steam and missing integrity files.
- The presence of a virus.
- Outdated drivers and OS.
- Background processes are interfering with Steam.
Here are some simple, effective troubleshooting methods to help you fix Steam Error Code 118.
Note. Be sure to create a system restore point to restore your computer if something goes wrong.
Method 1: Basic Troubleshooting Steps
- Move the router to another location and check your Internet connection.
- Avoid wireless interference from devices such as wireless headphones, headsets, TV and more.
- Move the computer closer to the router and check if the error occurs again.
- Restart your computer. This will fix any temporary glitches related to your Windows 10 PC.
Method 2: Ensure a reliable Internet connection
You won't experience Steam being unable to connect to the server on your Windows 10 PC unless you have a stable network connection. If there are any obstructions between your router and your computer, they can interfere with the wireless signal and cause Steam to be unable to connect to the server error.
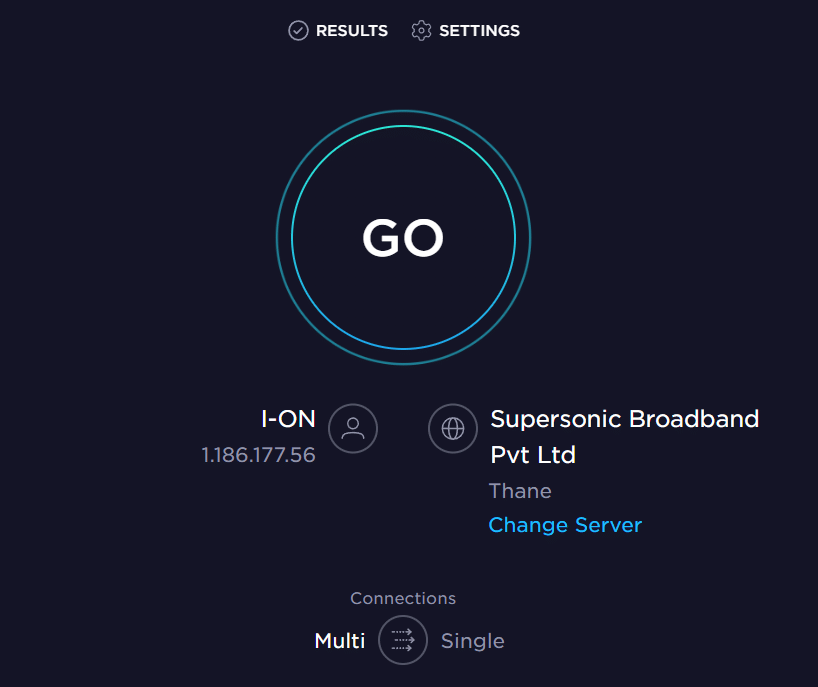
- Find your network's signal strength and, if it's very low, remove any obstacles in the way. You can run SpeedTest to see your network speed.
- Avoid having too many devices connected to the same network.
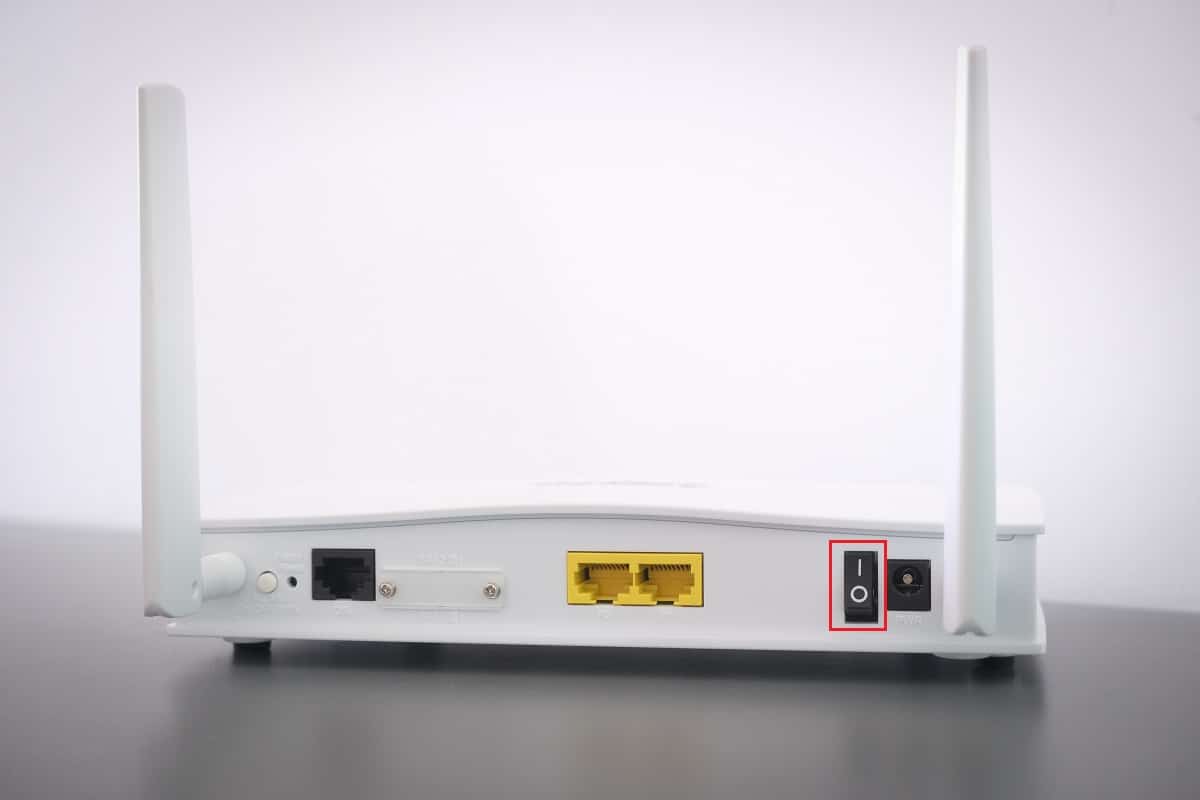
Method 3: Restart your router
A very common cause that causes Steam error code 118 is insufficient network speed and poor signal. The connection issue between the Steam server and the client can be resolved after restarting the router. This will establish a new Internet connection between the client and the server. You can reset your router by following our Restart Your Router or Modem guide. After rebooting the router, check if you managed to fix the error.
Method 4: Reconnect to the Internet
This is another simple workaround that fixes Steam error code 118. The Windows 10 PC must be connected to either an Ethernet network or a Wi-Fi network at the same time. Check if this condition applies to your computer and if you suspect that there are any interruptions between your wired and wireless connections, reconnect them as indicated below.
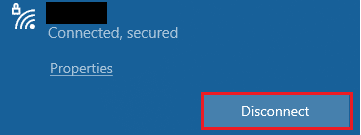
1. Disconnect the network connection, wait for a while and reconnect it.
2. If an Ethernet cable is connected, disconnect it from the PC. Then reconnect it or connect to a Wi-Fi network. This ensures that there is no flicker between wired and wireless connections.
Method 5: Run the Network Troubleshooter
To fix various internet connection issues, you can use the built-in tool provided on Windows 10 PC when needed. With the Windows Network Troubleshooter, you can analyze and diagnose any common network-related problems. This is a systematic process, when implemented step by step, will help you fix Steam not being able to connect to the server. Follow our Windows 10 Network Connection Troubleshooting guide to learn the basic steps to troubleshoot network issues using the Windows Network Adapter troubleshooter.
You can use the steps in the guide to diagnose Wi-Fi, Ethernet, and all network adapter connections on your Windows 10 PC. Finally, check if you have fixed the Steam store error code 118.
Method 6: Quit all background processes
If you have any conflicting third-party applications running on your PC, your Steam client may throw random error codes. Therefore, to fix Steam error code 118, close all background processes by following our guide How to end a task in Windows 10 on a Windows 10 PC.

After closing all background processes, check if the error code Steam cannot connect to the server is fixed.
Method 7: Update the Steam Client
If you are running an outdated Steam app, you will encounter Steam Store error code 118. So always make sure you are running an updated version of Steam and your game before launching it.
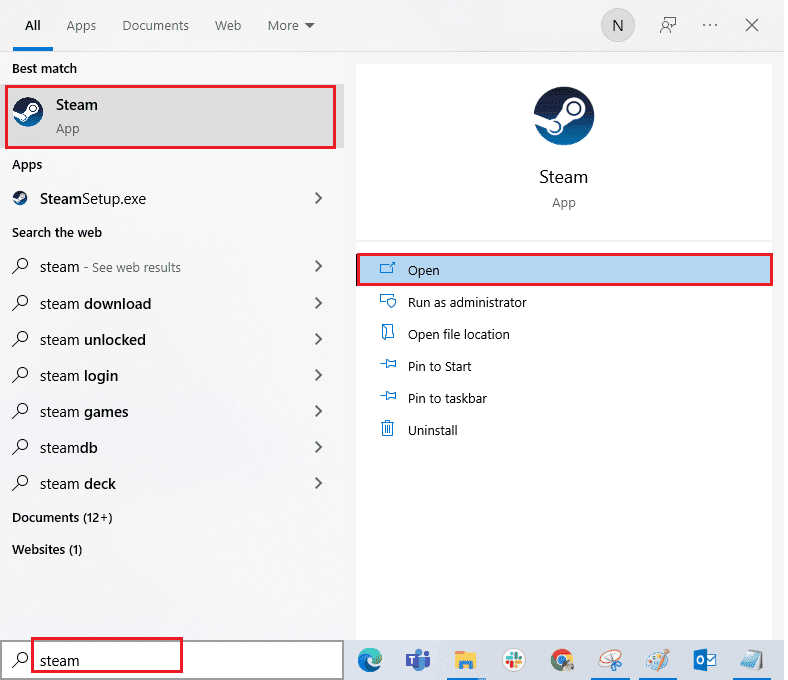
1. Press the Windows key and type Steam. Then click Open.
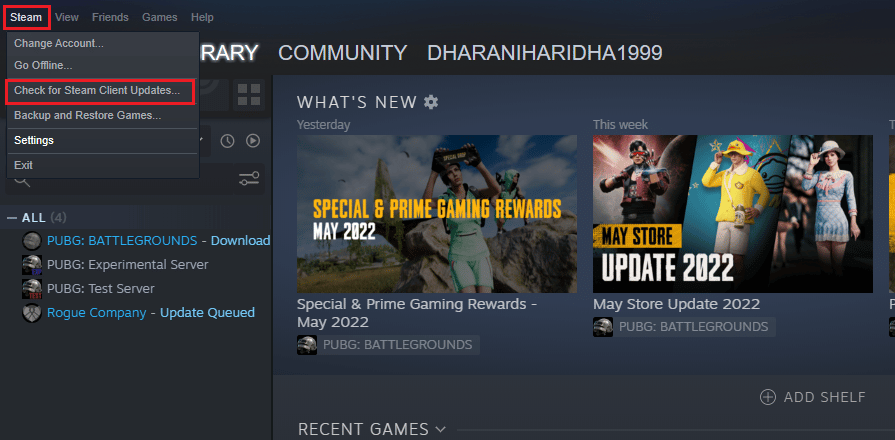
2. Now click on Steam in the top left corner of the screen and then "Check for Steam Client Updates..." as shown below.
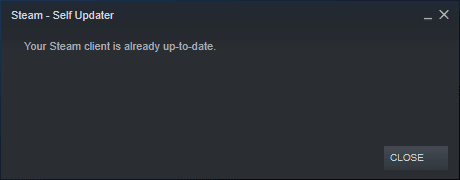
3. If you have any new updates to download, install them and make sure your Steam client is up to date.
4. Now restart Steam and check if the error code Steam cannot connect to the server is resolved.
Method 8: Repair System Files
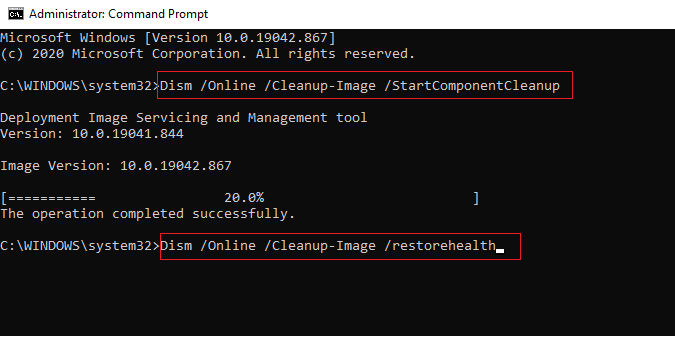
If there are any corrupted system files in your Windows operating system, then your PC may face a lot of internet connection problems. If you have encountered Steam error code 118 very recently, there is a chance that the files on your computer have been corrupted or corrupted. Windows 10 PC has built-in recovery tools like SFC (System File Checker) and DISM (Deployment Image Servicing and Management) to help you fix any corrupted files. Read our guide to restoring system files in Windows 10 and follow the steps to repair any corrupted files.
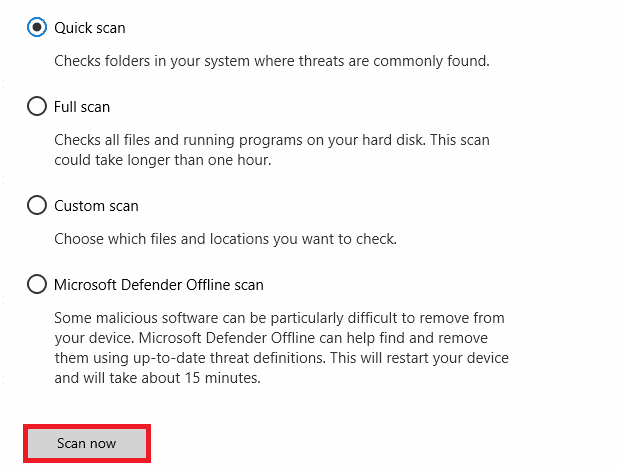
Method 9: Run a malware scan
The presence of viruses causes conflicts and errors such as Steam error code 118. So, install reliable antivirus software on your computer and run a full scan. If you're confused when running a malware scan, see our guide How do I run a virus scan on my computer? will help you do it.
Also, if you want to remove malware from your PC, check out our guide How to remove malware from your PC in Windows 10.
Method 10: Update Windows
You can also resolve Steam error code 118 on your computer by updating your operating system. Always check if you have updated your Windows operating system, and if there are any pending updates, use our guide How to download and install the latest Windows 10 update.
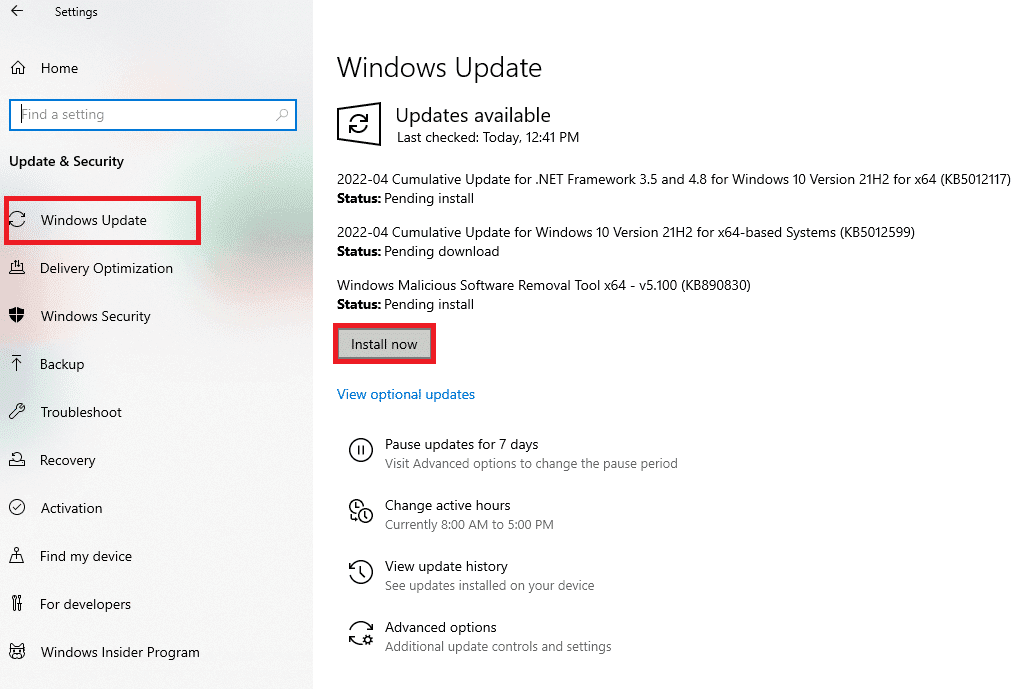
After updating the Windows operating system, check if you can connect to the network.
Method 11: disable the proxy server
Sometimes with an inappropriate network configuration on your Windows 10 PC, you will encounter the Steam unable to connect to the server error. If you have installed any VPN service or use proxy servers on your PC, please read our article "How to disable VPN and proxy server in Windows 10" and follow the steps in the article.
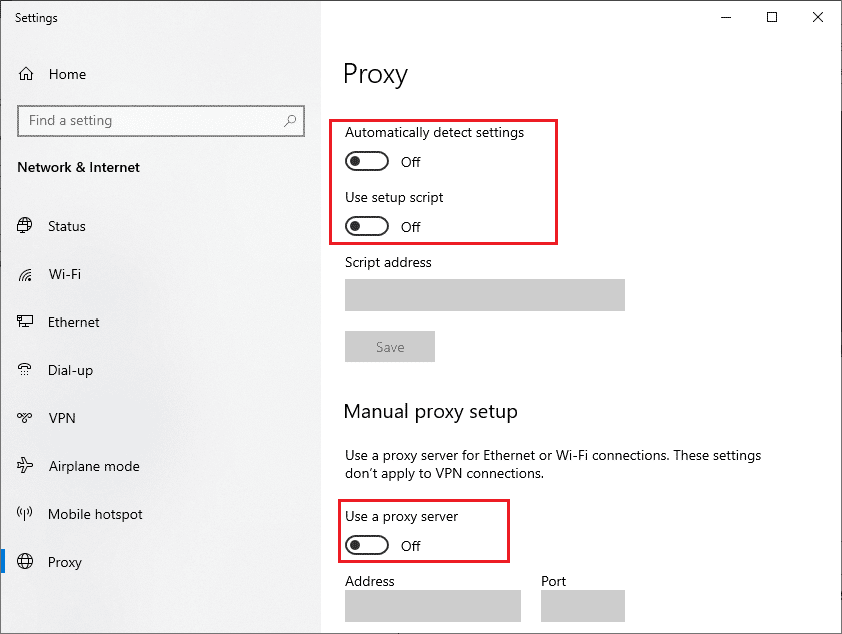
After disabling the VPN client and proxy servers, check if you have fixed the Steam store error code 118. However, if you encounter the same problem, try connecting to a mobile hotspot.
Method 12: Reset TCP/IP protocols
TCP (Transmission Control Protocol) is an important network connection protocol that distributes and identifies rules and standard procedures on the Internet. The TCP/IP protocols are responsible for the transmission of data packets from the sender and receiver. If there is a conflict in the process, resetting the protocol along with the IP address will help fix the problem in question. Follow our guide to troubleshoot network connection issues in Windows 10 to reset TCP/IP.
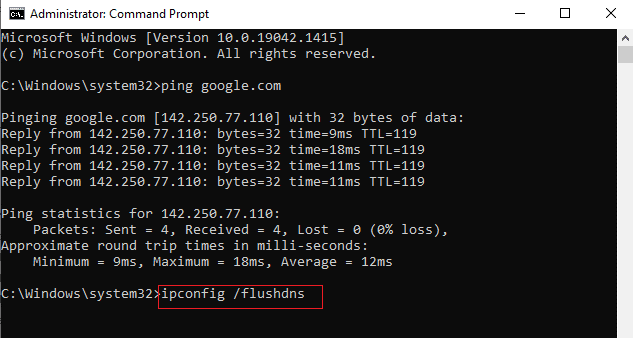
After completing the steps, check if you can fix Steam not being able to connect to the server.
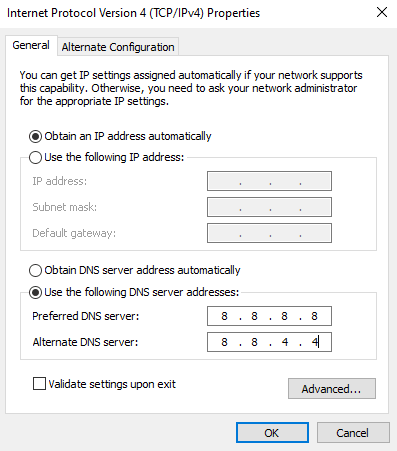
Method 13: Use Google DNS
Domain Name System (DNS) addresses are responsible for establishing a network connection between a client and a server. Many tech experts have suggested that using Google's DNS addresses helped them fix the Steam unable to connect to server error code. To do this, follow our guide "How to change DNS settings in Windows 10".
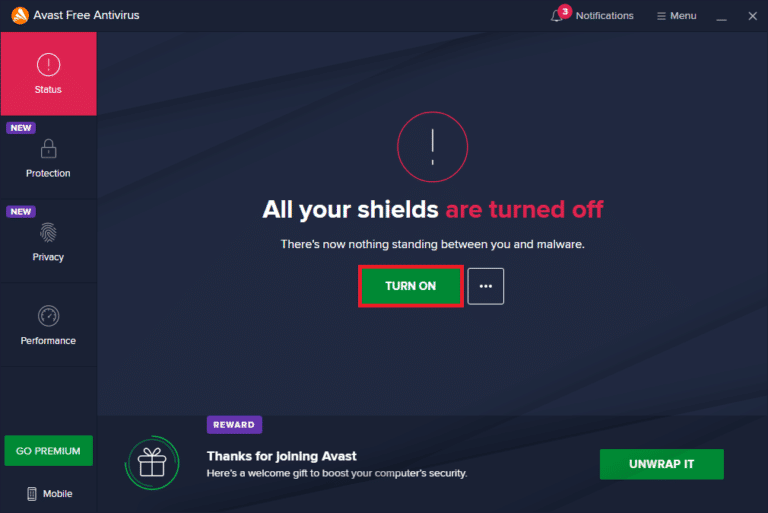
Method 14: Temporarily disable your antivirus (if applicable)
Some incompatible antivirus programs installed on your computer are causing Steam to be unable to connect with server errors. To avoid conflicts, you should verify the security settings of your Windows 10 computer and check if they are stable or not. To find out if the antivirus package is causing the network to keep dropping problems, disable it once and try connecting to the network. Read our guide on how to temporarily disable your antivirus in Windows 10 and follow the instructions to temporarily disable your antivirus program on your PC.
If, after disabling the antivirus program on your computer, you did not encounter any problems with Steam, it is recommended that you completely remove the program from your PC. Read our guide on Force Removal of Programs That Won't Remove in Windows 10 to remove an antivirus program from your computer.
Method 15: Change Windows Defender Firewall settings
You will also encounter Steam error code 118 due to an overly reactive or overly protective antivirus package on your Windows 10 PC. This prevents the connection between the game launcher and the server. So, to fix this issue, you can whitelist Steam in your firewall settings or disable the issue temporarily.
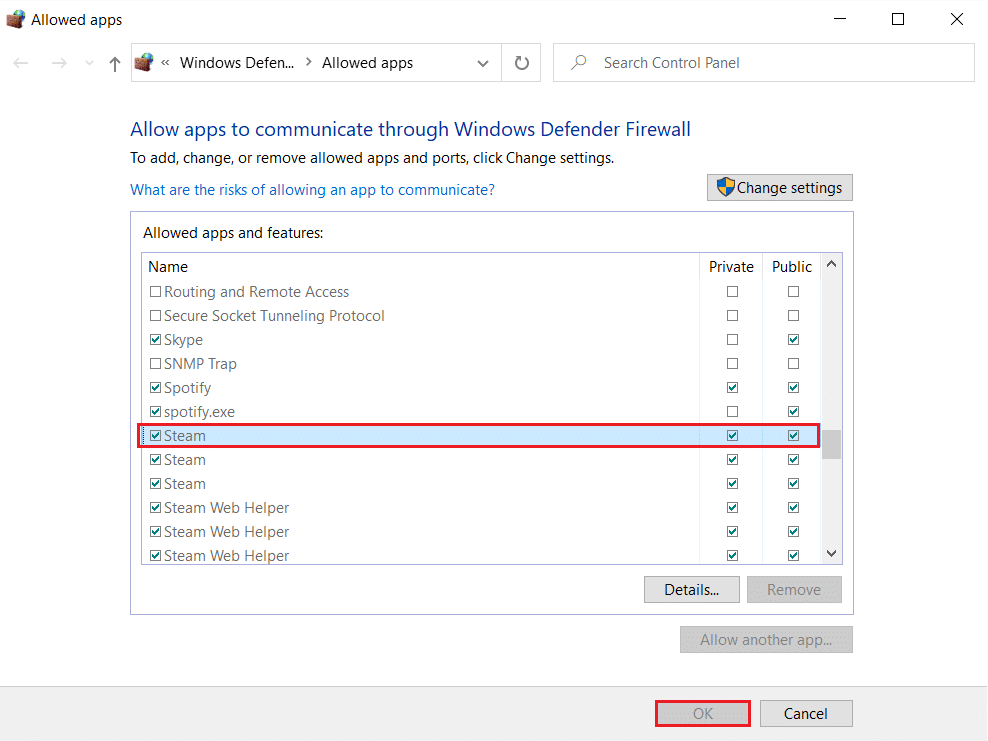
Option I: Steam Whitelist
To allow Steam in Windows Defender Firewall, follow our guide Allow or block apps through Windows Firewall and follow the steps as instructed.
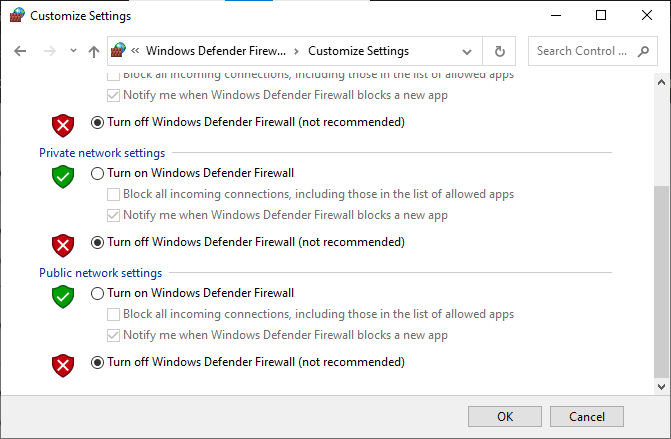
Option II: Disable Windows Defender Firewall (Not recommended)
If you don't know how to disable Windows Defender Firewall, our guide to disable Windows 10 Firewall will help you with that.
Option III: Create a New Rule in the Firewall
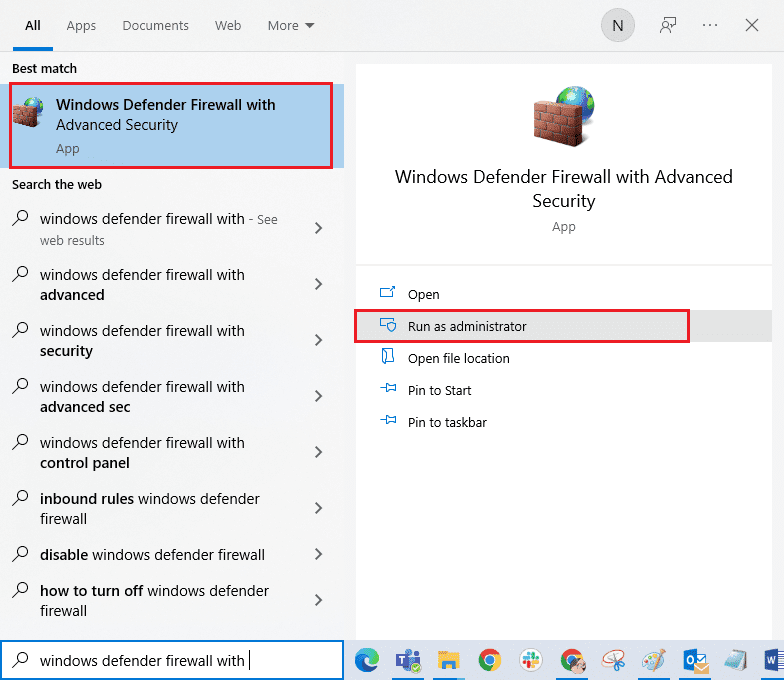
1. Press the Windows key and type Windows Defender Firewall with Advanced Security. Then click Open.
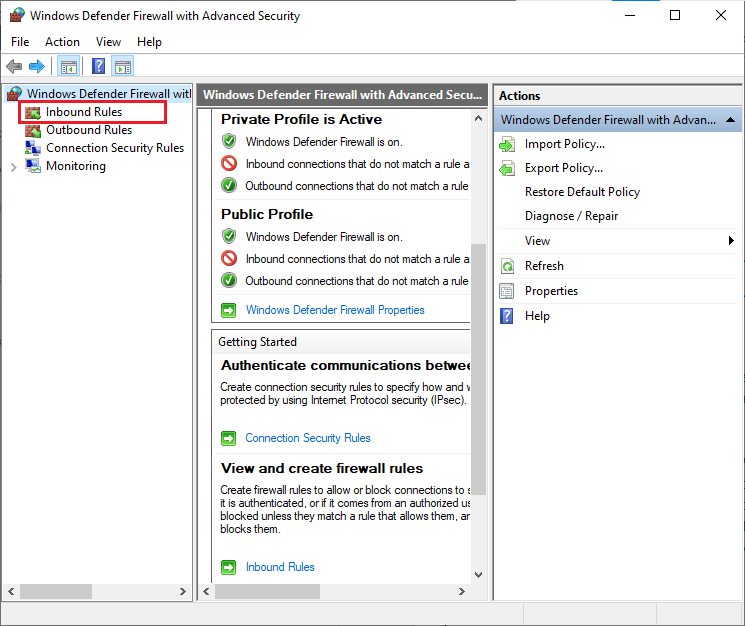
2. Now in the left pane, click Inbound Rules as shown in the figure.
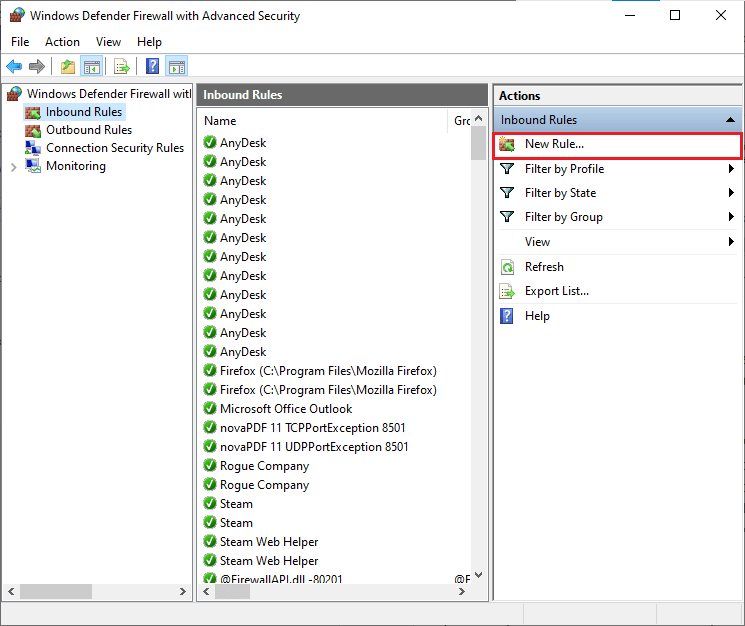
3. Then, in the right pane, click New Rule… as shown.
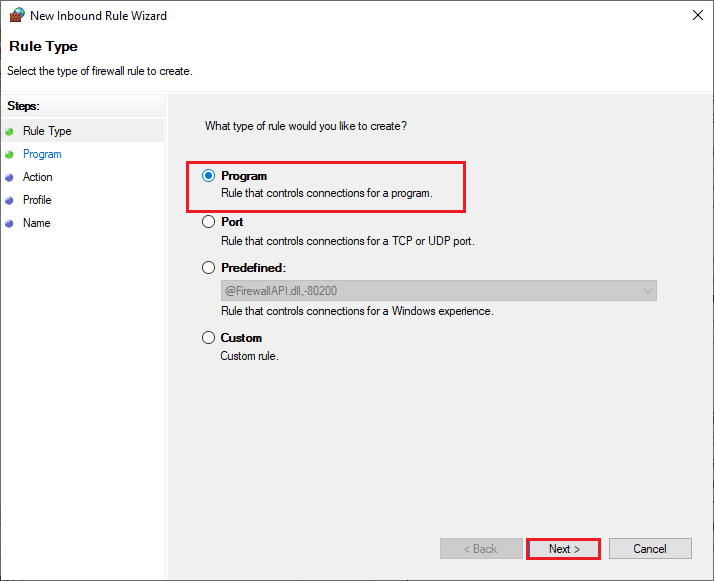
4. Now make sure you have selected the "Program" option under "What type of rule do you want to create?". menu and click "Next>" as shown in the figure.
5. Then click the "Browse..." button corresponding to the Path to this program: as shown.
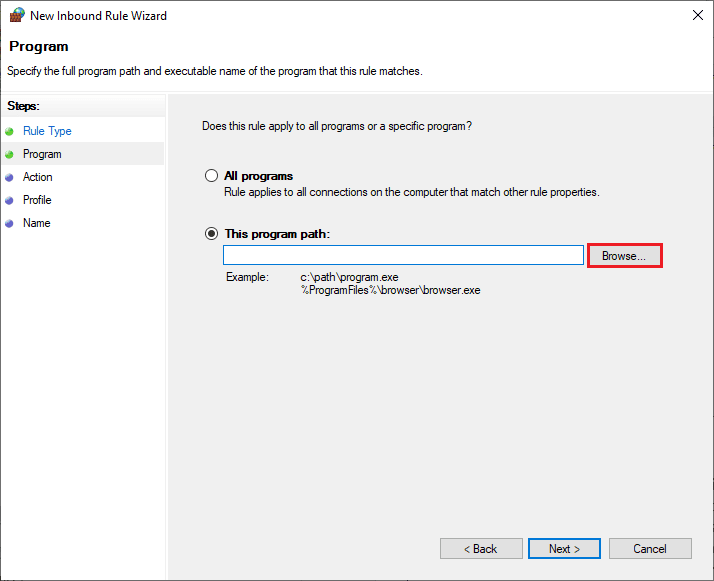
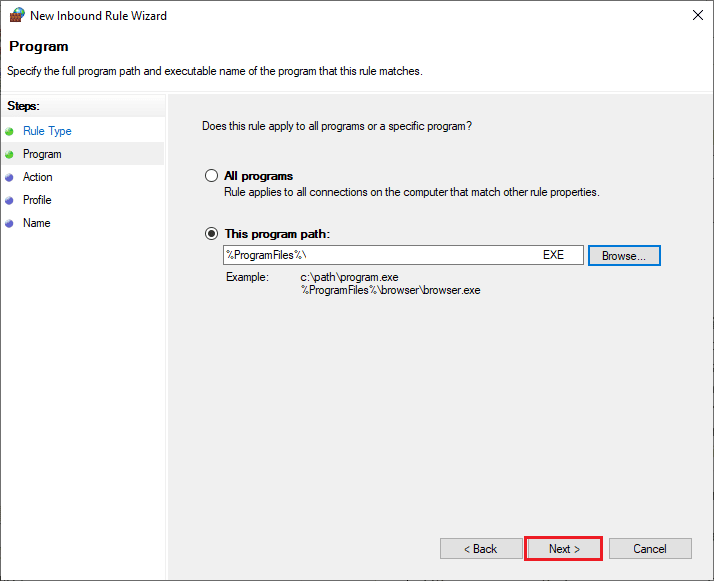
6. Then navigate to the path C:Program Files (x86)Steam and double click the installation file. Then click on the Open button.
7. Then click Next > in the New Inbound Rule Wizard window as shown in the figure.
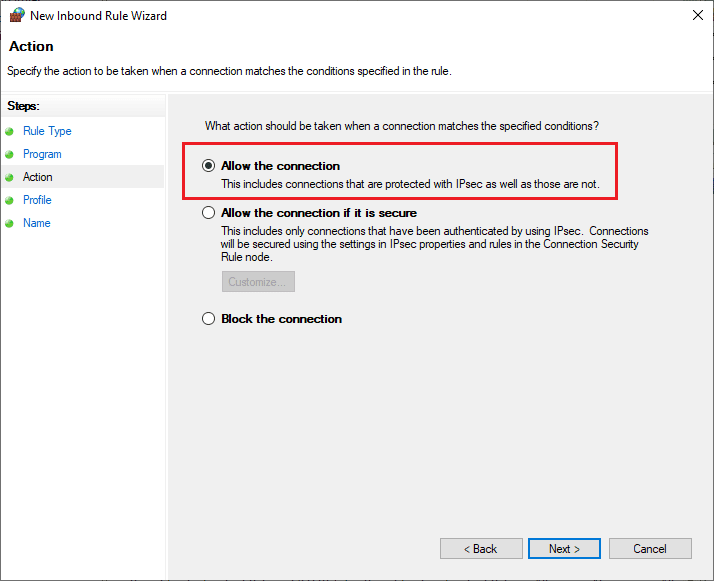
8. Now select the radio button next to Allow the connection and click Next > as shown.
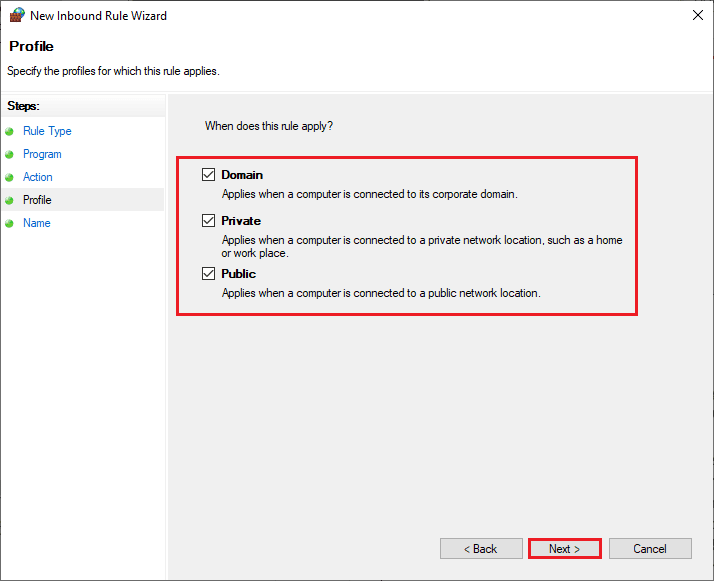
9. Make sure the Domain, Private, Public fields are selected and click Next > as shown.
10. Finally, add a name to the new rule and click Finish.

Done! Check if you have fixed Steam store error code 118 or not.
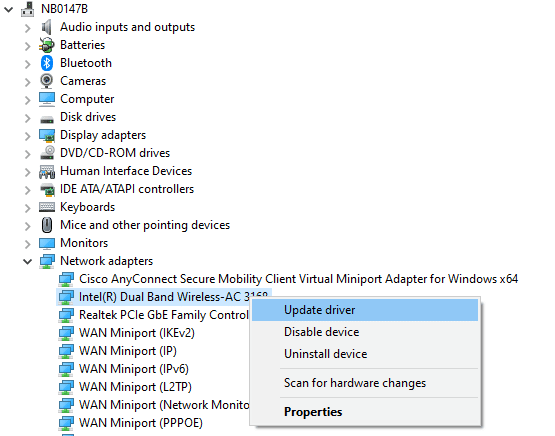
Method 16: Update the network driver
Always check if you are using updated network drivers and if there are any pending updates, you are advised to download and install them. Follow our guide to update network adapter drivers in Windows 10 to do so. After updating the network driver, restart your computer and check your network connection. You will no longer encounter the Steam store error code 118.
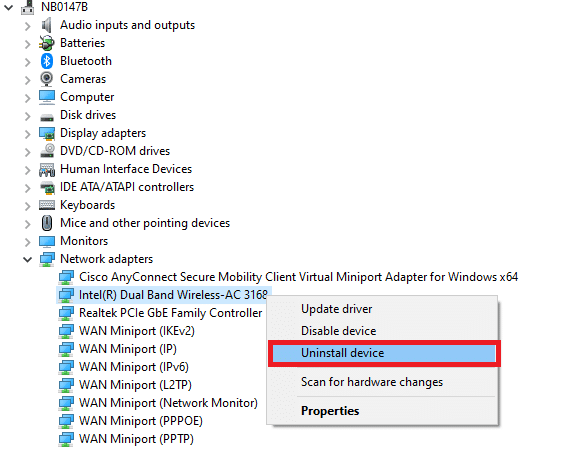
Method 17: Reinstall the network driver
However, if you are facing Steam error code 118 even after updating your network drivers, there is another solution to remove all drivers on your computer and reinstall them again. This process will stabilize network connection issues, thus fixing the Windows 10 network disconnection problem. Follow our guide How to uninstall and reinstall drivers in Windows 10 to reinstall the drivers on your Windows 10 computer.
After reinstalling the network drivers, check if you can connect to the network without problems.
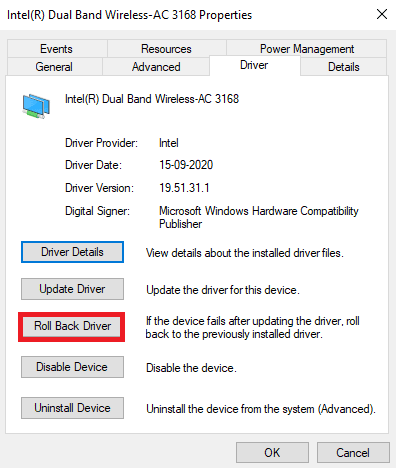
Method 18: Roll back network drivers
All current driver versions will be removed from your PC and their previous version will be installed when the network drivers are rolled back. This is a useful feature when any new driver is incompatible with the system. Follow the instructions in our How to Roll Back Drivers in Windows 10 guide to fix Steam store error code 118.
After your Windows 10 PC has the previous version of the drivers installed, check if it can connect to the network without interruption.
Method 19: Customize the hosts file
If there are edited Steam entries in the hosts file, you will see that Steam cannot connect with a server error code. Hence, you must remove the entries to resolve the same. Here are some instructions for setting up hosts entries.
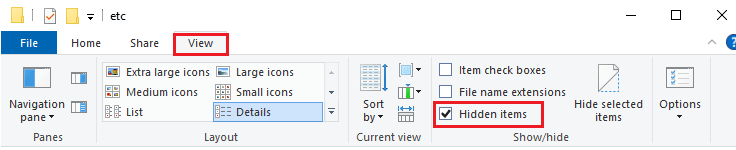
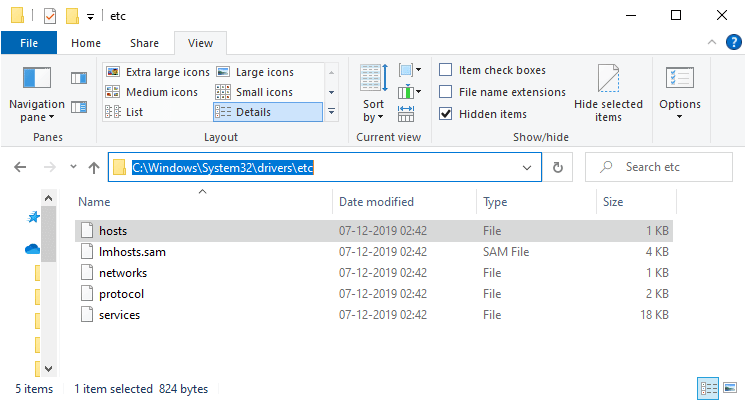
1. Press Windows + E keys together to open File Explorer.
2. Now go to the View tab and check the Hidden Items box in the Show/Hide section.
3. Now follow the next path to the File Explorer navigation path.
C:WindowsSystem32driversetc
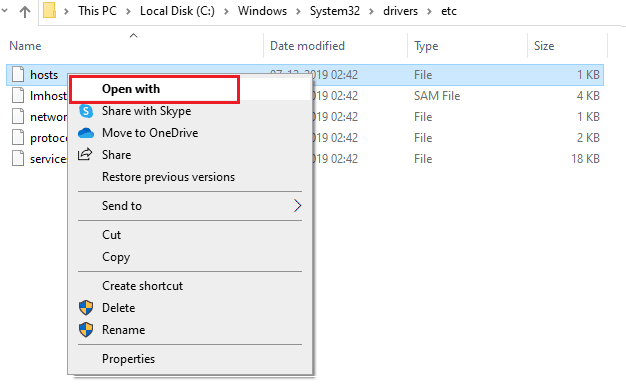
4. Now select and right-click on the hosts file and select the "Open with" option as shown in the image.
5. Now select the Notepad option from the list and click OK as shown in the image.
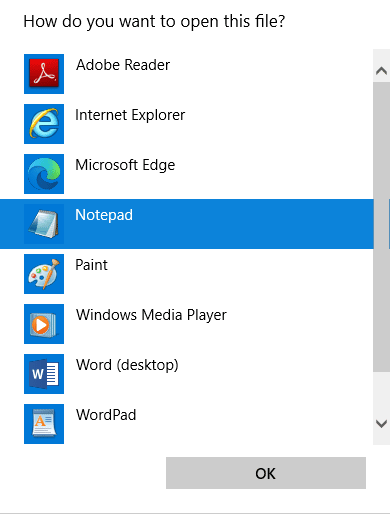
6. The hosts file will now be opened in Notepad as follows.

7. Delete everything except 127.0.0.1 localhost.
8. Now save the file by pressing the Ctrl+S keys at the same time.
9. Exit Notepad and check if error code 118 is fixed.
Method 20: Uninstall a Recently Installed Program
If you recently installed a new program on your computer and then received Steam error code 118, this indicates that the program is not compatible with the drivers on your computer. First, boot your computer in safe mode and check if you are facing the problem again. If you don't encounter a problem in Safe Mode, uninstall an app or program that you recently added to your computer. Here's how to do it. Follow our guide How to Boot into Safe Mode in Windows 10 to boot your PC into Safe Mode.
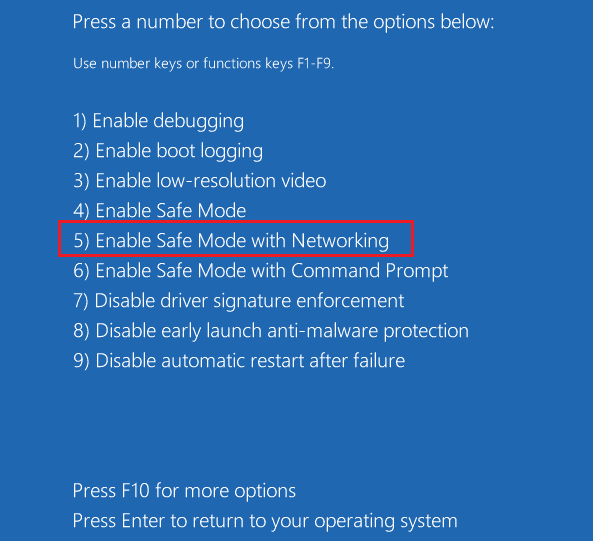
Now check if it repeats again in safe mode. If you don't encounter the issue while in Safe Mode, follow these steps to uninstall any newly added app.
1. Press and hold Windows Key + I to open Windows Settings.
2. Now click Applications.

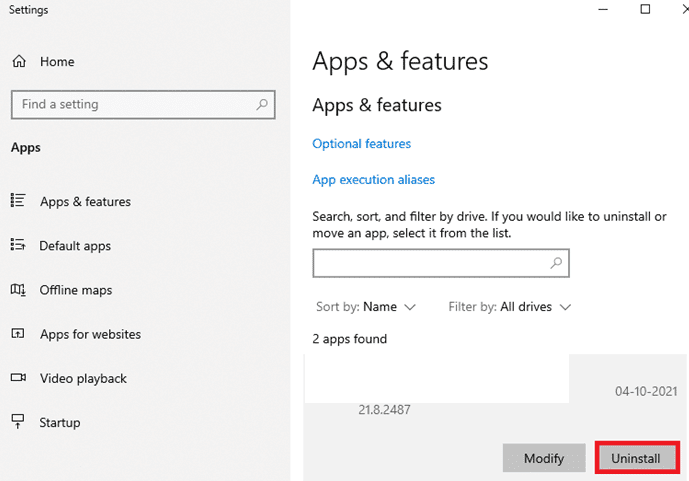
3. Type and find any newly added application in the list and select it.
4. Finally, click "Delete".
Method 21: Reinstall Steam
If you did not find a solution to your problem, please reinstall Steam as indicated below.
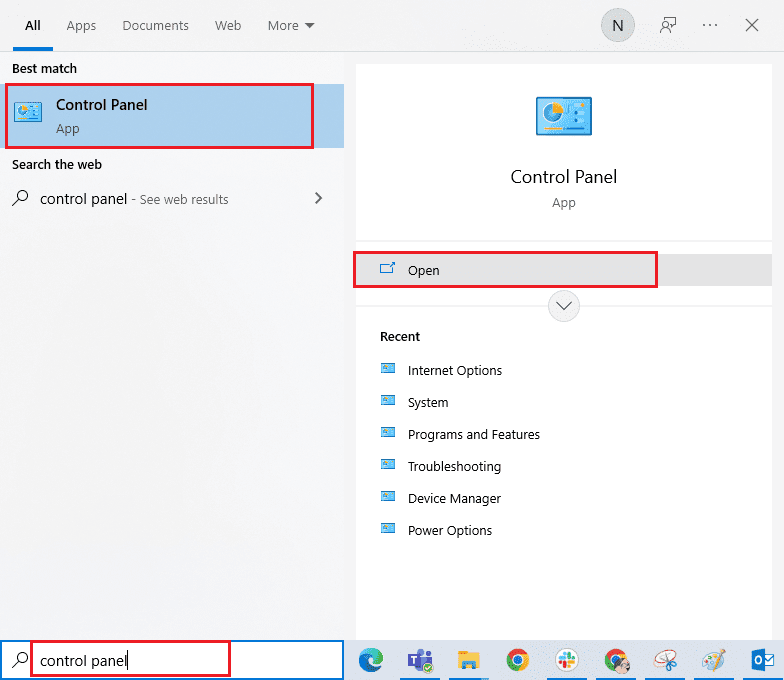
1. Press the Windows key, type "Control Panel" and click "Open".
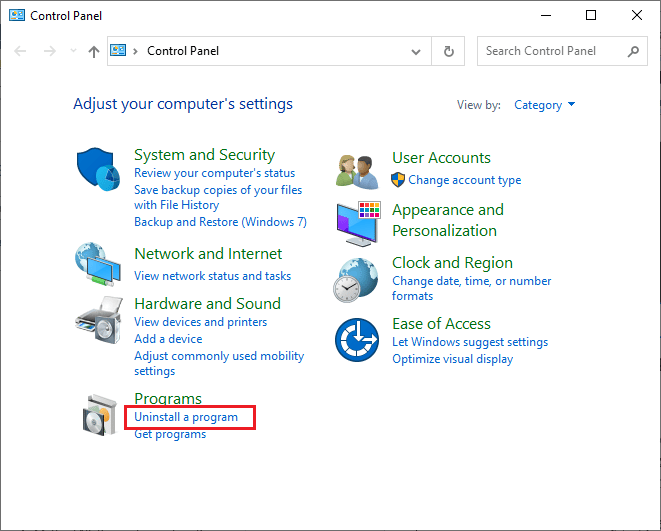
2. Now click "Uninstall a program" in the "Programs" menu as shown in the picture.
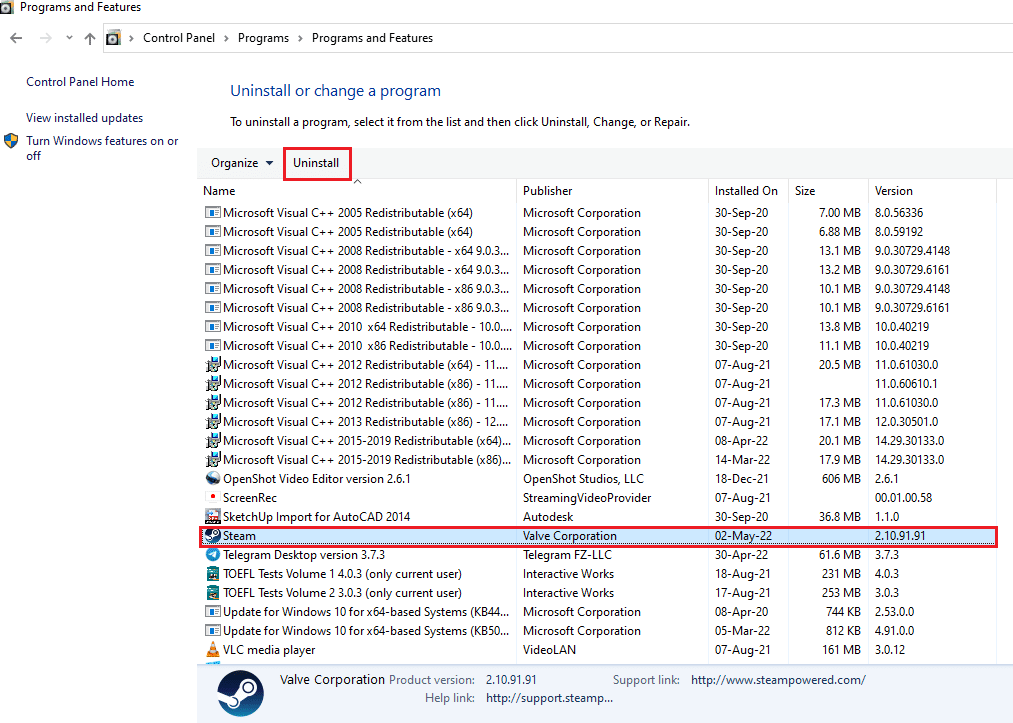
3. The Programs and Features utility will open and now search for Steam.
4. Now click on Steam and select the Uninstall option as shown in the image below.
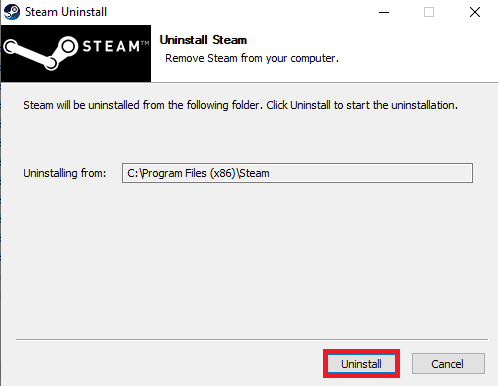
5. Click the Uninstall button on the Steam uninstall window to uninstall the Steam app on your PC.
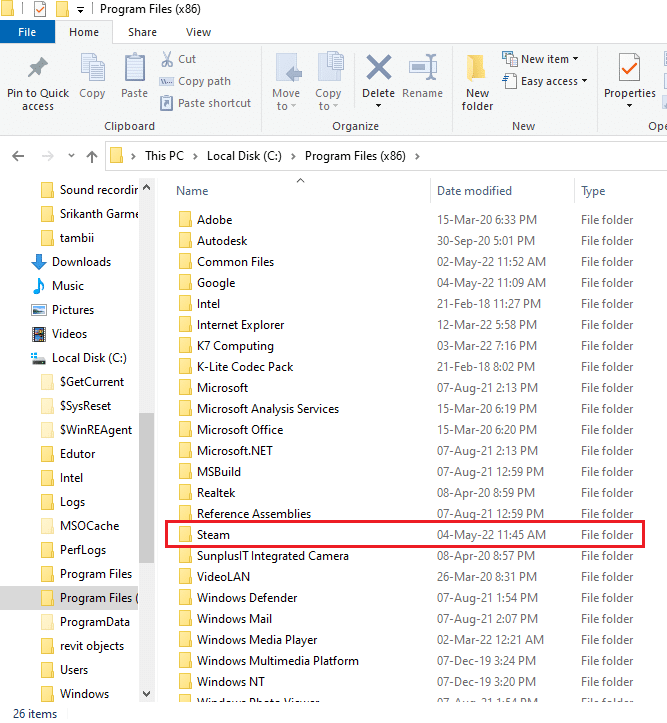
6. Delete the Steam folder along the path Local Disk (C:) > Program Files (x86) by pressing the Delete key.
The steps below will help you reinstall the Steam app on your computer from scratch.
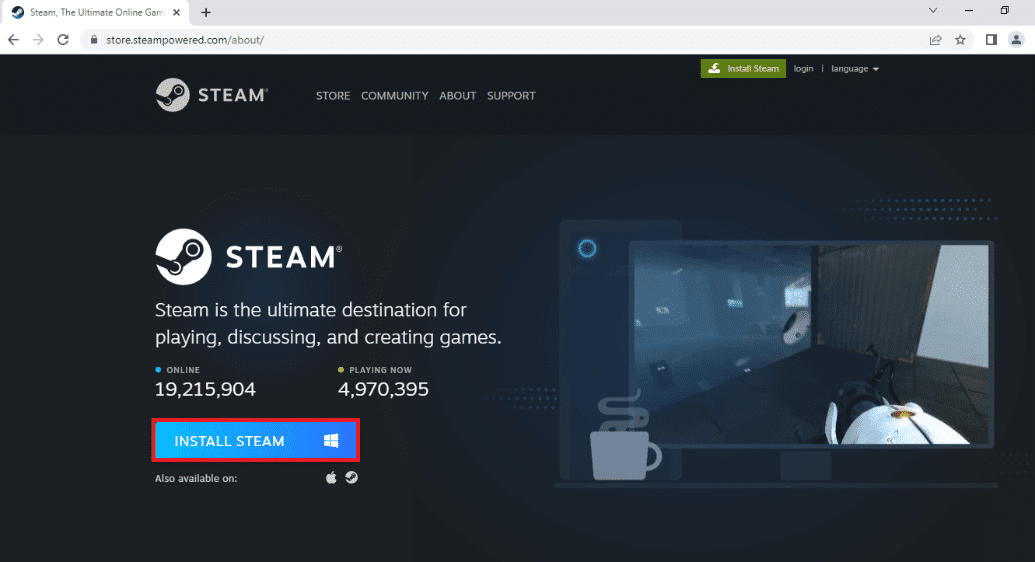
7. Open the official website of the Steam app in your default web browser and click the "Install Steam" button in the top right corner of the home page.

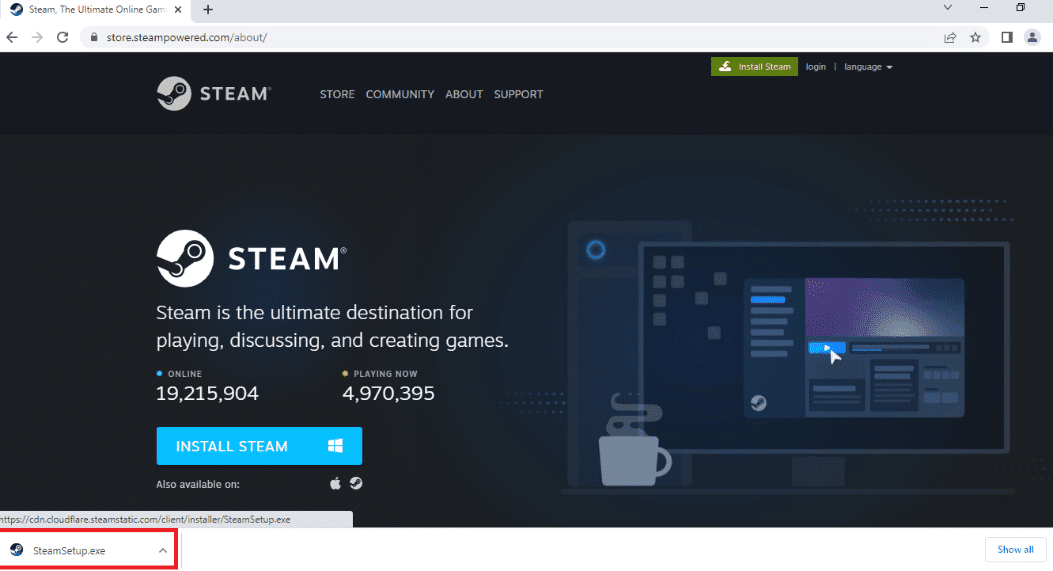
8. Click the INSTALL STEAM button on the next page to download the Steam application to your computer.
9. Click on the downloaded SteamSetup.exe file at the bottom left of the page to launch the Steam application on your PC.
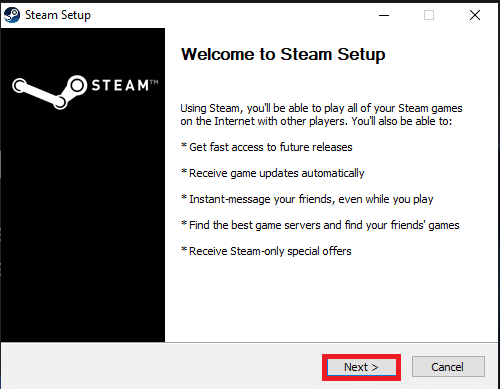
10. Click the "Next" button on the "Steam Setup" window to begin installing the Steam app on your PC.
11. Select the desired language in the next window and click the Next button in the wizard.

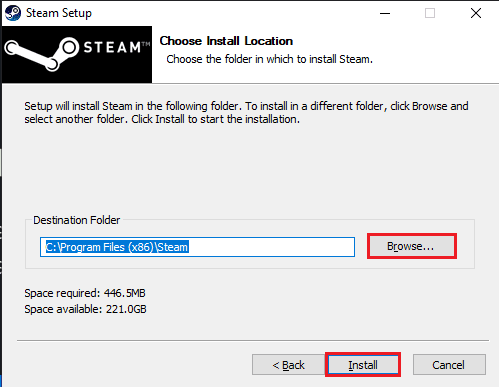
12. Select the destination folder for the Steam application by clicking the "Browse..." button and clicking the "Install" button to complete the installation of the application.
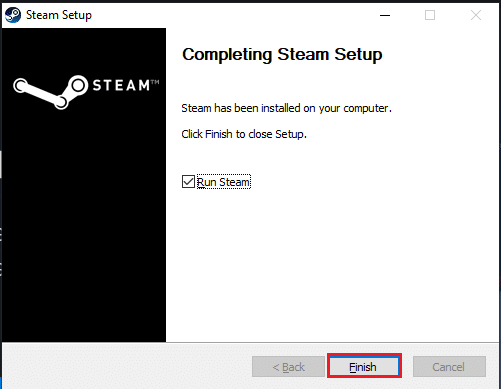
13. Click the "Finish" button on the "Complete Steam Setup" window to complete the steam setup.
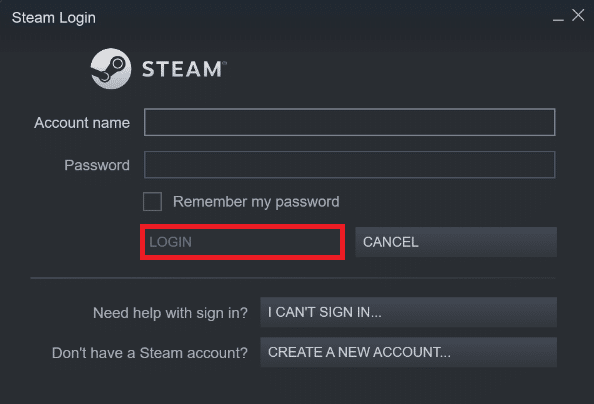
14. Create a new account or sign in to an existing account using your Steam app login credentials.
You have now successfully reinstalled Steam on your Windows 10 PC.
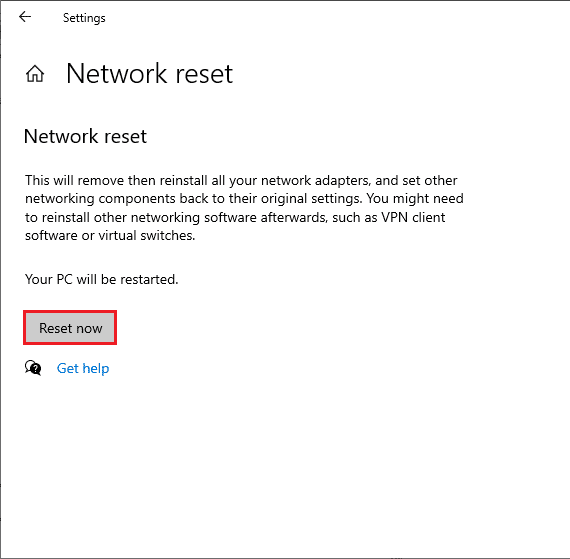
Method 22: reset network settings
Several users have stated that resetting network settings will resolve the Steam cannot connect to server error. This method will forget all network configuration settings, saved credentials, and many other security software such as VPN and antivirus programs. To do this, follow our guide "How to reset network settings in Windows 10".
Method 23: Perform a System Restore
If you recently updated your Windows 10 operating system and later encountered the Steam unable to connect to the server error, the latest Windows update components can interfere with any software on your computer and may cause the issue discussed. So, in this case, you should restore your computer to a previous version when it was working fine. To do this, follow our guide "How to use System Restore in Windows 10" and follow the instructions as shown.
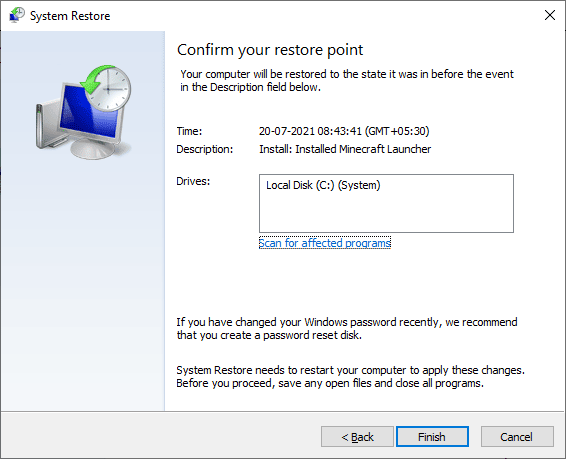
After restoring your Windows 10 PC, check if you can connect to any Steam games without any problems.
***
We hope this guide was helpful and you were able to fix Steam error code 118 on Windows 10. Keep visiting our page for more cool tips and tricks and leave your comments below.