Fix Skype camera not working on Windows 10
Skype is one of the best all-in-one applications that is used to communicate with friends, family members and colleagues using voice or video. Video chat on Skype is very interesting and this entertainment can turn into stress when the Skype camera is not working. Skype camera not working is a common problem encountered on Windows, Android, and iOS devices. As far as you know about troubleshooting methods, you have nothing to worry about! This guide will help you find out the reasons why Skype video is not working and the steps to fix these problems on your Windows 10 PC. That's it!
How to Fix Skype Camera Not Working on Windows 10
Here are a few common reasons why Skype Camera is not working on Windows 10. Analyze them in depth so that you can follow the troubleshooting methods accordingly.
- Skype server issues
- The camera is not connected correctly
- Network connection is unstable
- Some other application on your computer is using your camera.
- Skype video call settings not working
- Webcam drivers are out of date
- The camera is blocked by antivirus or firewall settings
- Legacy Windows 10 PC
- Wrong privacy settings
- Outdated Skype
- Deprecated DirectX
- Incorrect camera settings
Now move on to the next section where you can find some troubleshooting methods to fix Windows 10 not working with Skype camera issue.
In this section, we have compiled a list of methods to help you fix the problem of Skype video not working on Windows 10. Follow them in the same order to achieve perfect results.
Method 1: Basic Troubleshooting Methods
1. Clean your camera/webcam
If you see a black webcam on your Skype, it could be because something is covering your webcam with cloth or dust.
- Check to see if your built-in camera or webcam is filled with dust, dirt, or even a cover.
- Take a clean microfiber cloth and wipe down the camera. Make sure you don't damage it. Check if the camera is working in Skype.
2. Restart your computer.
Restarting your computer will solve many difficult problems, and if the Skype Camera is not working on Windows 10, restart your computer as mentioned below.
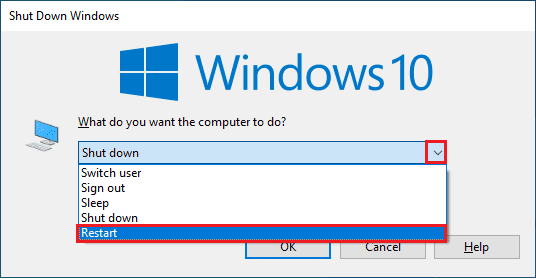
1. Press the Windows + D keys at the same time to go to the desktop.
2. Then press the Alt + F4 keys at the same time.
3. Now select the Restart option and press the Enter key as shown in the image.
3. Check Skype Server Status
If your Skype server is offline, you should experience Skype video not working. If you encounter the same, please check the status of the Skype server as mentioned below.
1. Visit the official Skype status page.
2. Now check that you have received a normal service message.
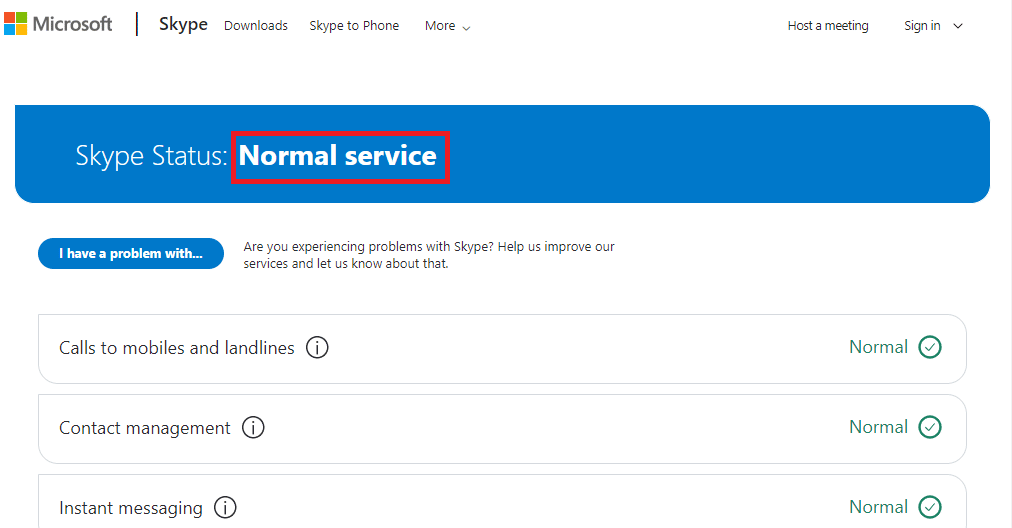
3. If you have received something else, you have no other options but to wait.
4. Check your internet connection
If your network connection is unstable, you will not be able to make video calls on any online application. Make sure your internet is stable and there are no interruptions between your router and device. Run a speed test to see if the network is stable enough to use Skype without any errors.

Also check if your device meets the requirements below.
- Remove any interference between your router and device.
- Connect a limited number of devices to the same network.
- Make sure you buy a router approved by your Internet Service Provider (ISP).
- Avoid using old, broken or damaged cables.
If you're having trouble connecting to the internet, check out our Fix Network Connection Problems in Windows 10 guide to fix them.
5. Close background programs using the camera
If you have too many applications and programs running on your computer, it can slow down your PC and cause Skype video to not work on Windows 10. If there are any other video calling applications, they may be interfering with Skype, causing you problems. You need to make sure to close all applications by following our How to end a task in Windows 10 guide.

Method 2: Run the Hardware and Devices troubleshooter
If there are any internal hardware issues with your camera, you can run the Hardware and Devices troubleshooter. This process will identify problems with your device and fix them. Follow the instructions below.
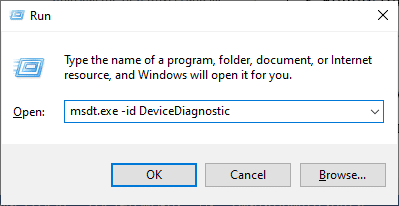
1. Press the Windows + R keys at the same time to open the Run dialog box.
2. Type msdt.exe -id DeviceDiagnostic and press the Enter key.
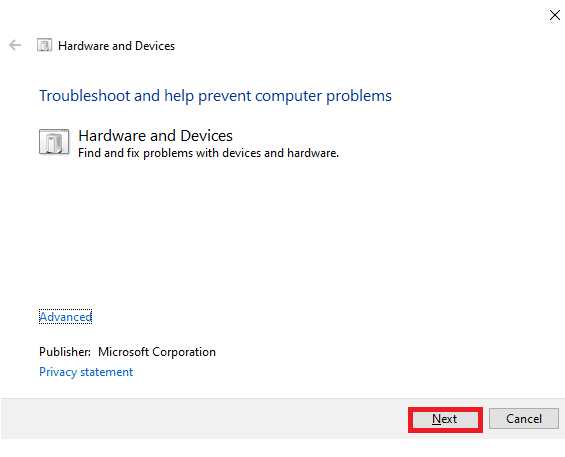
3. In the Hardware and Devices window, click Next.
4. Now follow the instructions on the screen and restart your computer.
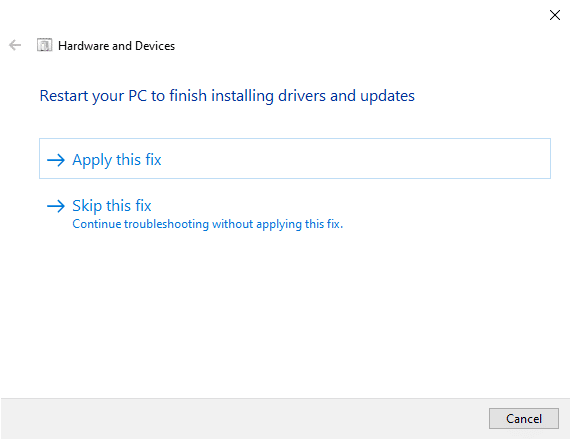
The troubleshooting process often fixes Skype video not working on Windows 10.
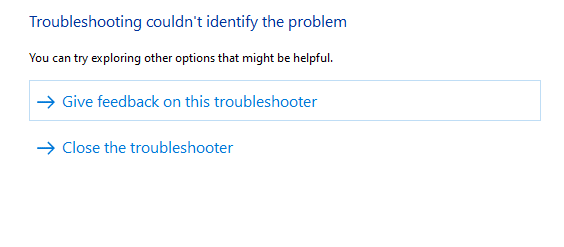
Note. Sometimes the troubleshooter may not be able to identify the problem. In this case, go to the next method.
Method 3: Allow Skype to access the camera
When your operating system blocks the camera, you cannot use it on any of your devices. There are several settings on your computer and once you have enabled them, you can fix Skype video not working on Windows 10. Make sure you have enabled camera permissions for Skype as mentioned below.
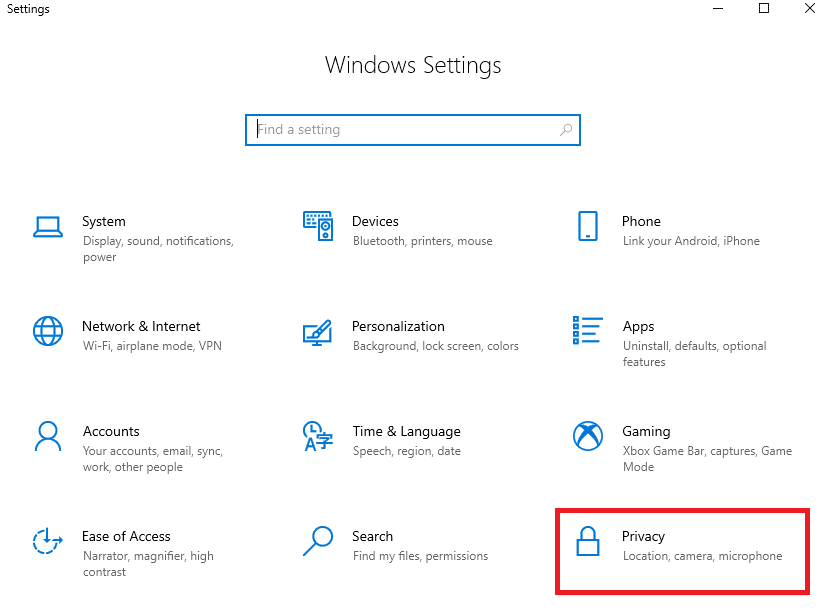
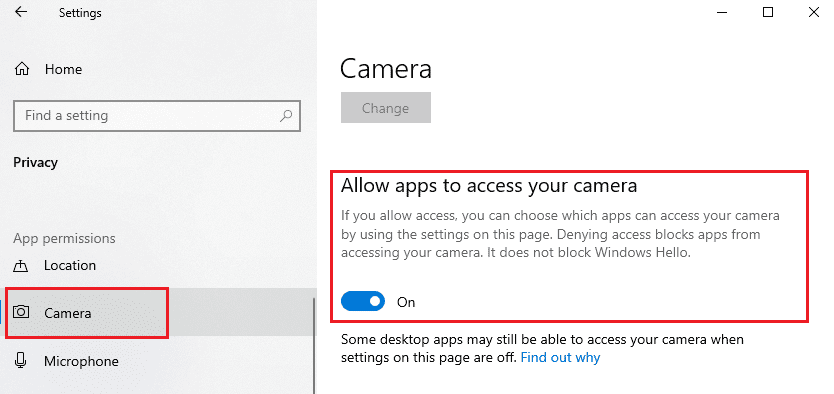
1. Open Windows Settings by pressing the Windows + I keys at the same time.
2. Then click Privacy.
3. Navigate to the Camera menu in the left pane and enable the option "Allow apps to access your camera" in the right pane.
4. Then scroll down the screen and enable the Skype app under Choose which Microsoft Store apps can access your camera, as shown in the picture.
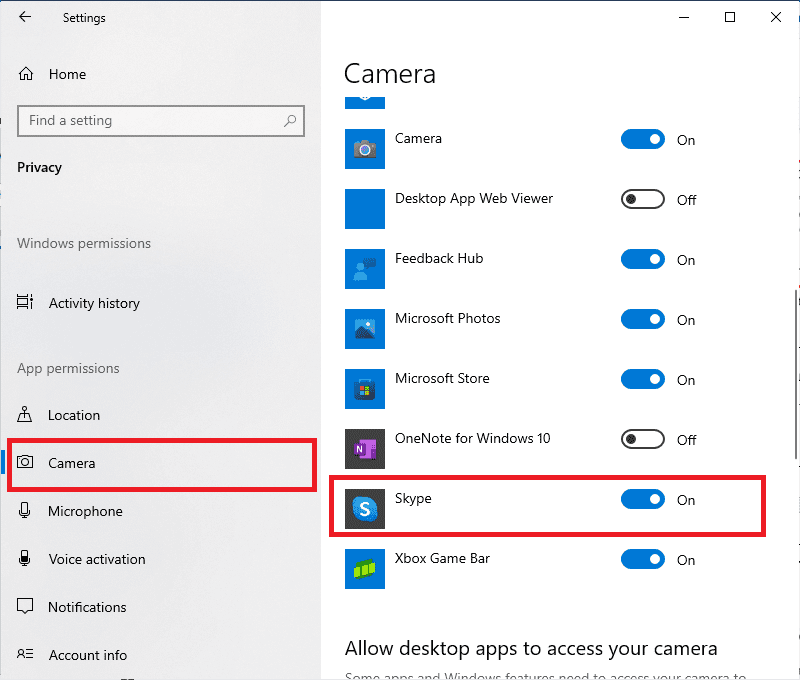
5. If you can't find Skype in the list, please follow this link for more information, or just skip to the next troubleshooting method.
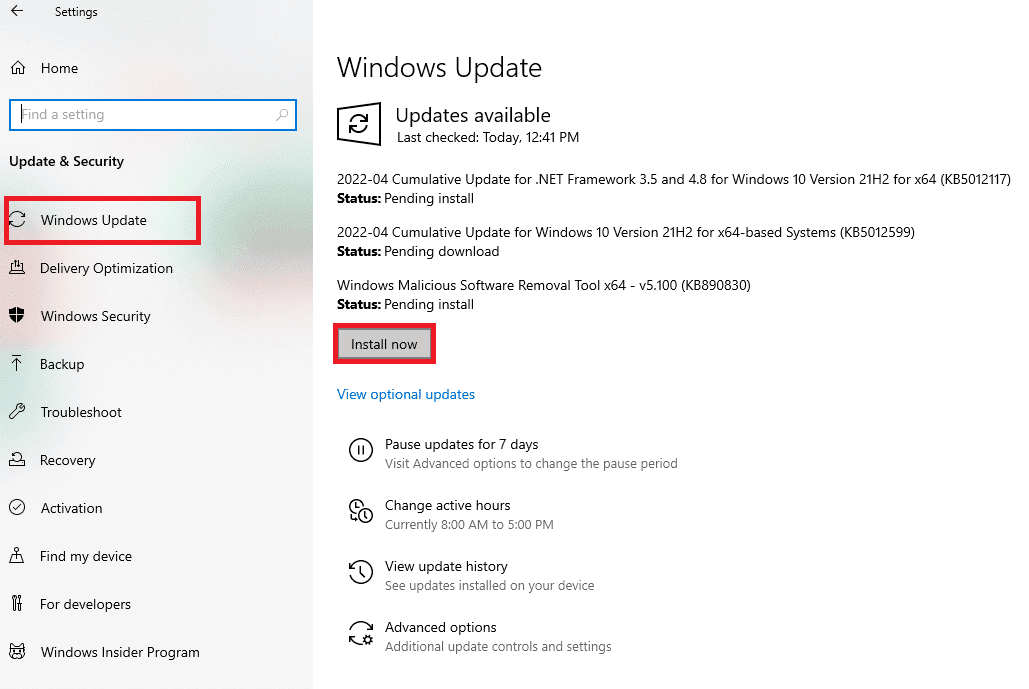
Method 4: Update Windows
Skype has its own requirements for a Windows PC. If you want to enjoy all the fully effective features of the application, you need to make sure that your operating system is updated to the latest version. This is very rare, but if you have a corrupted or old operating system, you will encounter Skype video not working with Windows 10 issue. To flag this issue, you need to update Windows. If you don't know how to update your Windows operating system, check out our guide How to download and install the latest Windows 10 update and follow the instructions.
After updating the Windows operating system, check if you can access the camera.
Method 5: Update Camera Drivers
Sometimes you can leave your camera drivers not up to date or neglect them anyway. Few Skype features are updated automatically. This newer version of Skype will not be supported by outdated drivers, and now to fix Skype camera not working issue on Windows 10, you need to update your camera drivers.
Many users have suggested that updating the drivers fixed the problem with the Skype camera not working. Read and follow the steps in our guide 4 Ways to Update Graphics Drivers in Windows 10 to do so.
Note. This article provides instructions for updating graphics drivers. Make sure you follow the same for your camera drivers.

After updating your drivers, check if you can use the camera on Skype.
Method 6: Update DirectX
In order to enjoy smooth multimedia experience in Skype, you must make sure that DirectX is installed and updated to the latest version. DirectX helps improve the visual experience of multimedia, especially in graphical games and applications. It is worth updating DirectX, which is required for Skype calls.
DirectX 12 is flexible for graphics-intensive applications on your Windows 10 computer. This lets Skype know what to do and you can follow the steps below to check if your system already contains DirectX 12.
1. Press the Windows key + R and type dxdiag, then press Enter.
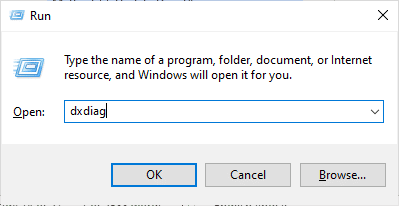
2. The following screen will be displayed on the screen when your Windows 10 PC already contains DirectX 12.
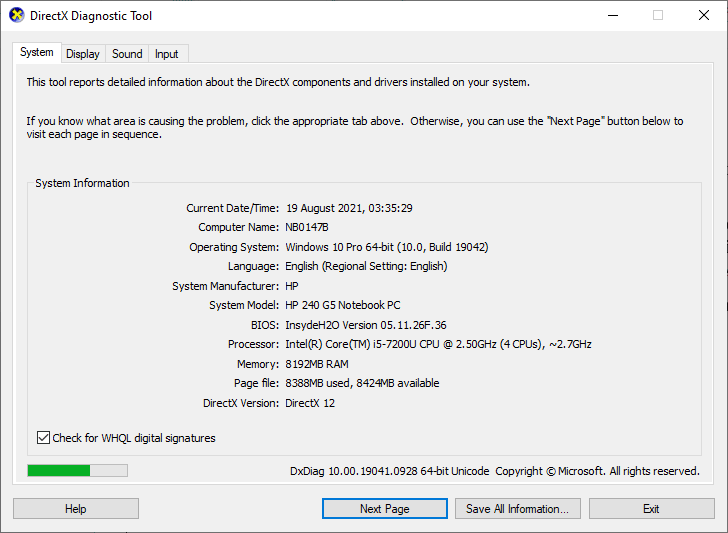
3. If your system does not have DirectX 12, please download and install it from the official website following the instructions on the screen.

After installing DirectX, check if the problem occurs again.
Method 7: Reinstall the camera driver
If you're still experiencing Skype video not working on Windows 10 after updating your camera drivers, reinstall them to fix any incompatibility issues. There are several ways to reinstall drivers on your computer. However, you can easily reinstall your camera drivers by following the instructions in our How to uninstall and reinstall drivers in Windows 10 guide.
After reinstalling the camera drivers, check if the problems with the camera in Skype are resolved.
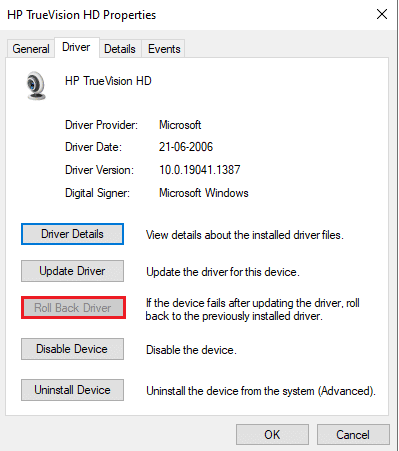
Method 8: Roll Back Camera Driver Updates
If you haven't found a fix for Skype video not working on Windows 10 even after updating or reinstalling your camera drivers, you can try rolling back your drivers. This process will revert the drivers to the previous version where they worked fine. The steps to rollback drivers are very simple. Follow the instructions in our How to Roll Back Drivers in Windows 10 guide to resolve the issue in question.
Method 9: Switch to Generic Driver
If updating/repairing/reinstalling the camera drivers does not resolve the Skype camera not working issue on Windows 10, you can switch to the standard built-in drivers that are already present in your Windows 10 operating system. The instructions below will help you fix any corrupted device drivers.
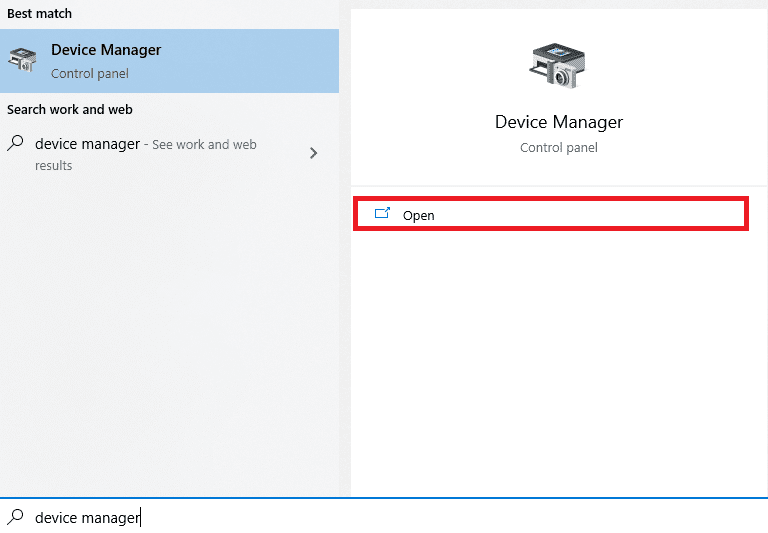
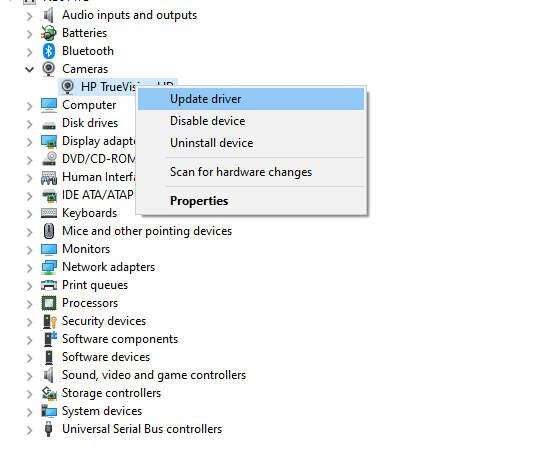
1. Press the Windows key and type Device Manager, then click Open.
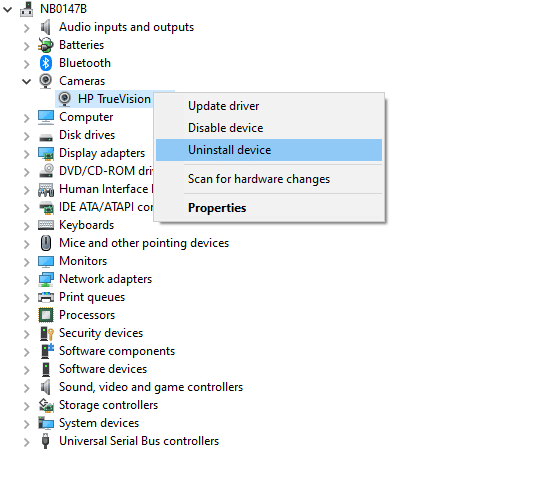
2. Then expand the Cameras section by double-clicking on it. Right-click on the camera driver and select "Update Driver" as shown in the figure.
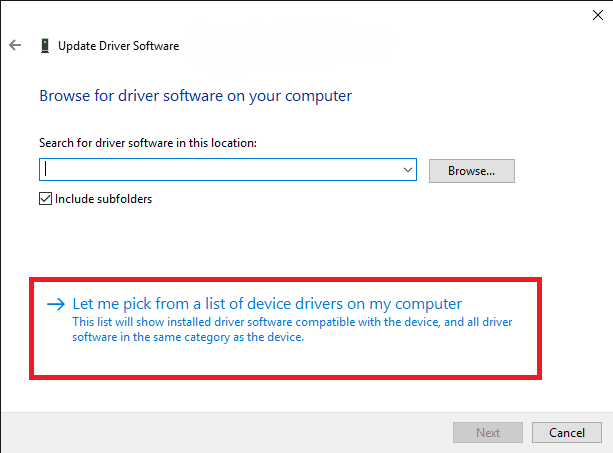
3. Now click "Browse my computer for drivers" and then "Let me choose from a list of available drivers on my computer" in the next window.
4. Then select any generic Windows webcam driver.
5. Wait while Windows installs the latest compatible driver and if you get any prompts, click Yes to continue.
6. Finally, close Device Manager, restart your computer and check if you can video chat on Skype.
Method 10: Change Antivirus Settings
Modern antivirus programs and firewall protection monitor and manage every single device connected to your Windows 10 PC. This improves your privacy settings, but it can be annoying at times. If your Skype Camera is not working on Windows 10, it might be due to an overprotective antivirus package. Review your antivirus settings and check if Skype is being blocked by your antivirus package. You can also temporarily disable/whitelist any built-in or third-party antivirus software to fix this issue.
Option I: Whitelist Skype
If you don't want Skype to be blocked by any antivirus program, you can add it to the list of allowed applications. Follow the steps below to whitelist Skype with a third-party antivirus program.
Note. Here Avast is taken as an example, follow the steps according to your antivirus program.
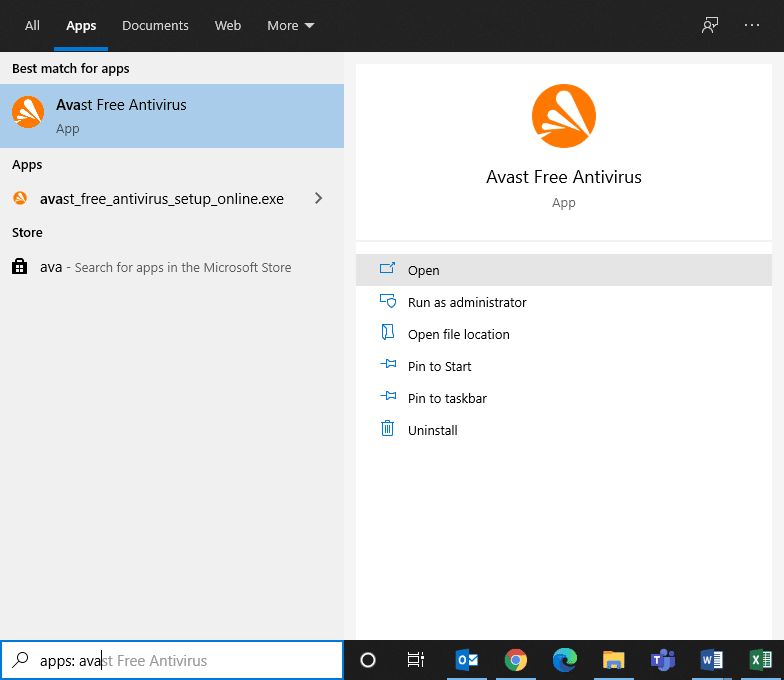
1. Press the Windows key and type avast, then click Open.
2. Now click on the "Menu" option on the right corner as shown in the picture.

3. Then select Settings from the dropdown list.

4. Now in the General tab, click on the Blocked and Allowed Applications tab, and in the right pane, click on ALLOW APP in the Allowed Applications List box.

5. Now click ADD > the option corresponding to Skype to add the application to the white list.
Note. Here, the application installer is taken as an example, follow the instructions according to your antivirus program.
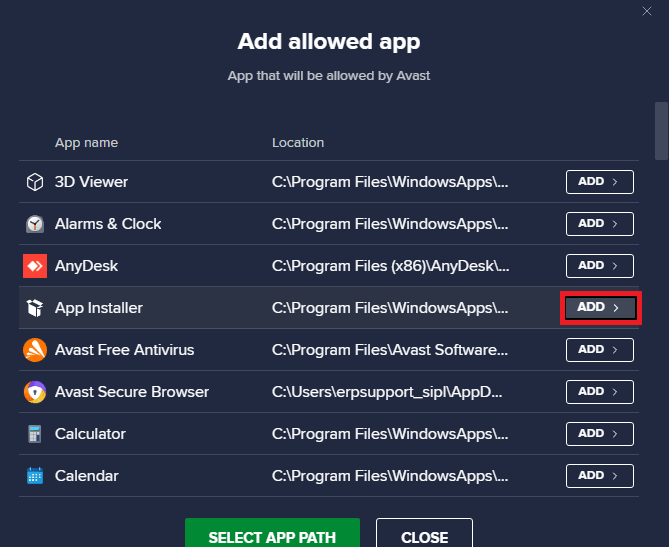
Note. You can view the Skype installation path by selecting the SELECT APP PATH option.
6. Finally, click ADD to confirm the invitation, and now you have added Skype to the Avast whitelist.

Note. Here you can check or uncheck Avast features (such as ransomware protection) depending on your convenience.
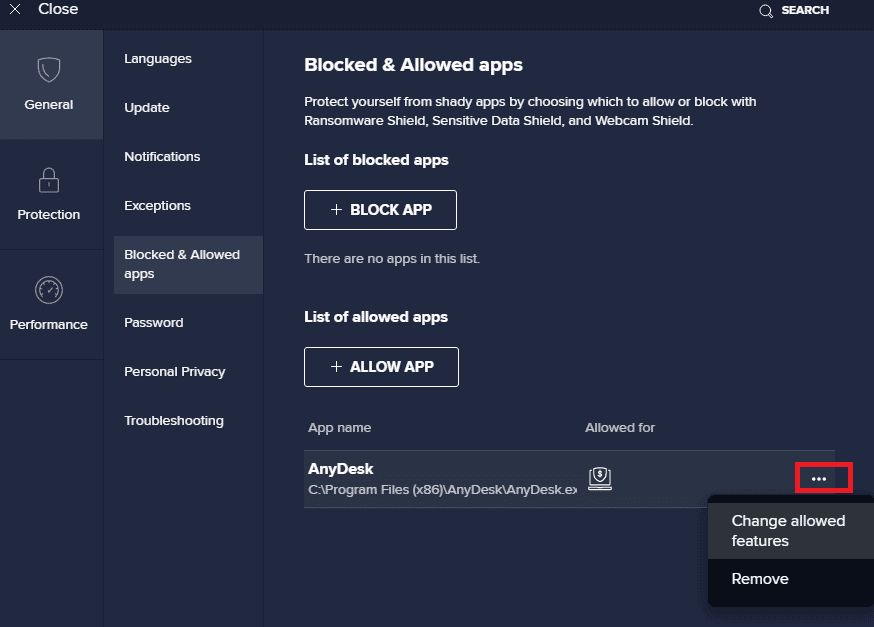
7. If you want to remove Skype (later if you want) from the Avast whitelist, then click on the three-dot icon in the main settings window. Here you will see two options. Click Remove.
- Edit Allowed Features: You can change the features you have enabled when adding a program to the white list.
- Remove: Remove Skype from the Avast whitelist.
Option II: Temporarily disable your antivirus (if applicable)
If you don't know how to disable your antivirus program on your Windows 10 PC, check out our guide How to Temporarily Disable Your Antivirus in Windows 10 and follow the instructions.

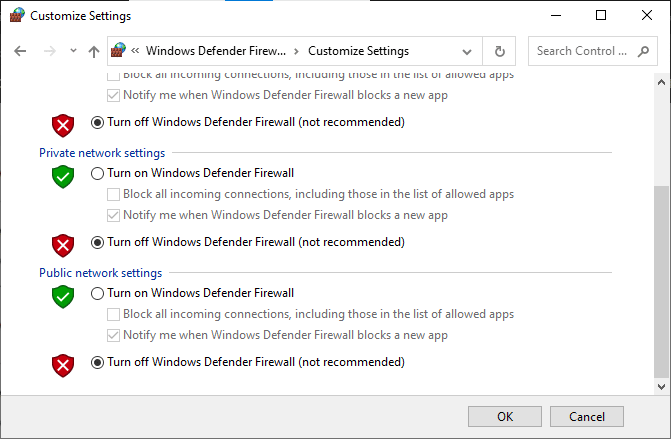
Method 11: Disable Windows Defender Firewall (Not recommended)
The built-in security package on your computer may block access to application cameras due to some security reasons. Thus, you may encounter Skype video not working with Windows 10 issue. If access rights to your Skype camera are blocked by Windows Defender Firewall, check out our How To Turn Off Windows 10 Firewall guide and follow the same instructions. Generally, disabling the Defender Set is not recommended due to threat threats. Therefore, some users prefer to allow an application or program in the Windows Defender Firewall whitelist. Follow our guide Allow or block apps through Windows Firewall if you want to whitelist Skype in Windows Firewall.
Note. Always re-enable Windows Firewall after you resolve any conflicts with Windows 10 apps and programs. This will help you prevent any malicious attacks.
Method 12: Adjust registry keys
Some users have suggested that tweaking some registry keys in the Registry Editor helped them fix the problem with the Skype camera not working on Windows 10. Follow the instructions below.
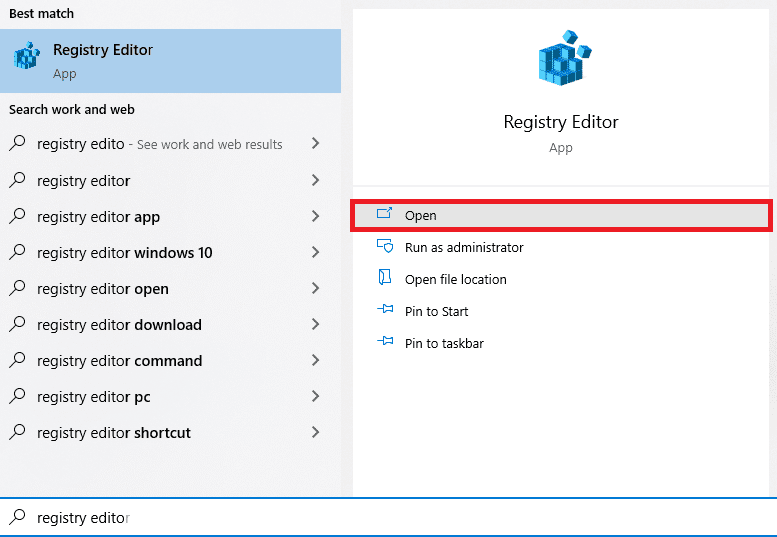
1. Press the Windows key and type "Registry Editor", then click "Open".
2. Now navigate to the following path in the Registry Editor.
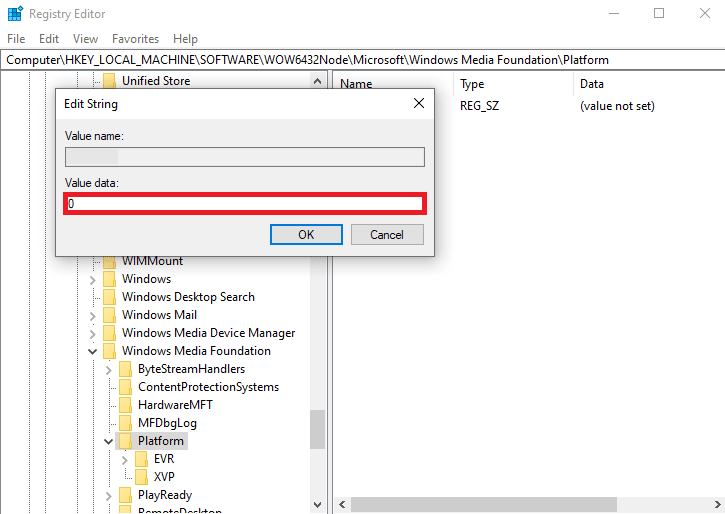
ComputerHKEY_LOCAL_MACHINESOFTWAREWOW6432NodeMicrosoftWindows Media FoundationPlatform

3. Then right-click on the right pane and select New > DWORD Value (32-bit) to create a new registry key.

4 Name the key EnterFrameServerMode and double-click the key to open it.
5. Enter a value of 0 and click OK to save your changes.
6. Finally, restart your computer and check if you can access the camera on Skype.
Method 13: Re-register the camera
If all of the above methods didn't work for you to fix the Skype camera not working issue on Windows 10, try re-registering the camera with the following instructions. This will fix all camera related hardware issues and thus you will be able to enjoy Skype video chat.
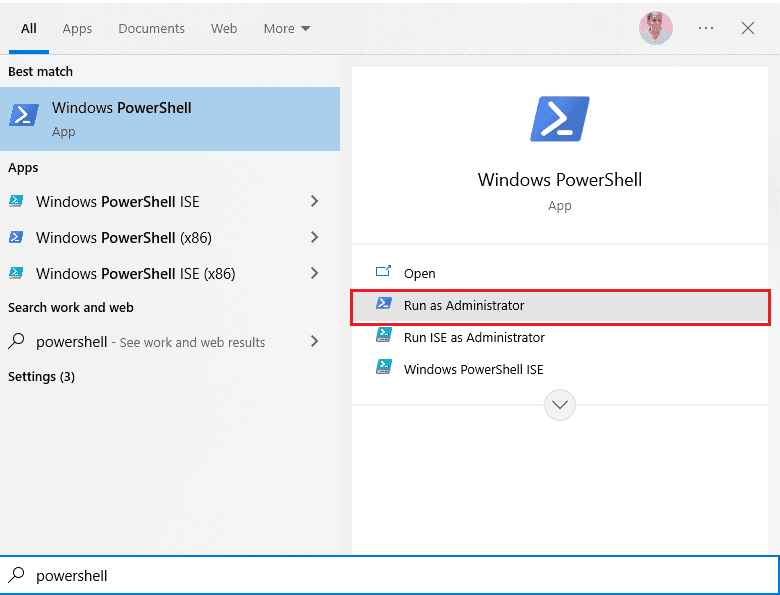
1. Press the Windows key, type powershell and click "Run as administrator".
2. Then type the following command and press the Enter key.
Get-AppxPackage -allusers Microsoft.WindowsCamera | Foreach {Add-AppxPackage -DisableDevelopmentMode -Register "$($_.InstallLocation)AppXManifest.xml"}
3. Wait for the command to complete and check if you have fixed the problem. If you are still experiencing issues with your device, you may need to restart your camera.
Method 14: Reset the camera app
If re-registering the camera does not resolve the problem with Skype video not working on Windows 10, reset the camera app settings as described below.
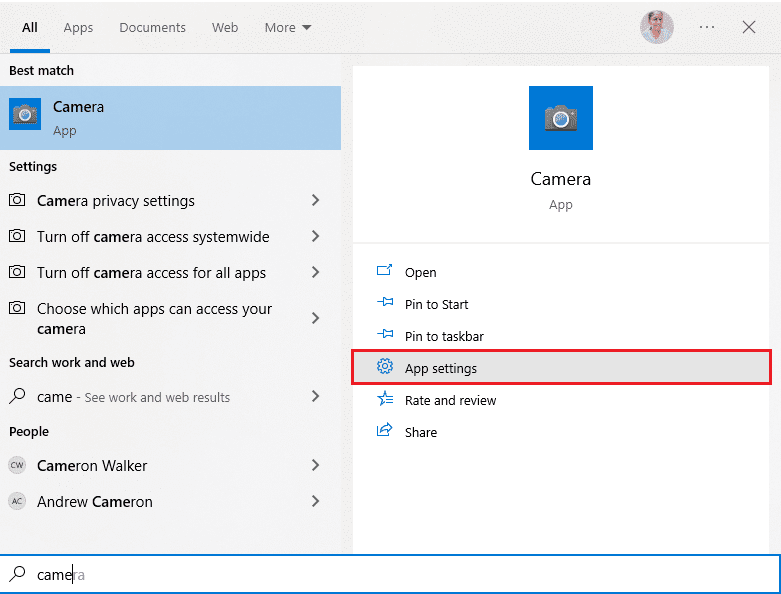
1. Press the Windows key, type "Camera" and click "Application Settings".
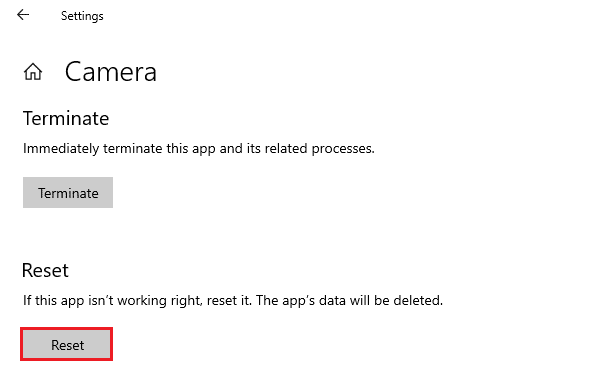
2. Then scroll down the screen and select the Reset option as highlighted.
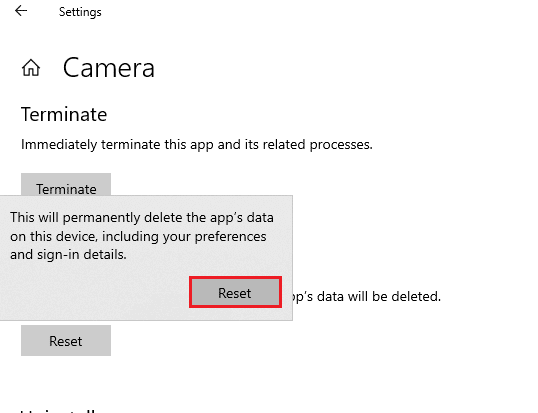
3. Then click "Reset" again on the prompt screen, as shown in the figure.
4. Finally, close the Settings app.
Method 15: Reinstall Skype
If none of the above methods helped you, then try reinstalling the program if possible. All settings and configuration settings will be updated when you reinstall Skype and hence you have a better chance of getting a fix for Skype camera not working on Windows 10 issue.
1. Press and hold Windows Key + I to open Windows Settings.
2. Now click Applications.
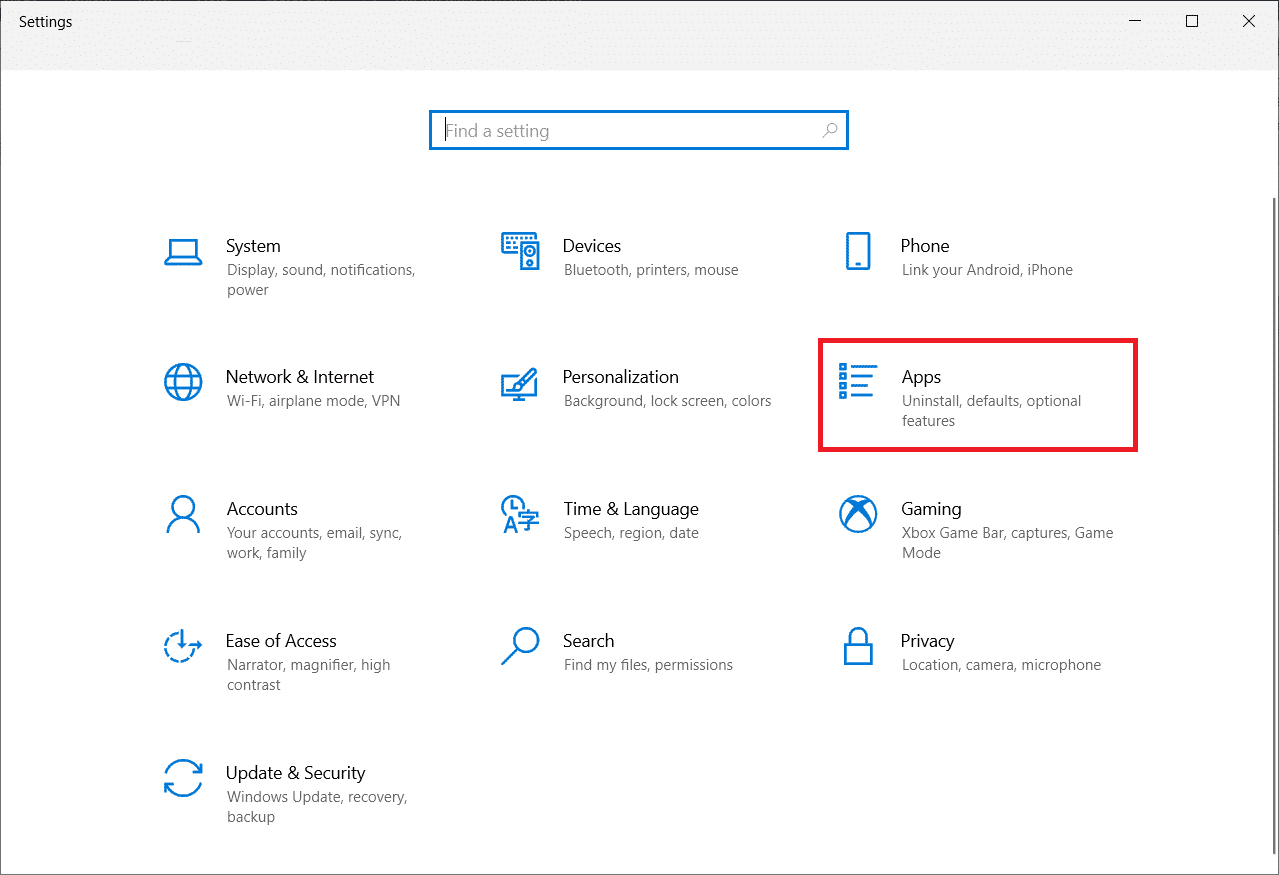
3. Now find and click on Skype and select the "Uninstall" option.
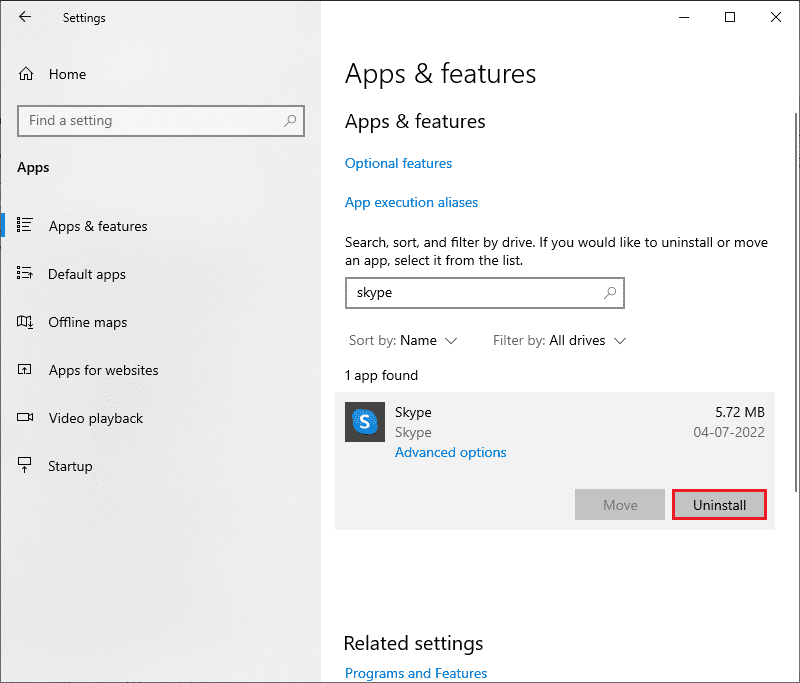
4. Now confirm the prompt if there is one and restart your computer after uninstalling Skype.
5. Visit the official Skype download site and click the "Get Skype for Windows 10 and 11" button as shown in the picture.

6. Then click "Get Skype for Windows" and wait for the download to complete on your device.

7. Now go to My Downloads and run the Skype installer file.

8. Follow the instructions on the screen to complete the installation of Skype on your computer. Finally, you have reinstalled Skype on your computer. This would solve all problems related to the application.
Method 16: Use Skype for Web
If you have reinstalled the Skype app on your Windows 10 device but are still facing Skype video not working issue on Windows 10, then you need to find another effective alternative that is causing Skype camera issues.
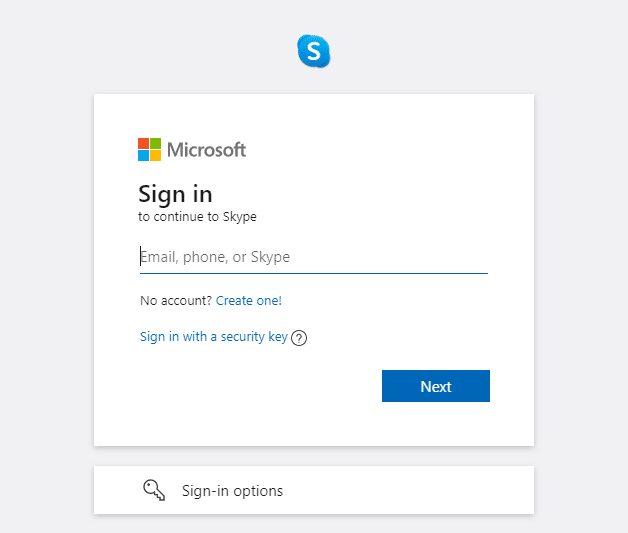
1. Visit the official website of Skype for web in your browser.

2. Now enter your credentials, register your account and start video chatting on Skype.
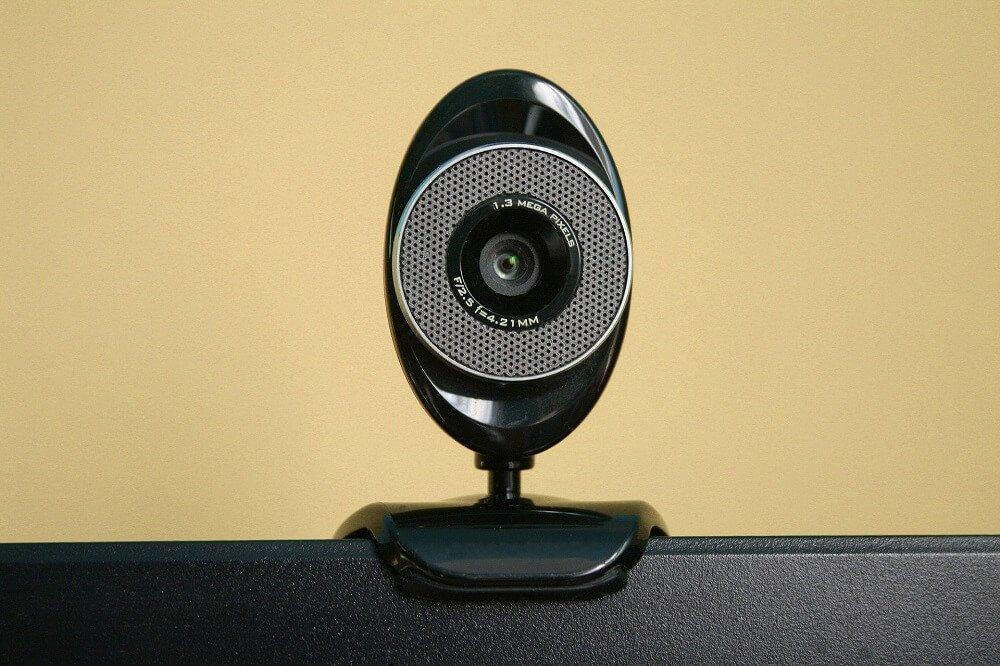
Method 17: Replace the webcam
You are reading this method because you haven't found a fix for the Skype Camera not working on Windows 10. If you still can't access the camera in Skype on the web and everything seems black or blank, you might want to try replacing the webcam , as it could be technically damaged. For the built-in version of the camera, seek professional assistance.
***
We hope this guide was helpful and you were able to fix Skype camera not working on Windows 10. Let us know which method worked best for you. Also, if you have any questions/suggestions regarding this article, feel free to post them in the comments section.