Fix Private Internet Access Won't Connect in Windows 10
Private Internet Access, or PIA, is a popular VPN server these days. It has over 3300 servers in 32 countries. It offers strong privacy protection. It is available for Windows, Mac, Android, iOS, and Linux, as well as extensions for most common browsers. However, several customers have stated that no matter how many times they try, the program just won't connect to their machines. We bring you a helpful guide that will teach you how to fix private internet access not connecting. So, keep reading to fix PIA connection issue.
How to Fix Private Internet Access Won't Connect in Windows 10
We have compiled a list of possible causes that should help us find the problem faster and more accurately.
- Packet leaks when your internet connection is using IPv6: Packet leaks are prevalent when your internet connection is using IPv6, which the PIA developers overlooked for some versions. To resolve this issue, make sure IPv6 is disabled.
- TAP adapter driver: According to PIA engineers, newer versions of the TAP adapter driver cause problems or slow down VPN connections, so you should try installing older, more stable versions.
- Internet connection: Your Internet connection may be creating PIA connection problems, which you should rule out first by checking that you are properly connected to the Internet and that alternative VPN solutions are working.
Method 1: Basic Troubleshooting Steps
Here are some basic troubleshooting steps to resolve this issue.
1. Switching servers
If the PIA does not connect, try different server locations. PIA has a network of 35,564 servers, which is quite a lot. However, some servers may go down from time to time due to technical issues or maintenance. Try changing the server and reconnecting to the Internet. If you still can't connect, try at least two alternate servers with different IP addresses and see if it works.
2. Check your internet connection
This may be a problem with your Internet Service Provider. Check your Internet connection to make sure that the problem with private Internet access is not related to you. To determine if you have a stable connection, run a speed test on your local Internet network.

After running the speed test, you will know if your network is reliable or not.
Case 1: If you have a reliable network that is still facing the network disconnection issue, please proceed with the methods listed below.
Case 2: If you have a weak network, consider connecting to other devices such as a mobile hotspot or some other wired/wireless network.
3. Too many logins
PIA enforces a hefty 10 device limit with multiple logins. One PIA account can be used to secure up to ten individual devices. You may experience problems connecting or logging in with PIA if you exceed the multiple login limit.
1. Make sure you sign out of PIA on all devices that no longer need it.
2. Then try logging in again from your favorite device.
4. Change VPN Tunneling Protocol
If the problem persists, try changing the VPN tunneling protocol. OpenVPN and WireGuard are two VPN tunneling protocols offered by PIA. If you are using OpenVPN to connect to VPN, switch to WireGuard and vice versa. After that, try to connect to the VPN server. Your problem should already be solved.
Method 2: Resolving Software Conflicts
Many antivirus programs and firewalls interfere with access to private Internet access and may even prevent it. To make sure that your security products are not the source of the problem, disable all anti-malware and firewall programs and connect to PIA. If you can now use PIA, your antivirus is most likely blocking the PIA connection. In rare cases, even deactivating antivirus software is ineffective. Add all PIA-related files to your security software's exclusion list to resolve the issue.
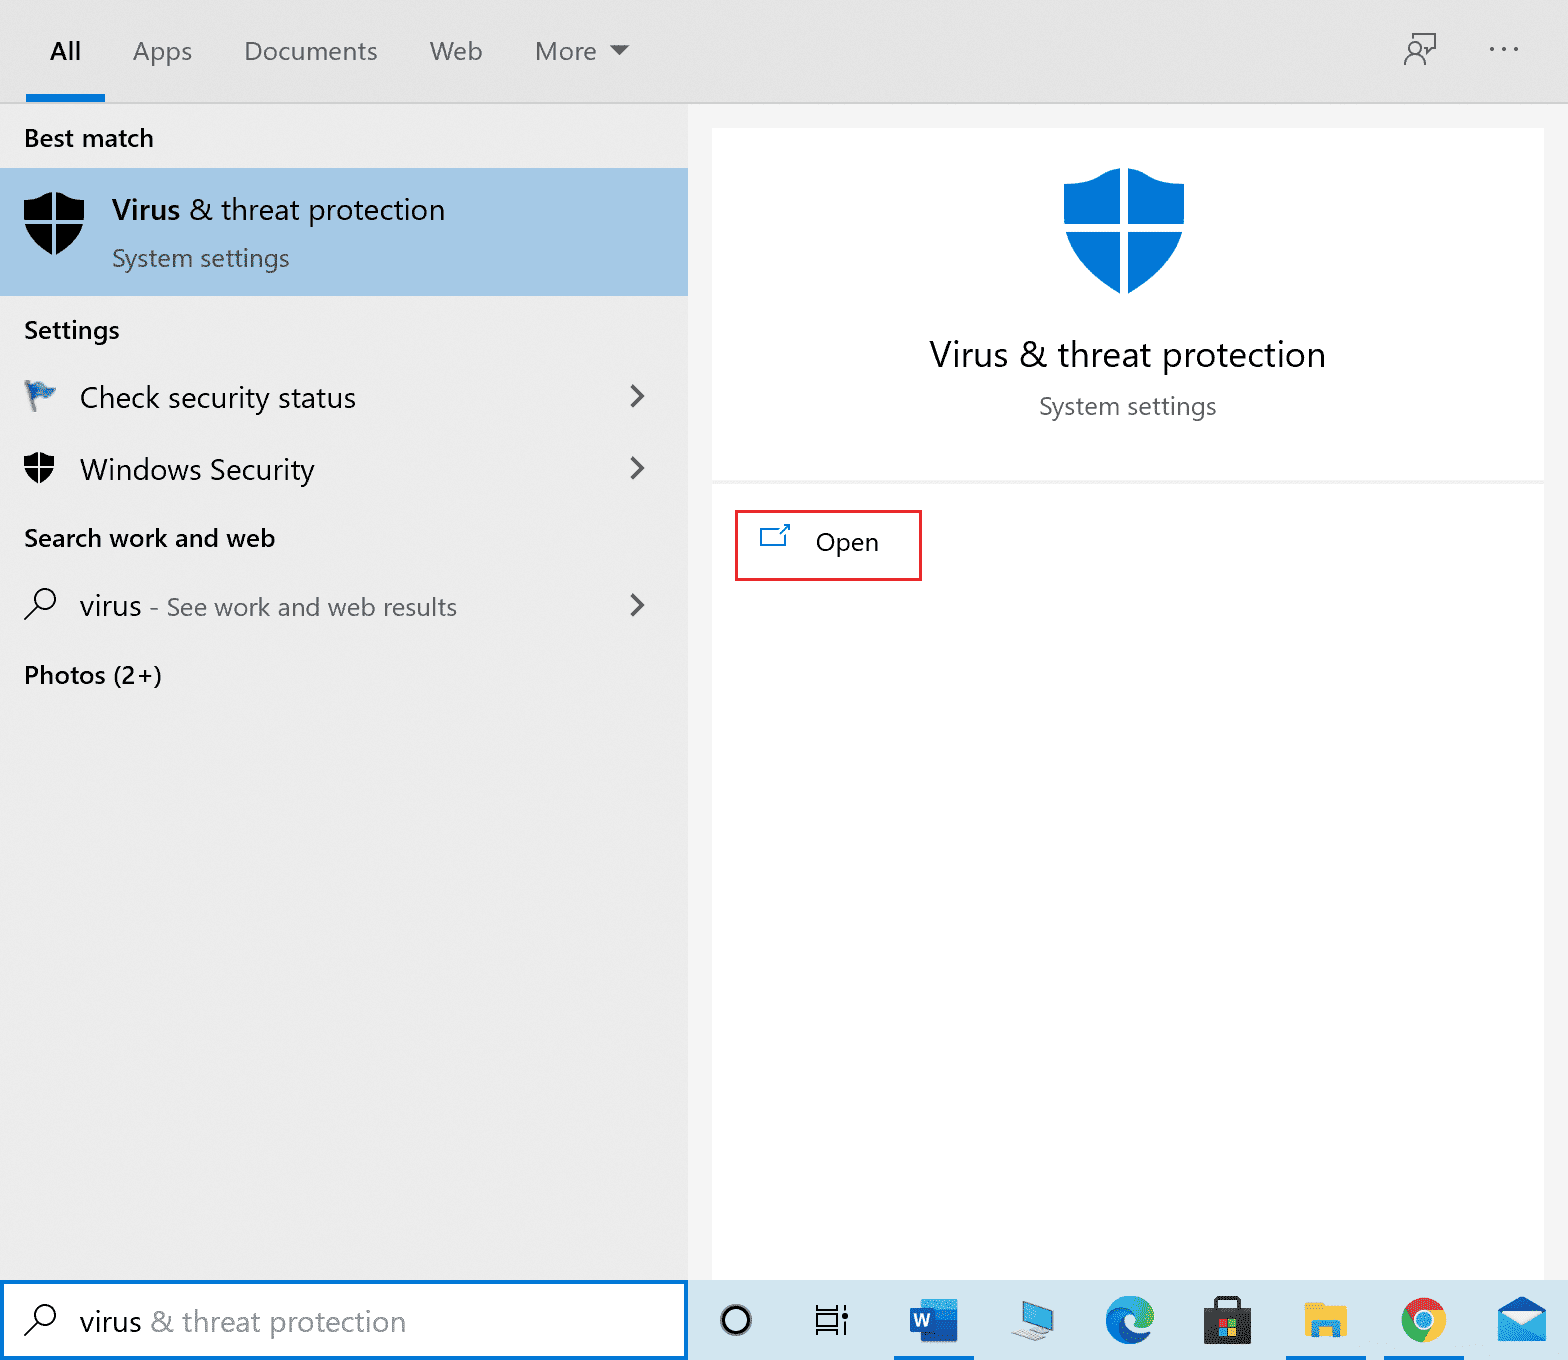
1. Press the Windows key, type virus and threat protection, and press the Enter key.
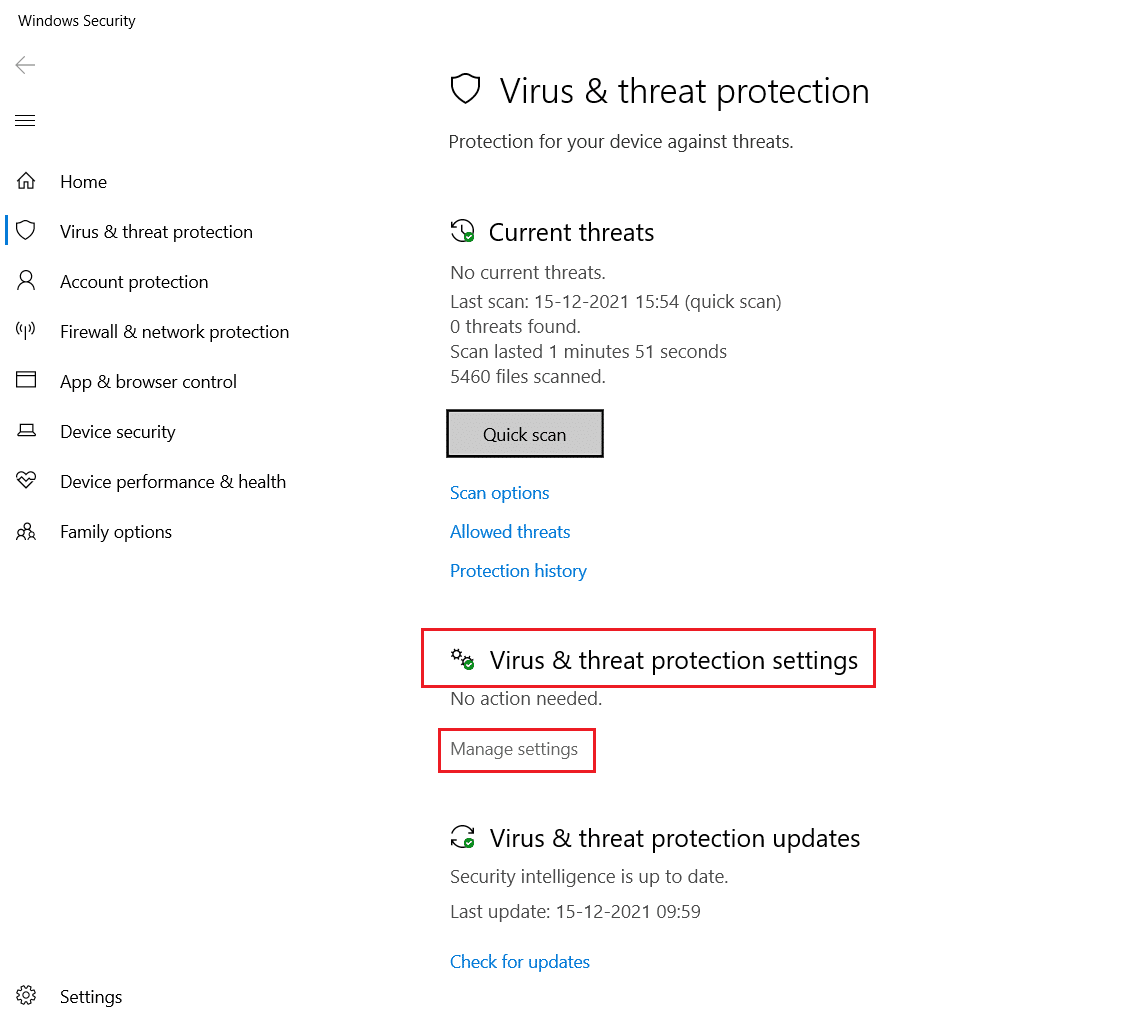
2. Now click "Manage Settings".
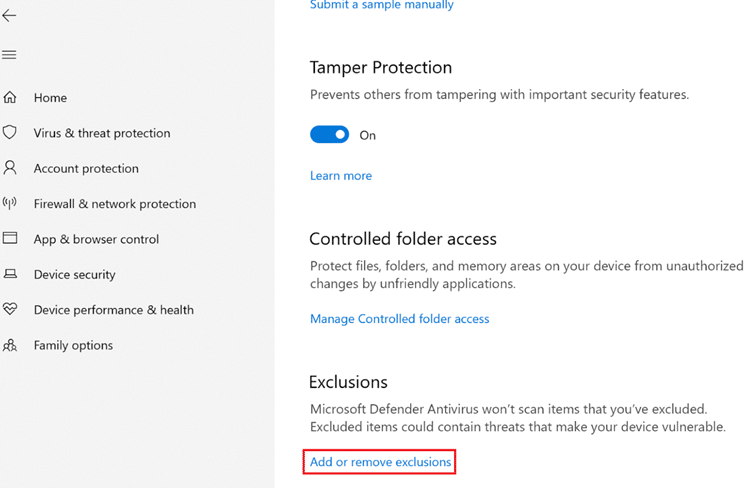
3. Scroll down and click Add or Remove Exceptions as shown below.
4. On the Exceptions tab, select the Add Exception option and click File as shown.
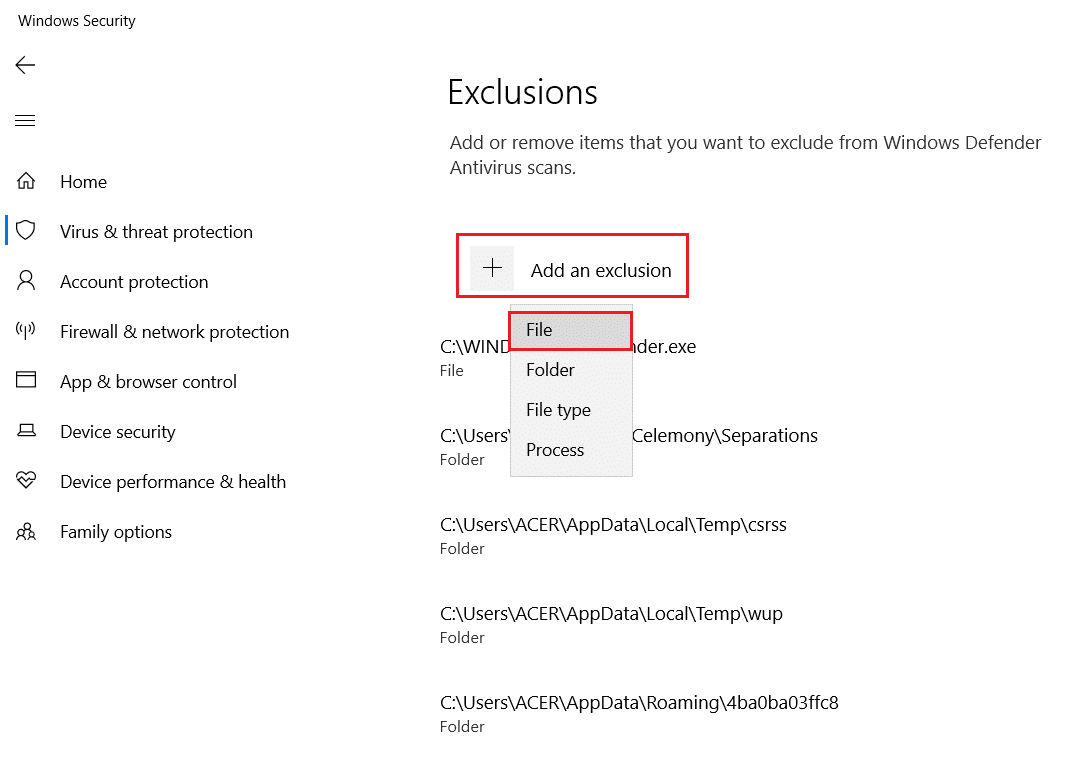
5. Now add the specified paths to the file directories.
C:Program FilesPrivate Internet AccessC:Program FilesPrivate Internet Accesstapwin10 C:Program FilesPrivate Internet Accesstapwin7 C:Program FilesPrivate Internet Accesspia-client.exe C:Program FilesPrivate Internet Accesspia-openvpn.exe C:Program FilesPrivate Internet Accesspia-service.exe C:Program FilesPrivate Internet Accesspia-support-tool.exe
Method 3: Disable IPv6 connection
Certain packet loss caused by enabling IPv6 on the device can, in rare cases, lead to problems with the VPN connection. Therefore, it is recommended to disable IPv6 on your device before connecting to the VPN. This won't cause any major change to your connection and will just fix that private internet access issue not connecting. We have described how to disable IPv6 on a Windows device.
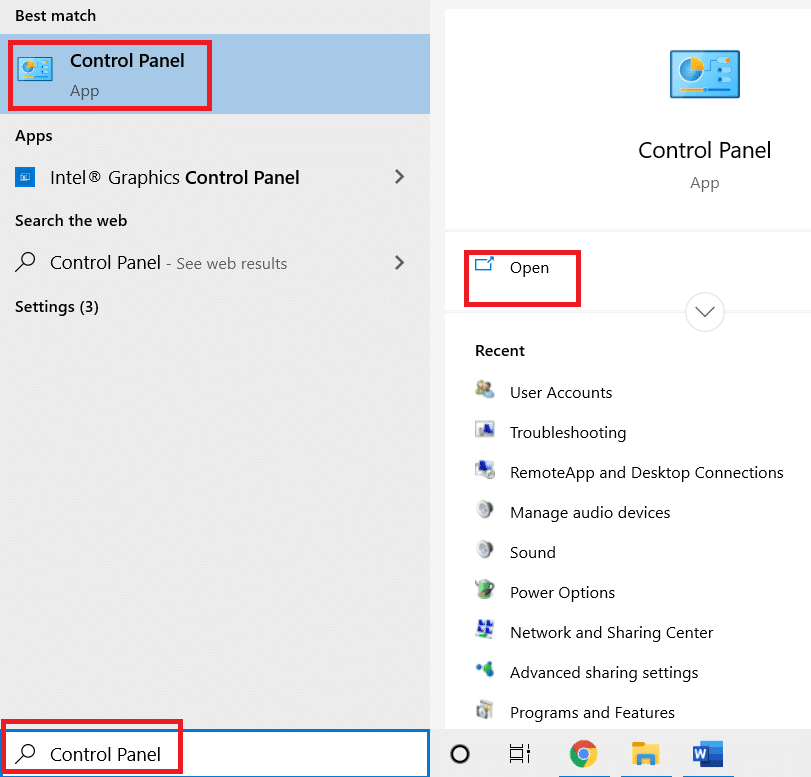
1. Press the Windows key, type Control Panel and click Open.
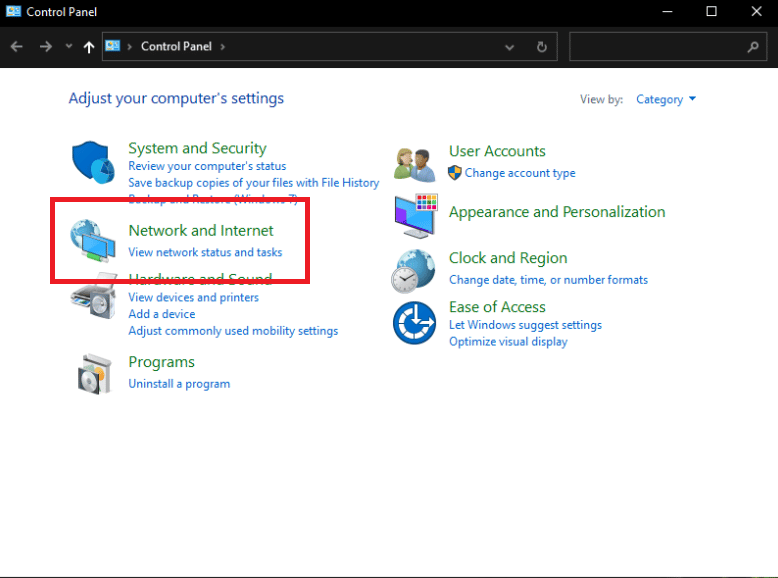
2. Select View by: Category, and then select Network & Internet.
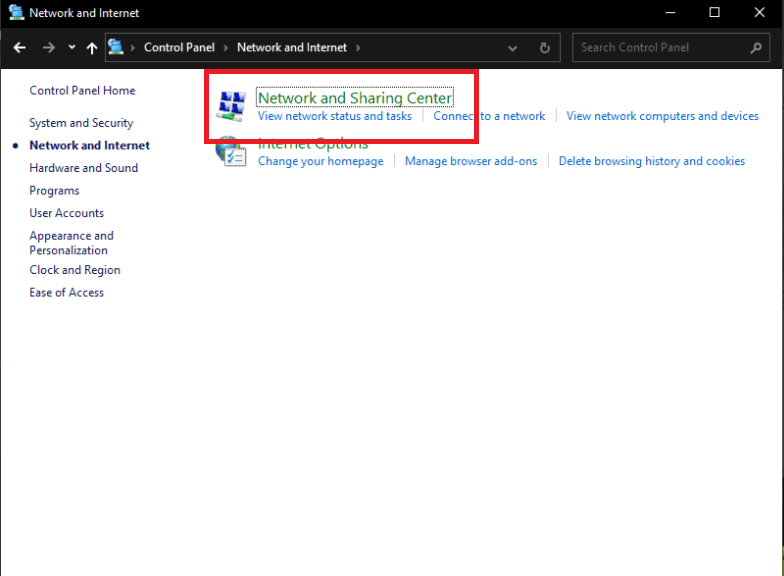
3. Select Network and Sharing Center.
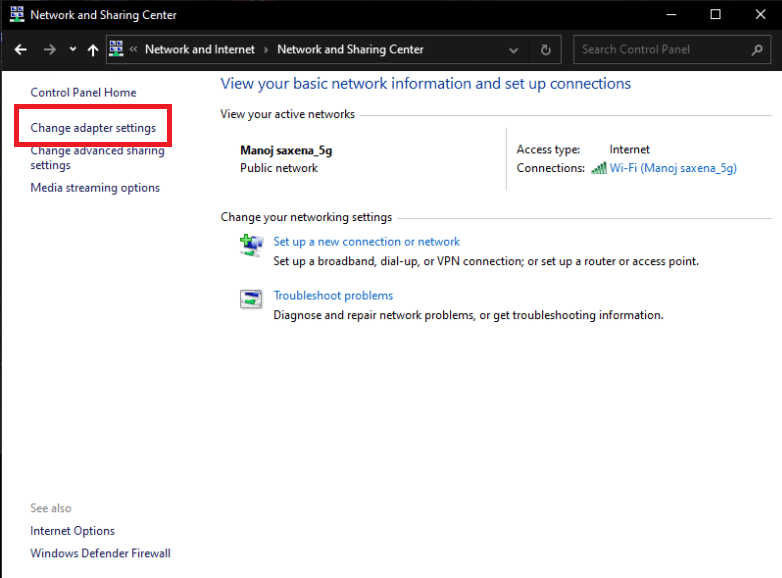
4. In the left pane, select the Change adapter settings option.
5. When the Internet connection window appears, right-click the active network adapter. Then click "Properties".
6. Clear the check box next to Internet Protocol Version 6 in the list. Click OK.

Method 4: Disable other VPN adapters
The problem may be caused by interference in the TAP adapter of your operating system. You must disable adapters of other VPNs in order to fix this problem with private internet access:
1. Launch the Control Panel from the Windows Search Panel.
2. Set Browse by > Categories, then select Network & Internet.

3. Select Network and Sharing Center.

4. In the left menu, find and select Change adapter settings.

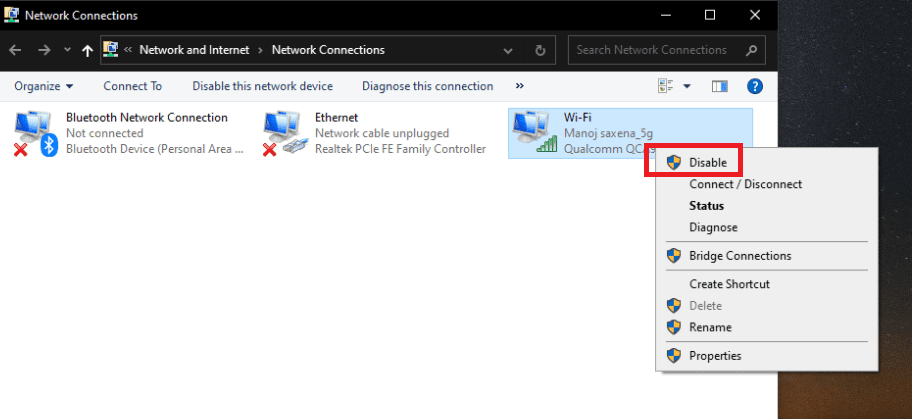
5. The list shows all installed VPN TAP adapters as well as your actual network.
6. All VPN adapters except PIA must be disabled by right-clicking them and selecting Disable.
Note. As an example, we showed the Wi-Fi adapter.
7. Finally, reconnect to the PIA after it has been deactivated and check if the PIA connection problem is still there or not.
Method 5: Change VPN Ports
Some customers have been able to resolve the issue by using a UDP connection with multiple ports. If that doesn't work, you should find out if there is a problem with your ISP or your internet connection in general. Follow these steps to change the ports used by the VPN:
Note. Before proceeding, you need to make sure that the PIA program is not associated with the VPN.
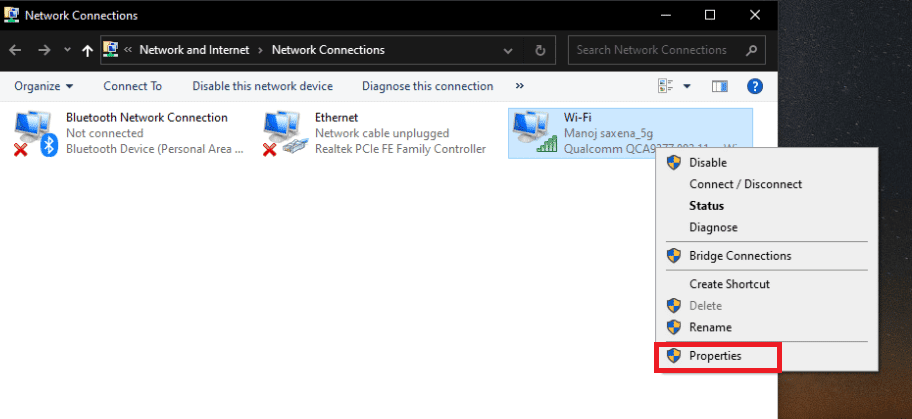
1. Right-click the PIA icon on the taskbar and select Properties.
2. If the PIA symbol is not displayed, you may need to click on the small arrow to display additional icons.
3. Select Disable from the context menu that appears.
4. Right-click and select "Settings" from the context menu.
5. Click the "Advanced" button at the bottom of the window and change the connection type from TCP to UDP.
6. Set 1194 as the selected port in the "Remote Port" section, click the "Save" button and reconnect to check if the problem persists.
7. If the problem persists, repeat the steps above, but this time use ports 8080 and 9201.
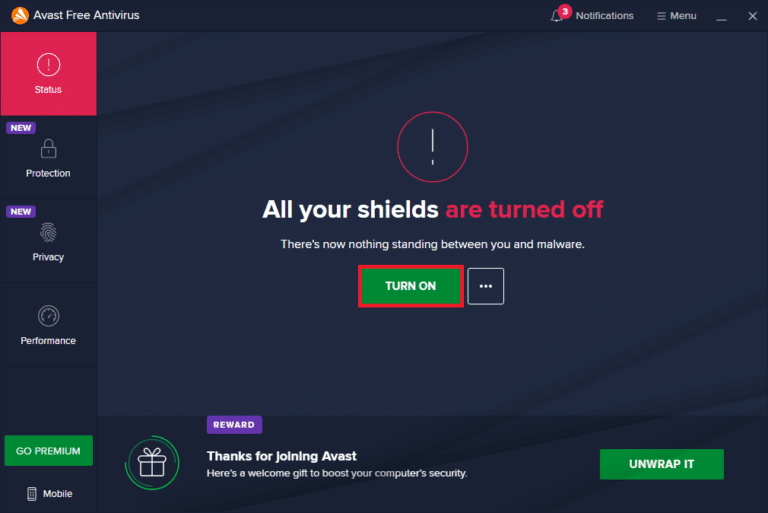
Note. In some cases, your antivirus program may be to blame for this problem. As a result, you should temporarily disable all antivirus applications and ensure that no firewall/antivirus is running in the background. Read the article on how to temporarily disable your antivirus in Windows 10.
Method 6: Reinstall PIA VPN Desktop Client
You can reinstall the PIA VPN desktop client on Windows 10 if none of the above methods work. Following the steps below will ensure that you have the latest version installed and the private internet access issue will not connect and should be gone when you try to access PIA to use their VPN services!
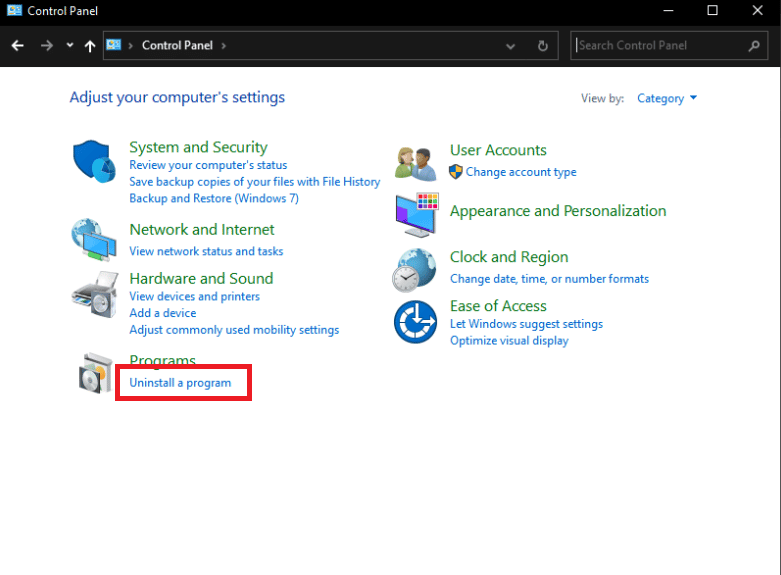
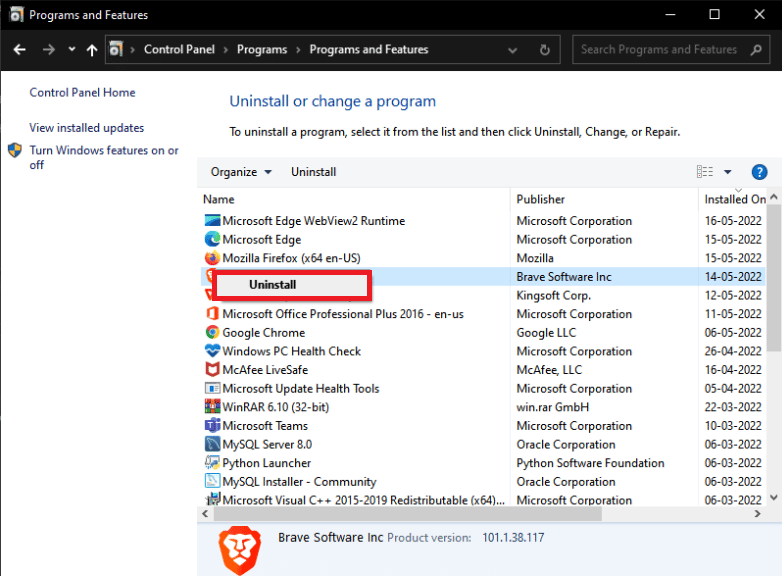
1. Open the control panel from the Windows search bar.
2. Select View by: Category, and then click Uninstall a Program in the Programs category.
3. Find PIA in the Control Panel. Right-click it and select Delete.

4. The Uninstall Wizard should now open. Follow the instructions on the screen to complete the process.
5. Once the uninstallation is complete, click Finish and restart your computer to check if there are still login issues.
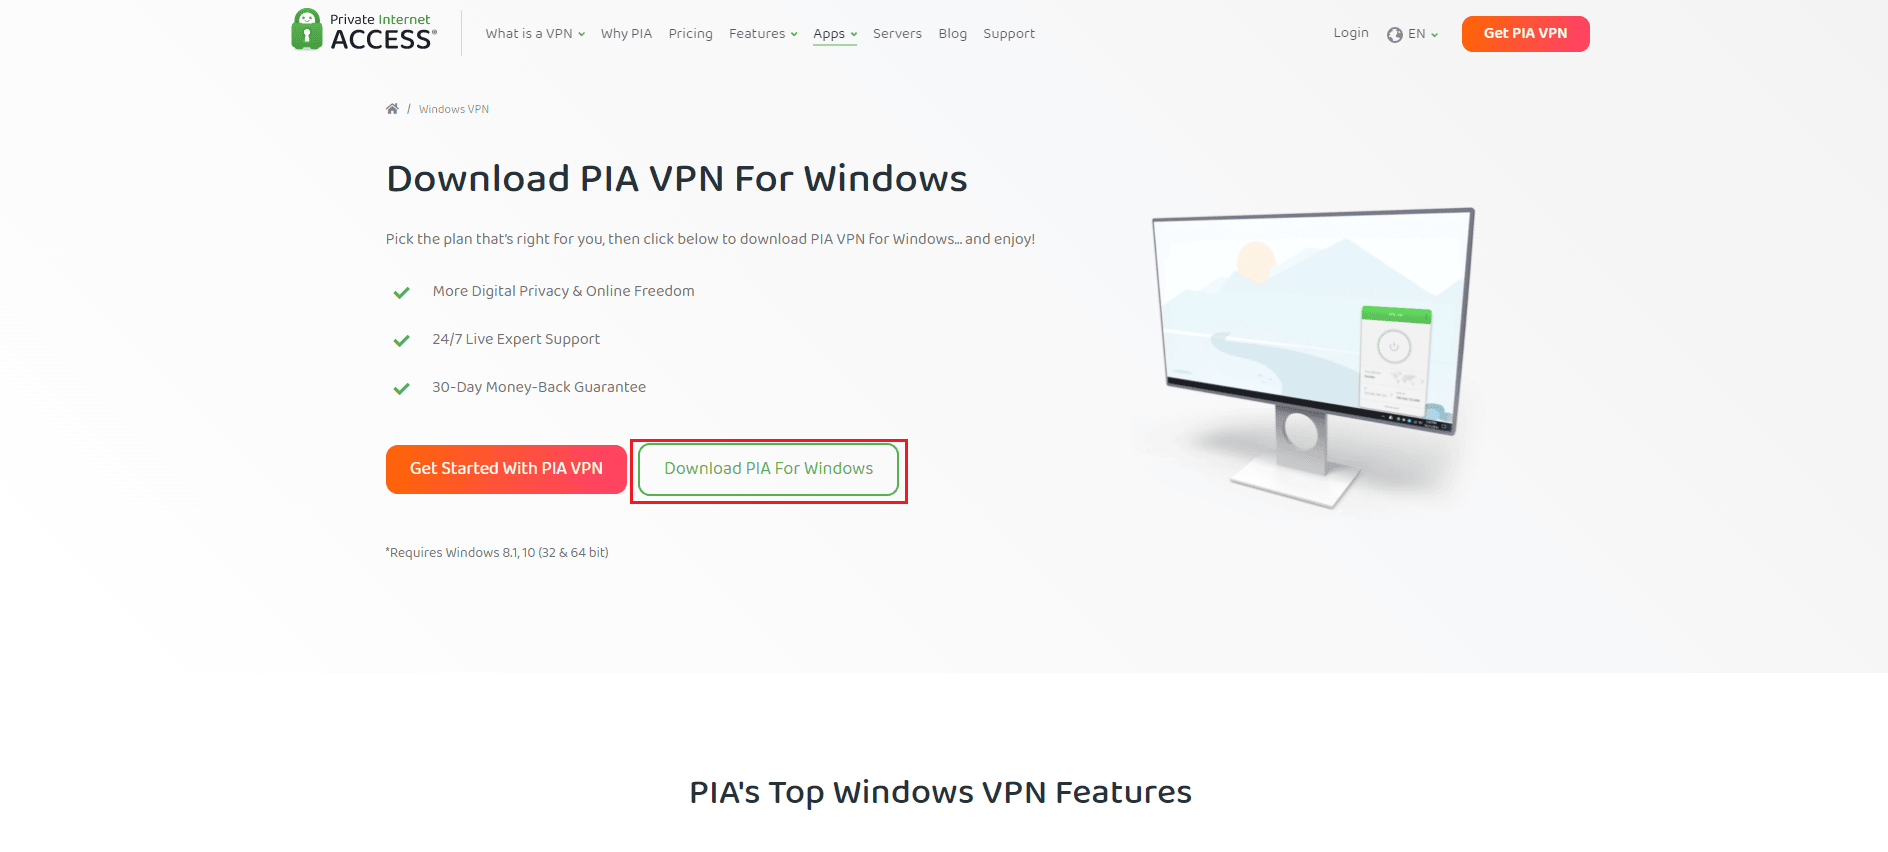
6. Buy the latest version of the PIA VPN app. To install it, run the executable and follow the instructions on the screen.
Method 7: Install the old TAP driver
A new version of the TAP driver may cause connection issues or very slow download speeds on the Windows version. So be sure to use an older version of TAP Driver to avoid such problems. Follow the instructions below to install an older TAP driver in order to resolve your private internet access issue.
1. Before following the rest of the instructions, make sure the PIA program is not running.
2. Right-click the PIA icon on the taskbar and select Properties. You may have to click the small arrow to display other icons before the PIA sign appears.
3. Select Exit from the context menu that appears.
4. First of all, you must remove the current driver from your computer.
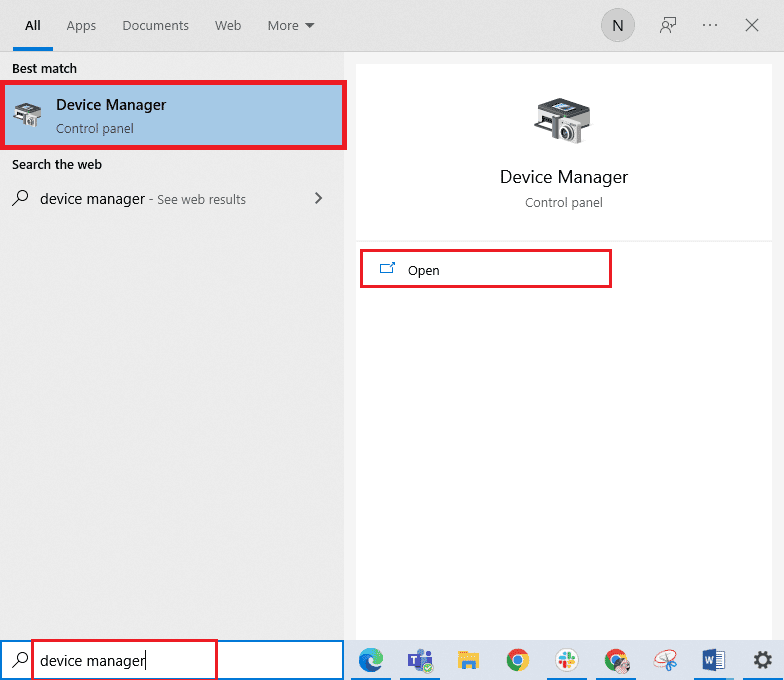
5. Press the Windows key, type "Device Manager" and click "Open".
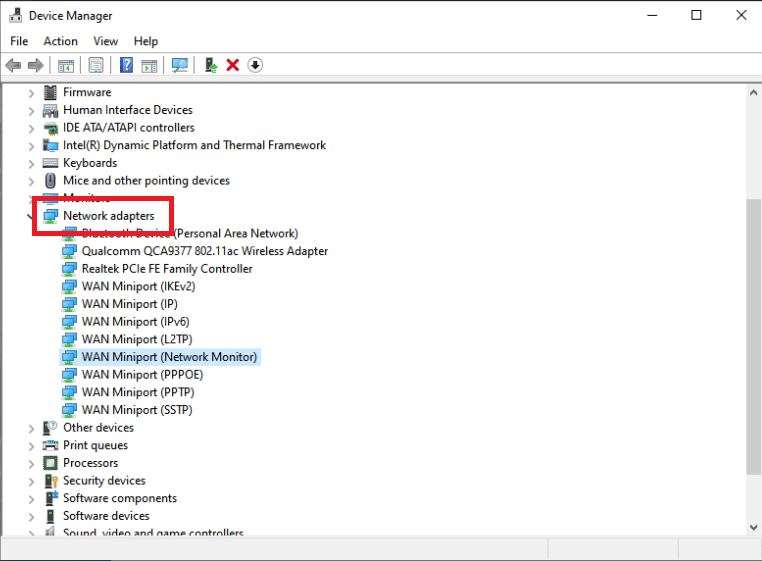
6. Expand the Network adapters section. This displays a list of all network adapters currently installed on the machine.
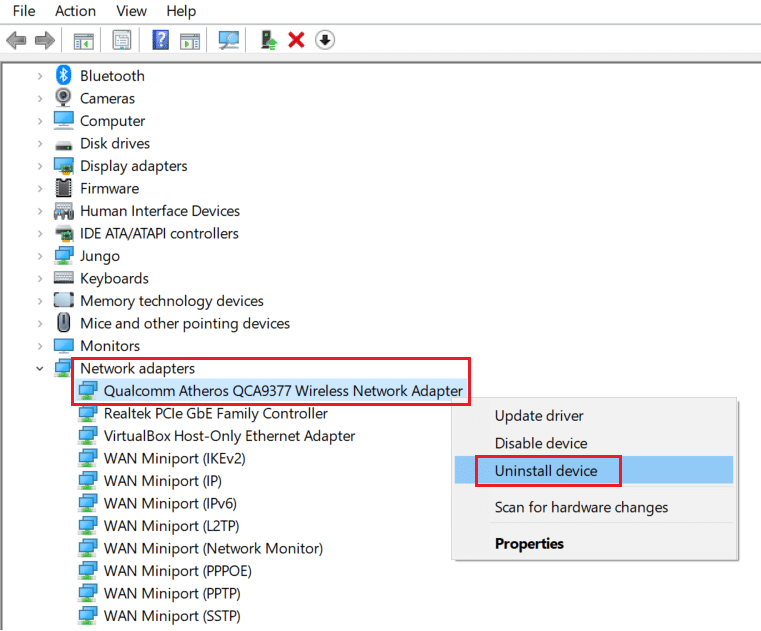
7. Remove the TAP adapter by right-clicking it and selecting Remove device. The network device will be removed and the adapter will be removed from the list.
Note. As an example, we showed the Qualcomm Atheros QCA9377 wireless network adapter.
8. Download the TAP driver verified by PIA for errors.
9. Run the downloaded setup file and follow the on-screen instructions to install the driver.
Check if the PIA connection issue is resolved by restarting your computer.
Method 8: Install PIA in Safe Mode
1. Launch the Control Panel from the Windows Search Panel.
2. Select View by: Category, and then click Uninstall a Program in the Programs category.

3. Find PIA in the Control Panel. Right-click it and select Delete.
4. The Uninstall Wizard should now open. Follow the instructions on the screen to complete the process.
5. After the uninstall is complete, click Finish and boot your computer in safe mode. Read our guide on how to boot into Safe Mode in Windows 10 to do the same.
6. Once you enter safe mode, download the latest version of PIA from the official website and install it.
7. Finally, restart your PC to exit safe mode and see if pia connection issues persist.
***
We hope you found this information useful and were able to figure out how to fix the problem with private Internet access. Please let us know which method was the most beneficial for you. Please use the form below if you have any questions or comments.