Fix Origin Overlay Not Working on Windows 10
Like Steam and the Epic Games Store, Origin is also a digital video game distribution platform. Origin is widely used and has millions of daily active users. You can launch the game with an in-game overlay. In addition to being an online game store, Origin also acts as a game launcher and also has some great features that improve the user's gaming experience. One such gameplay is Overlay. This feature is very useful, especially for chatting with friends, accepting invitations from teammates, or broadcasting your gameplay. Sometimes you may encounter the Origin overlay not working with Windows 10 issue, which unfortunately makes it difficult to use Origin.
How to Fix Origin Overlay Not Working on Windows 10
Several issues are causing the Origin overlay in the game to not work. However, a few common causes are listed below.
- This may be due to outdated OS and system drivers.
- Although the antivirus software is whitelisted by the application, in some situations it blocks access to system resources.
- Malicious applications and corrupted Origin installation files or game files.
- Inadequate or unstable network connection.
- You are running the game without administrator rights.
- Some background processes are interfering with the game.
- Proxy intervention.
- Outdated .NET framework and other conflicting applications on your PC.
After analyzing several online reports and troubleshooting guides, we have put together a list of some effective hacks to help you fix the Origin overlay not working problem in the game. Follow them in the same order for perfect results.
Method 1: Basic Troubleshooting Methods
Here are some basic troubleshooting methods you can follow before moving on to advanced solutions.
1. Restart your computer
You may encounter Origin overlay not working with Windows 10 issue if there are any temporary errors on your PC. Restarting your computer might fix the problem, which is a simple trick and here's how to do it.
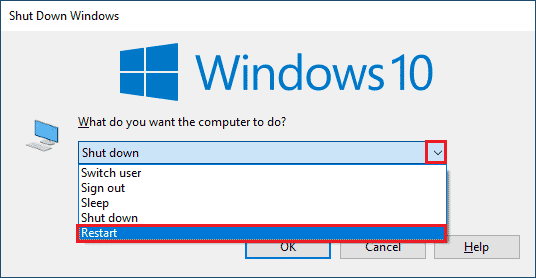
1. Go to the desktop by pressing the Windows + D keys at the same time.
2. Then press the Alt+F4 keys at the same time.
3. Now select the Restart option from the drop-down menu and click OK.
2. Check the status of the source server
Checking the Origin Server Status is an optional fix if restarting your computer didn't fix the Origin overlay not working issue in the game. Follow the steps below to check the status of the Origin server.
1. Go to the Downdetector official website
2. You will receive a message that user reports indicate no current issues with Origin if you have no issues on the server side.
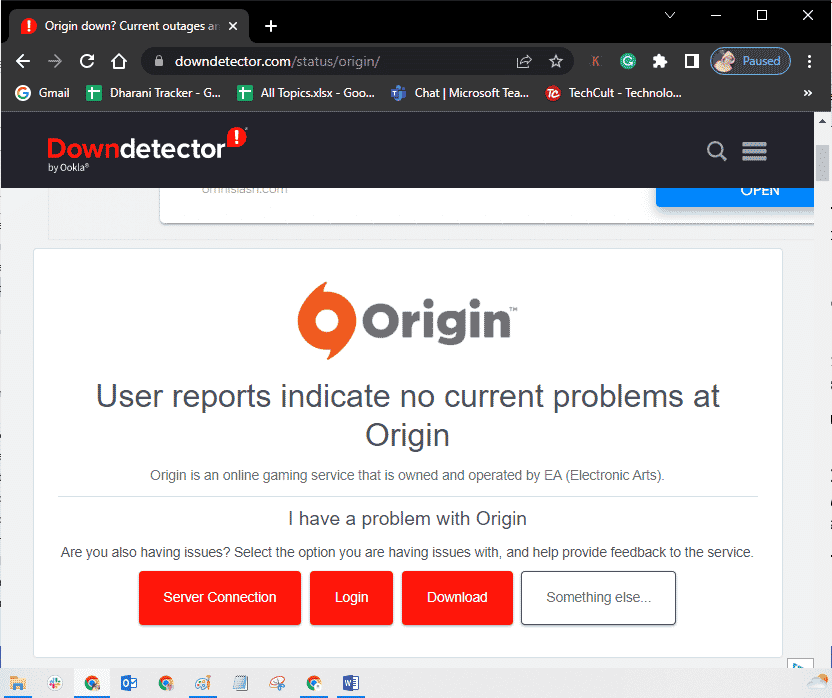
3. If you see any other message, you should wait until server side issues are resolved.
3. Ensure a stable network connection
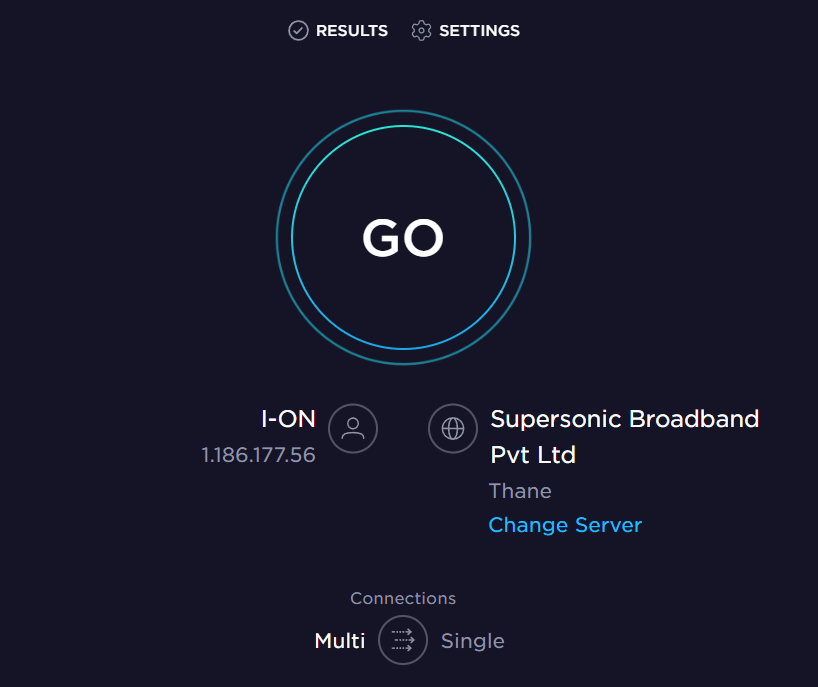
If your internet connection is unstable and inadequate. this can cause the Origin overlay to not work on Windows 10. If there is any kind of interference or obstruction between your PC and router, this can also cause the issue discussed. Test your computer's network speed by running SpeedTest.
Follow the criteria below and make sure your computer meets them.
- Remove any obstacles in the path of the router if your network signal strength is very low.
- Your internet connection can be slow if there are many devices connected to the same network, so try to avoid this.
- It is always preferable to buy a router or modem verified by your ISP.
- It is not recommended to use old, damaged or broken cables, replace cables if necessary.
- Make sure the modem wires to the wall and the wires from the modem to the router are clear of obstructions.
If you're having trouble connecting to the internet, check out our Windows 10 Network Connection Troubleshooter guide to fix the same issues.
4. Run Origin as administrator
Access to some files and services requires administrator rights in Origin. You may encounter the problem of the Origin overlay not working in the game if you do not have the necessary administrator rights. Follow these steps to run origin as an administrator.
Option I: Through the Start Menu
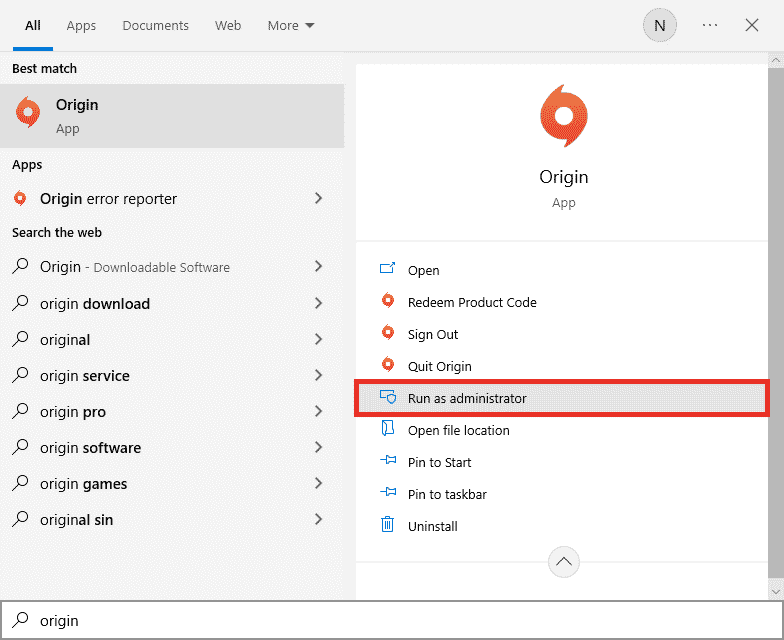
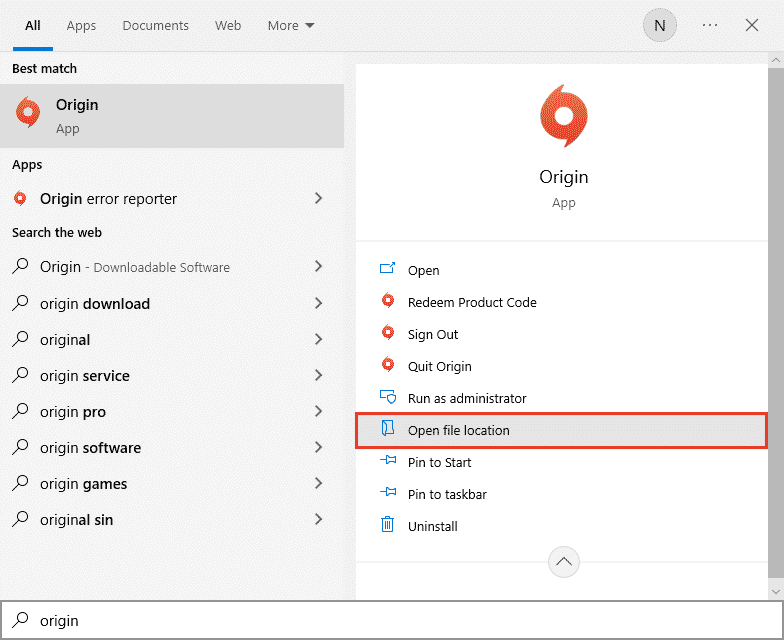
1. Press the Windows key, then type Origin and click Run as administrator.
Note. If you don't see the Run as administrator option, click the down arrow icon to view it.
2. Select "Yes" in the User Account Control window.
Option II: Through Compatibility Properties
1. Press the Windows key, then type Origin and click Open File Location.
Note. If you don't see the Open file location option, click the down arrow icon to view it.
2. Then right-click on the Origin executable.
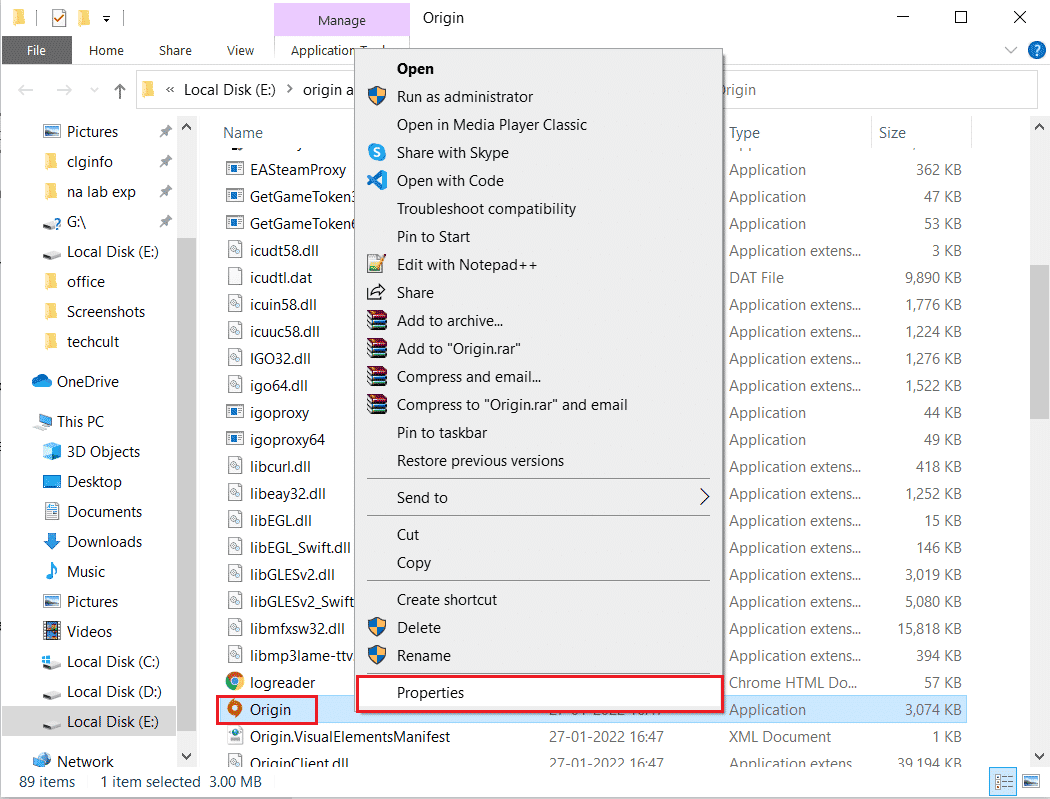
3. Now click Properties.
4. Click the Compatibility tab in the Properties window, and check the "Run this program as an administrator" box as shown below.
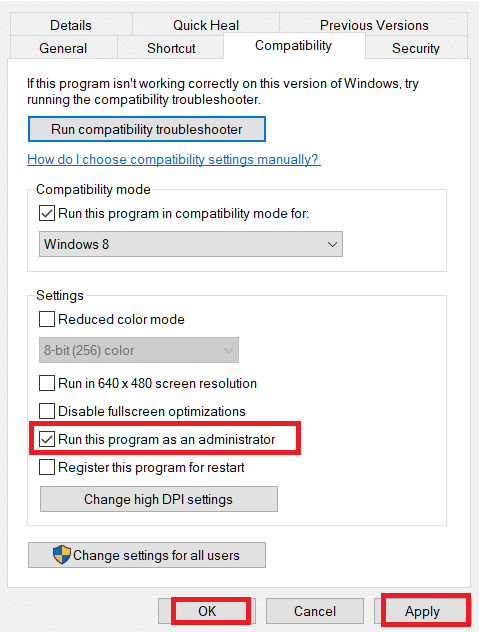
5. Finally, click "Apply" and then "OK" to save the changes. Check if the issue with the Origin overlay not working in the game has been fixed.
5. Restart the origin process
Restarting your Origin process is another fix for Origin overlay not working on Windows 10, here's how to do it. Follow the instructions.
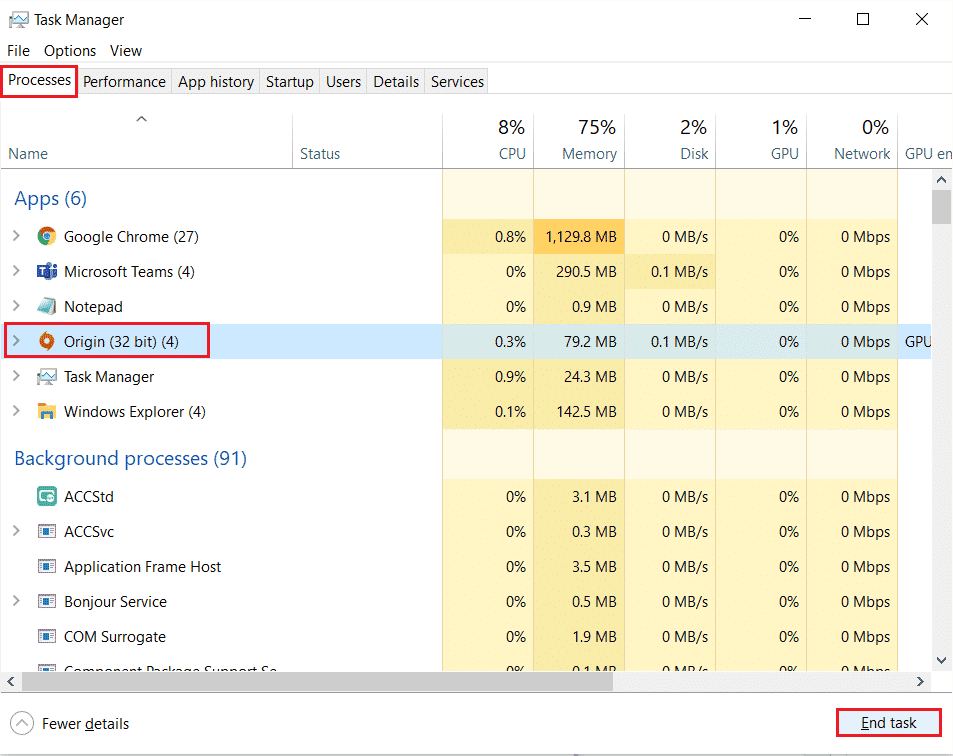
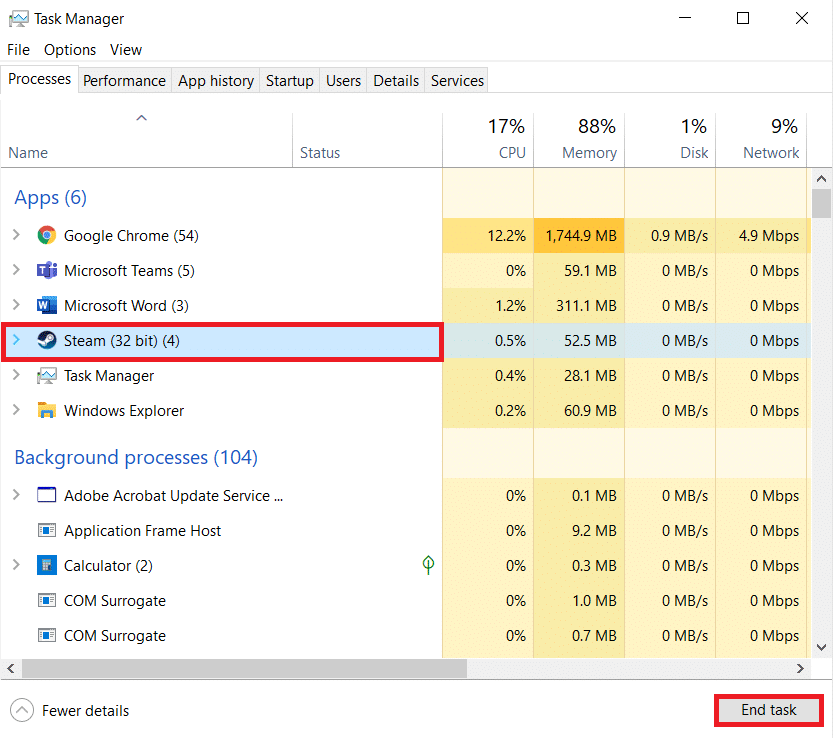
1. Open the Task Manager by simultaneously pressing the Ctrl+Shift+Esc keys.
2. Find and select the Origin task, which will be located on the Processes tab.
3. Now click "End task".
4. Now run Origin as administrator as above and check if you can fix the problem.
6. Close background apps
There may be many applications that may be running in the background. This increases CPU usage and consumes much more memory space than expected. Therefore, it affects system performance and may also cause the Origin in-game overlay to not work. Close all the processes below that may be consuming your computer's resources, one by one or manually by following our How to end a task in Windows 10 guide.
- crust
- Nvidia GeForce experience
- Yuplay
- Xbox App for Windows
- Discord
- MSI afterburner
- Rivatuner statistics/server
- Change Hue
- AMD Wattman Program
- fraps
- AB overlay
- Asus Sonic Radar
- NVIDIA Shadowplay
- AverMedia streaming engine
- cook for a couple
- Razer Synapse
- OBS
Method 2: Clear Origin Cache Files
Follow the instructions below to remove Origin temporary cache files which will help you fix Origin overlay not working Windows 10 issue.
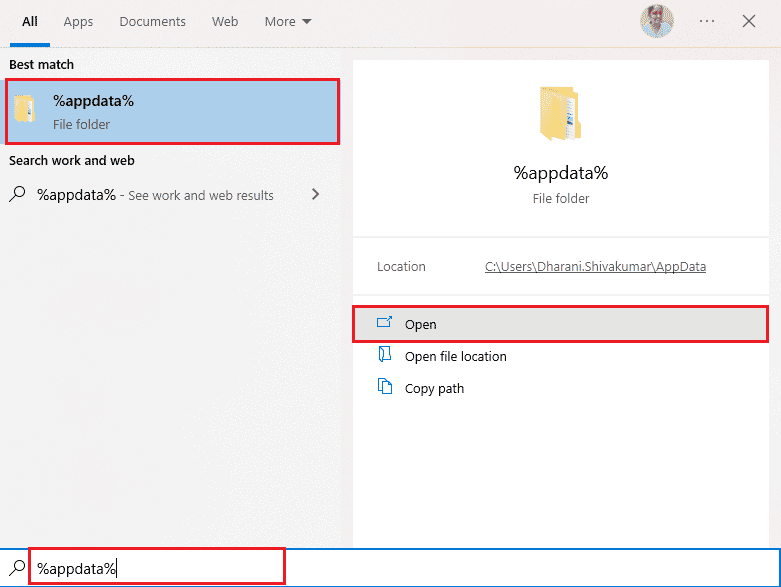
1. Press the Windows key, then type %appdata% and click Open. The AppData Roaming folder opens.
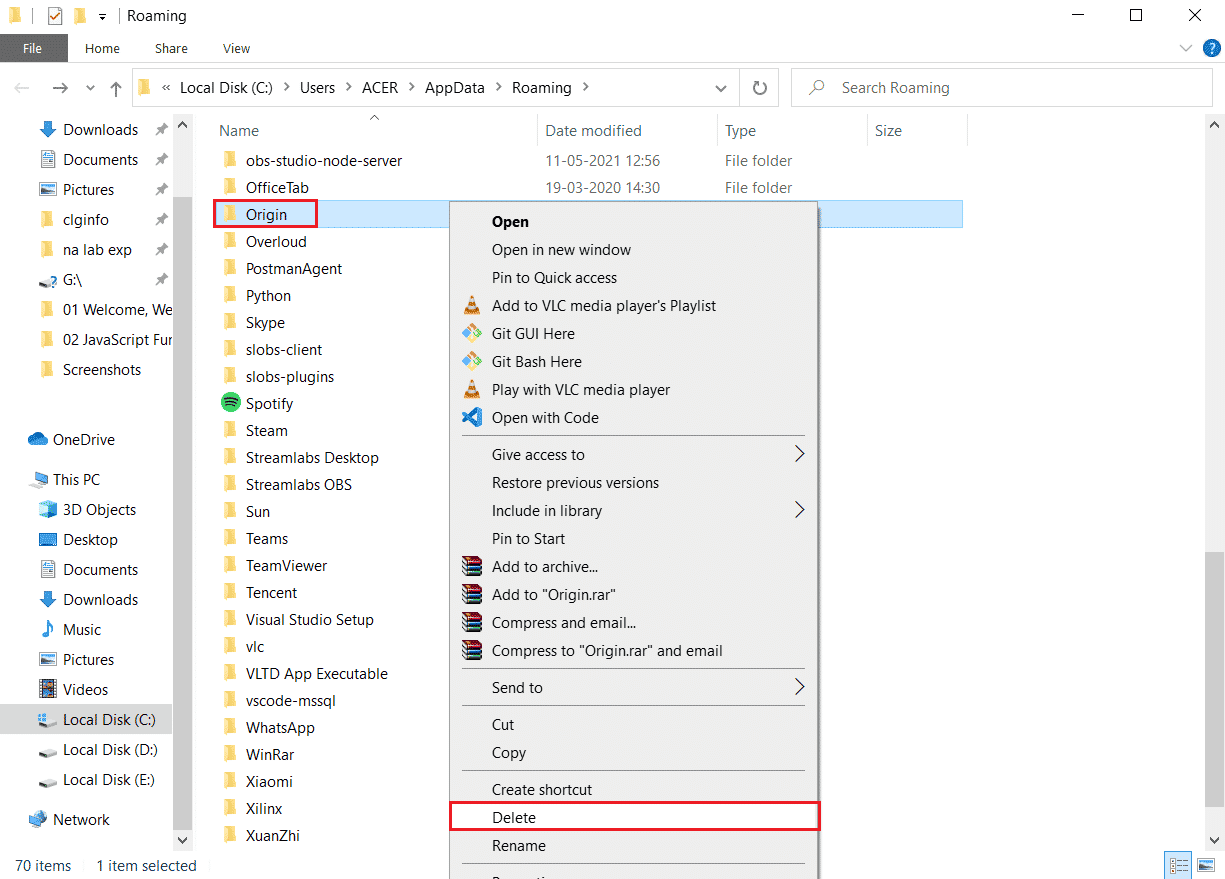
2. Right click on the Origin folder and select the Delete option as shown below.
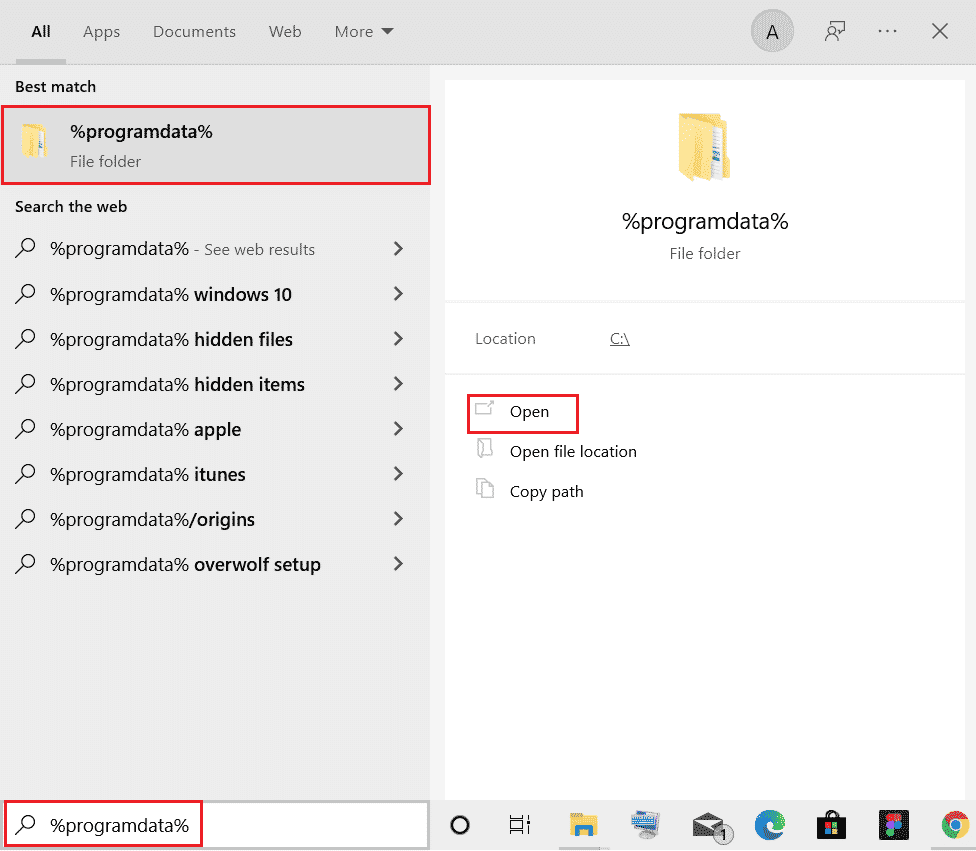
3. Go to "Start" and type %programdata%, then click "Open" to navigate to the ProgramData folder.
4. Then find the Origin folder, and then delete all files except for the LocalContent folder, since it contains all the game data.
5. Finally, restart your computer and check if the problem with Origin overlay not working in the game is fixed.
Method 3: Changing Origin's in-game settings
If you are still facing the issue that the Origin in-game overlay is not working, try tweaking your in-game settings and follow the steps below to get it done.
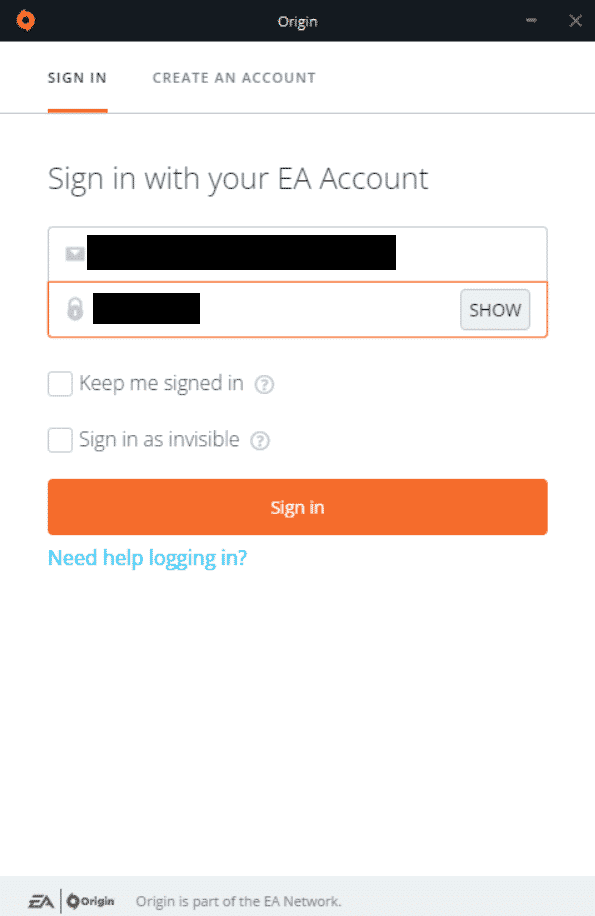
1. Launch the Origin app.

2. Enter your credentials, and then sign in to your EA account.
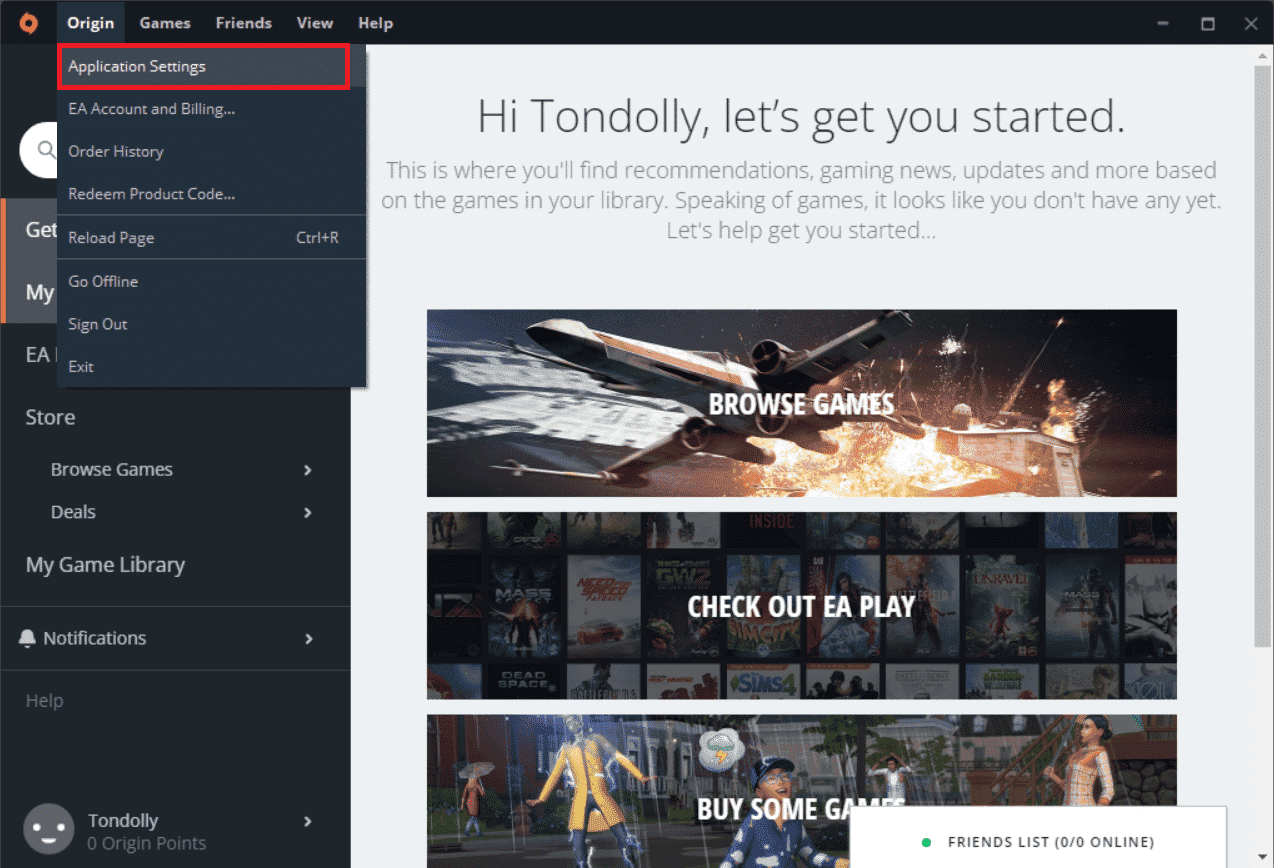
3. Then click the Origin menu in the top left corner as shown in the picture.

4. Now select the Application Settings option from the drop-down menu as shown in the image.
5. Now turn on the switch to enable Origin in the game.
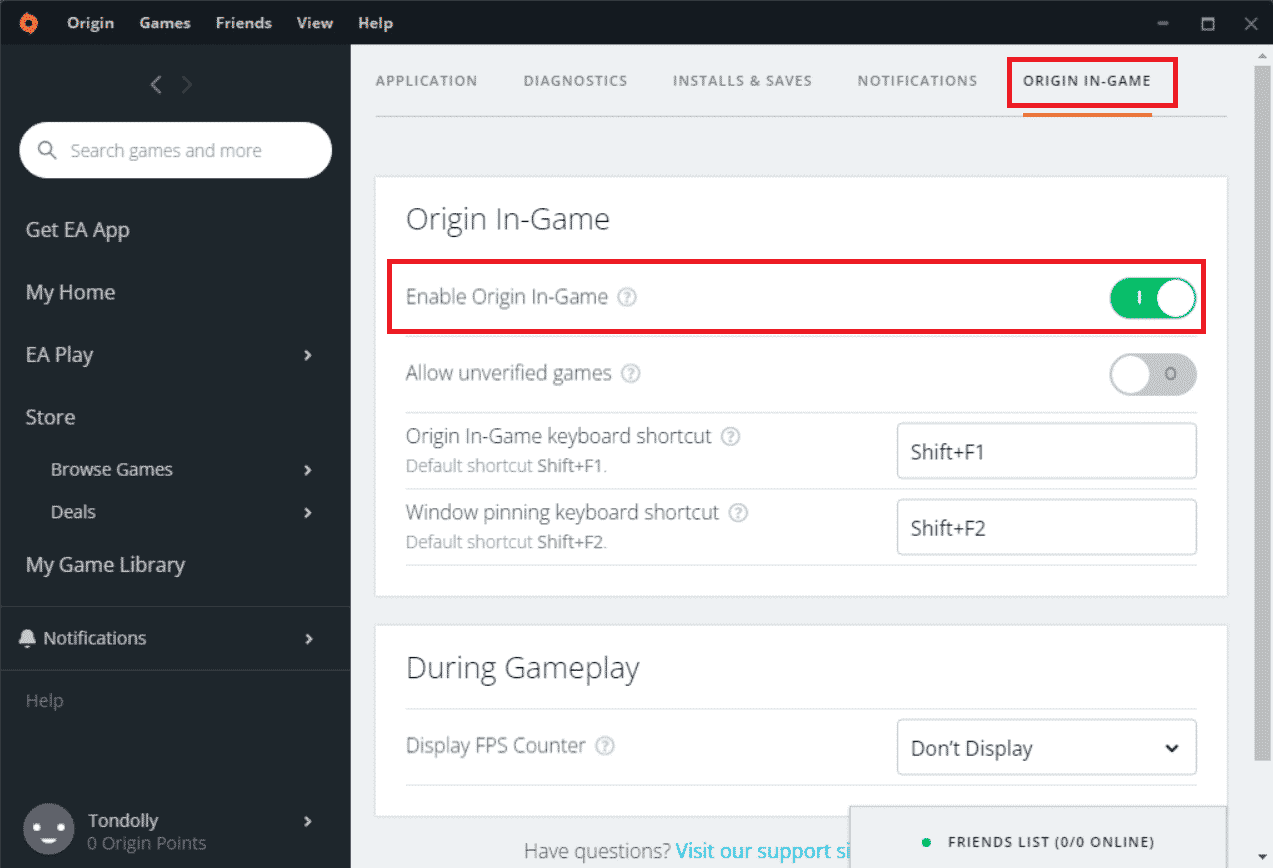
6. Check if you have fixed the problem with the Origin overlay not working in the game.
Method 4: Switch to the Origin Beta Client
If changing the in-game settings didn't fix the Origin overlay not working on Windows 10, try switching to the beta version of the Origin client. Here are the steps to do so.
1. Open the Origin app from the Windows search bar.
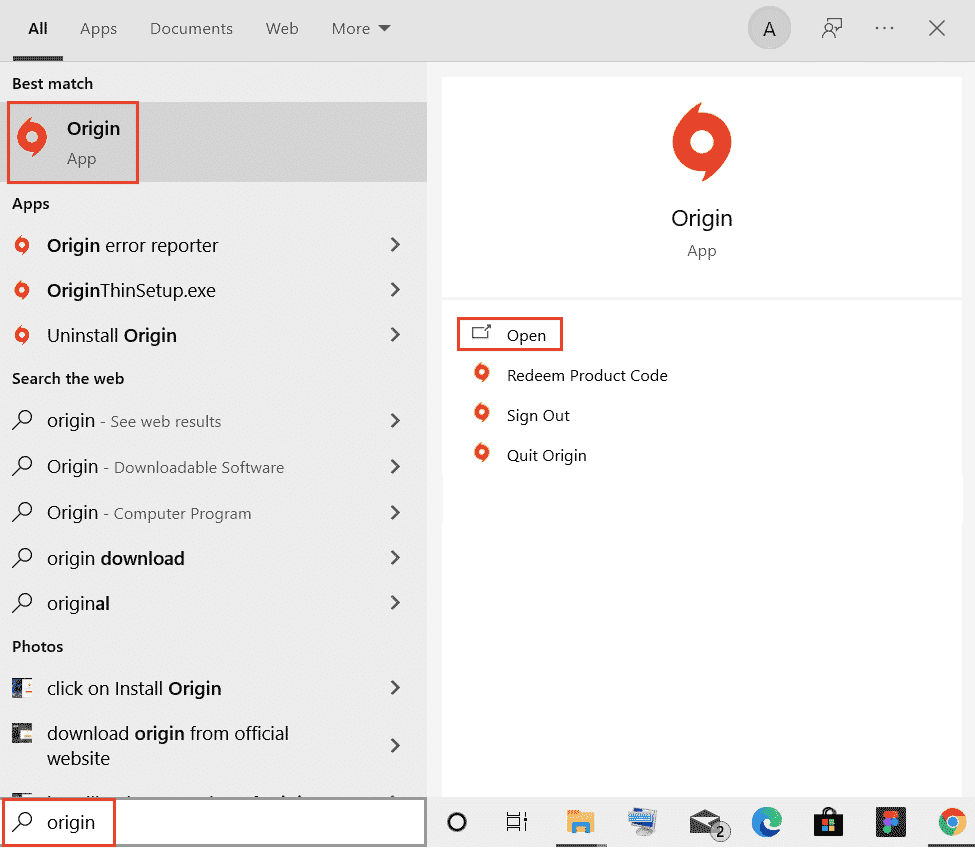
2. Now sign in to your account.
3. Then click the Origin icon located in the top left corner of the screen in the menu.

4. Select Application Settings.

6. Click the Application tab and turn on the toggle next to Participate in the Origin Client Beta, found under Client Updates.
7. Finally, restart the Origin client after switching to beta and see if the problem with Origin in the game is fixed.
Method 5: disable proxy
You may experience that the Origin overlay in the game does not work if the network settings in Windows 10 are not suitable. If you have a VPN or are using any proxy servers on your PC, please read our article "How to disable VPN and proxy server in Windows 10" and then follow the steps as shown in the article.
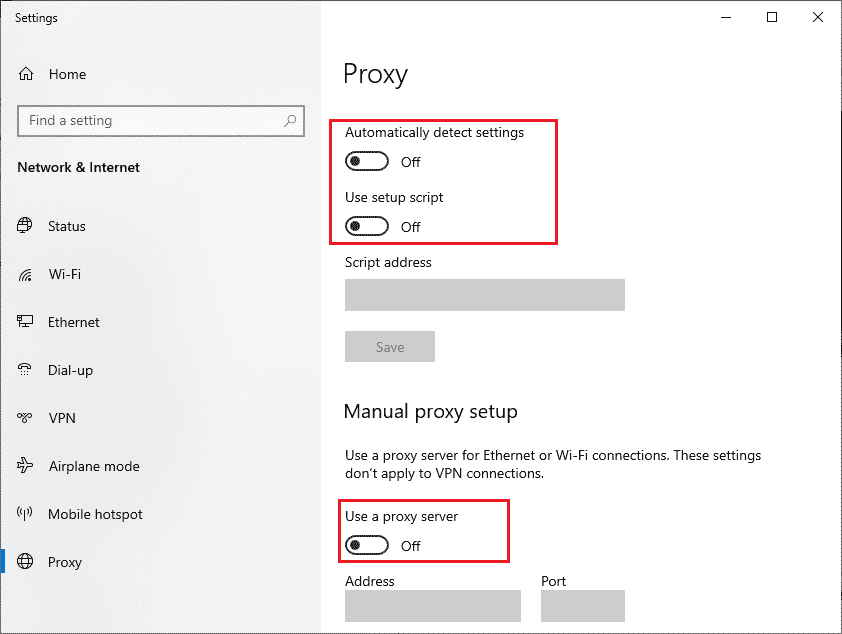
After disabling the proxy servers and the VPN client, check if you still have the problem discussed. If you are still facing this error, move on to the next method.
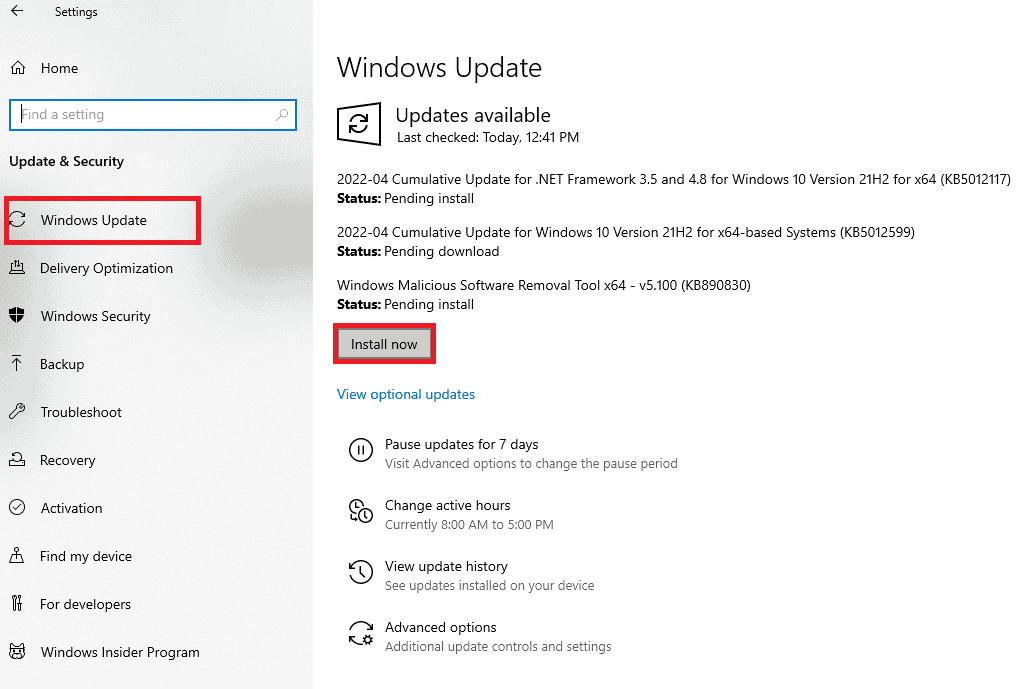
Method 6: Update Windows
If there are any errors on your computer that causes the Origin overlay not to work on Windows 10, you can fix it simply by updating your operating system. If you're new to updating your Windows 10 PC, follow the steps in this article How to download and install the latest Windows 10 update and follow the instructions given there.
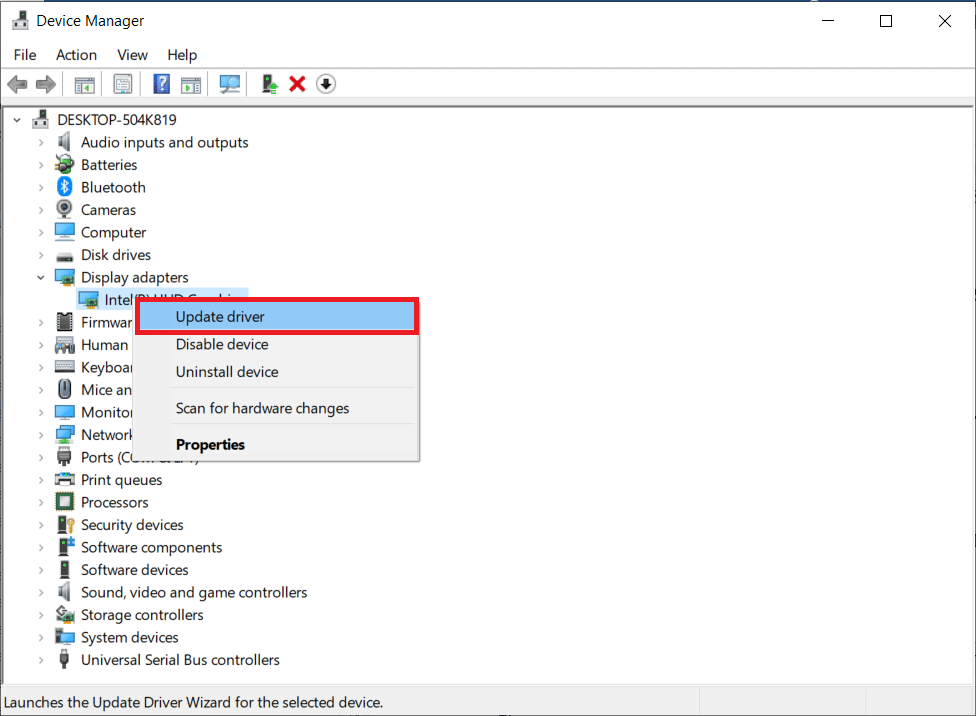
Method 7: Update your graphics drivers
All graphics drivers on your PC must be compatible and have the latest version in order for you to be able to play the graphics game and interrupt the gameplay. Check out our 4 Ways to Update Graphics Drivers in Windows 10 guide to update all your drivers manually and check if you can use the in-game settings without problems.
Method 8: Reinstall your graphics drivers
If you are still encountering the error after updating your graphics drivers, reinstall your device drivers to fix any incompatibility issues. There are so many ways to reinstall drivers in Windows. However, if you don't know how to implement this, check out our How To Uninstall and Reinstall Drivers in Windows 10 guide and do the same.
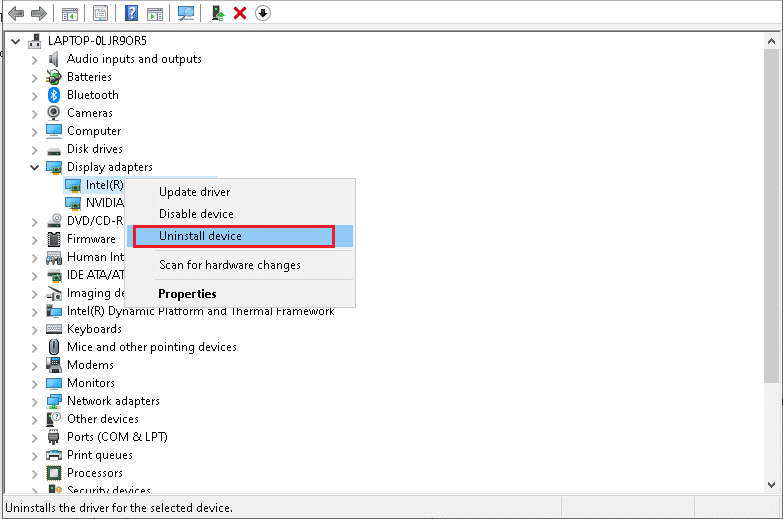
After reinstalling your GPU drivers, check if you can play games without the Origin overlay not working on Windows 10.
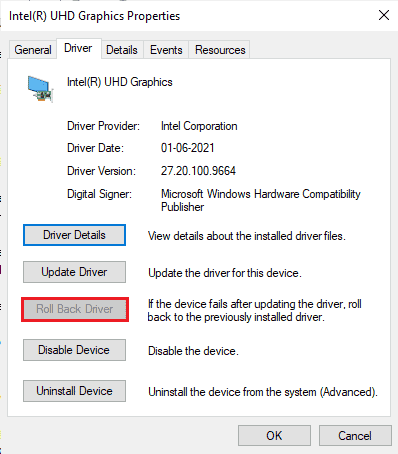
Method 9: Roll back graphics drivers
If the current version of the graphics drivers is incompatible with your game, then there is no point in updating or reinstalling them. All you have to do is roll back your drivers to a previous version by following our guide How to roll back drivers in Windows 10.
Method 10: Update the .NET Framework
The .NET platform on a Windows 10 PC is essential for the smooth running of modern apps and games. Many games have an auto-update feature for the .NET framework, so it will update automatically whenever an update is available. Otherwise, if you are prompted to update on your PC, you can manually install the latest .NET Framework as described below to fix the Origin overlay not working with Windows 10 issue.
1. Check for new updates for the .NET framework on the official Microsoft website.
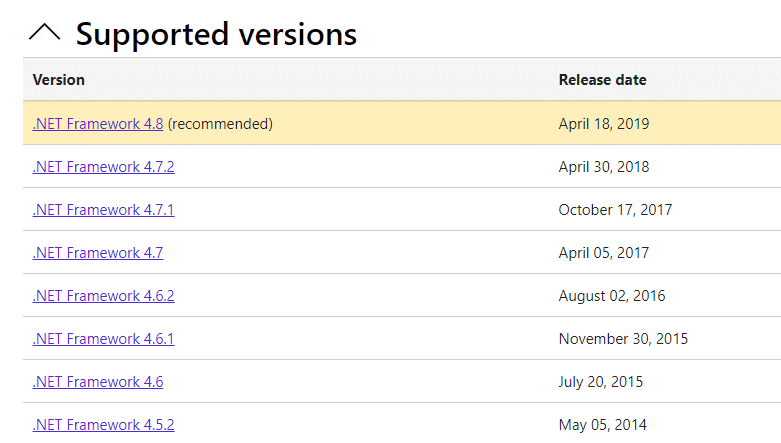
2. If there are any updates, click the appropriate/recommended link and select the Download .NET Framework 4.8 Runtime option.
Note. Do not click "Download .NET Framework 4.8 Developer Pack" as it is used by software developers.

3. Go to My Downloads, double click the setup file to run the downloaded file, and follow the on-screen instructions to successfully install the .NET framework on your Windows PC.
4. After that, check if you have fixed the problem with the Origin overlay not working in the game or not.
Method 11: Add an exception to the firewall
If the Windows Firewall is not causing a conflict with Origin, it is likely that the antivirus software on your system is blocking Origin, or vice versa. You can add an exception for Origin to fix the Origin overlay not working on Windows 10.
Option I: Through Windows Security
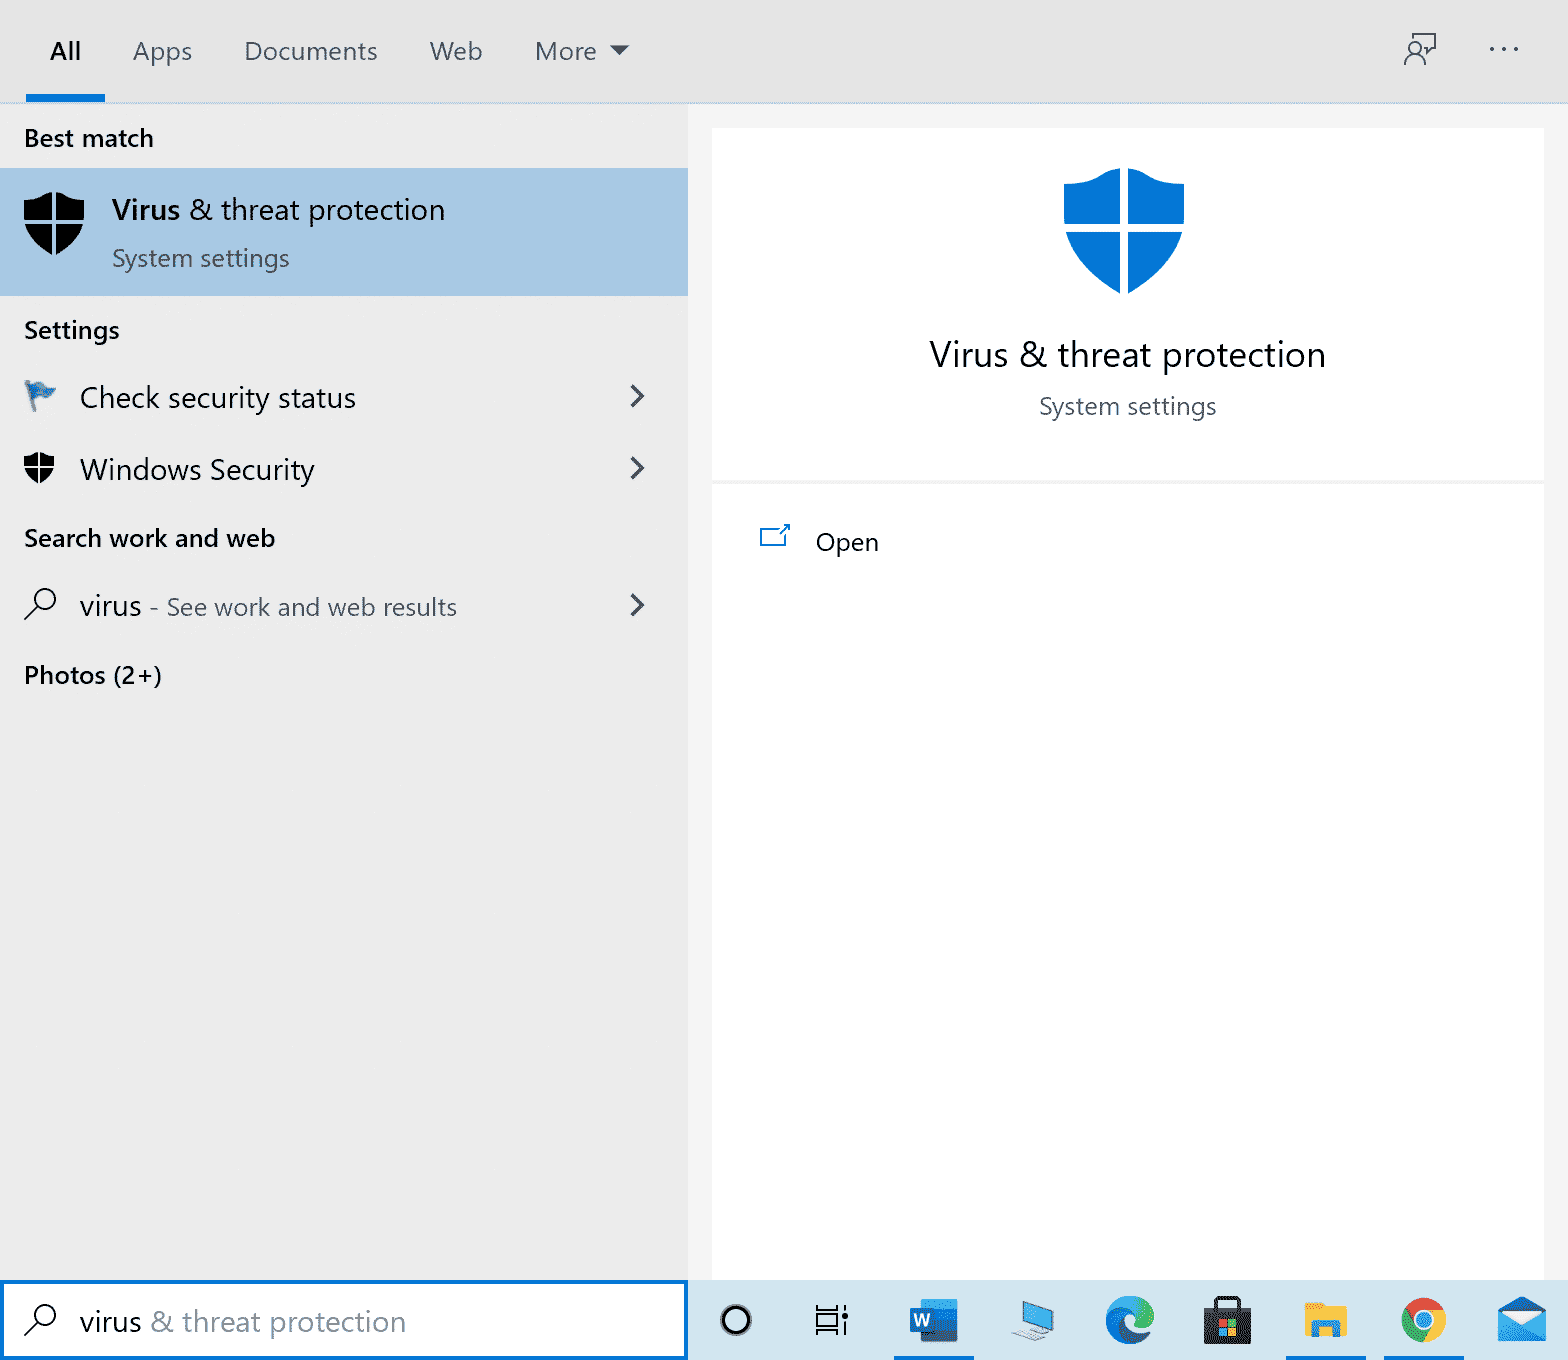
1. Press the Windows key, type virus and threat protection, and click Open.
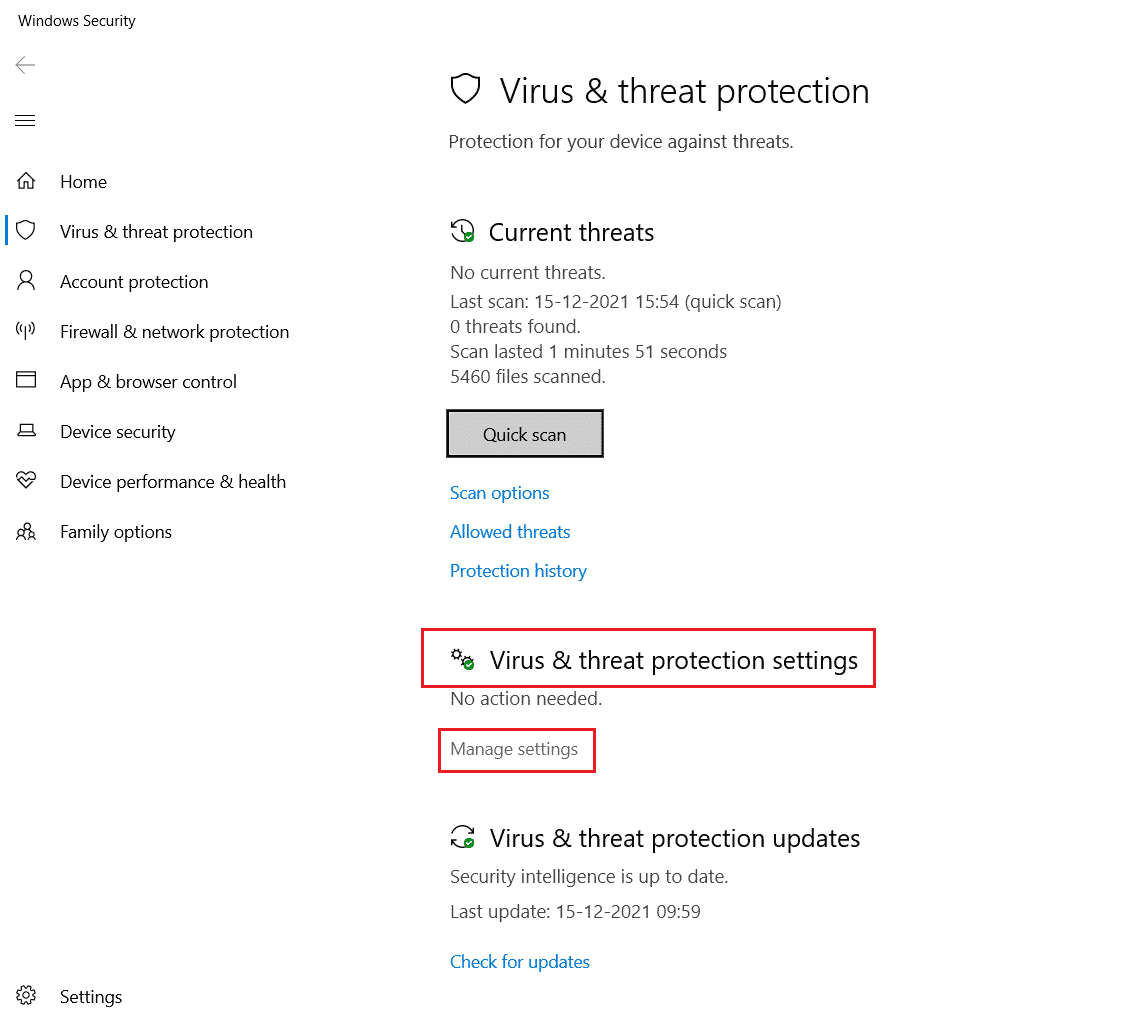
2. Then click Manage Settings.
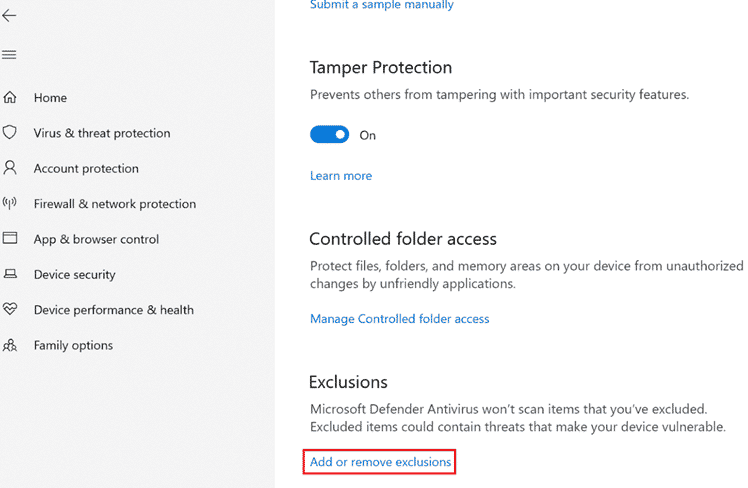
3. Then click Add or Remove Exceptions as shown below.
4. On the Exceptions tab, select the Add Exception option and click File as shown.
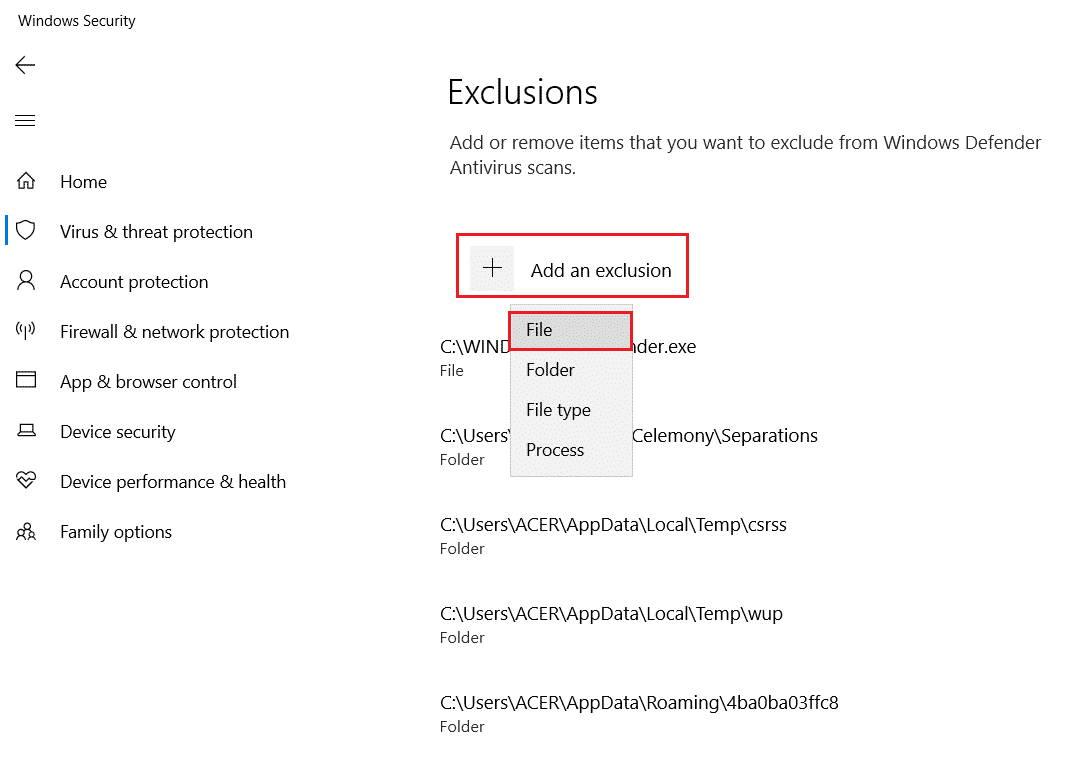
5. Now go to the file directory where you installed the program and select the Origin file.
6. Wait for the tool to be added to the security package and you are ready to use Origin without any problems!
Option II: through a third-party antivirus
Note. We have shown the steps for Avast Free Antivirus as an example. Follow the instructions of your antivirus program.
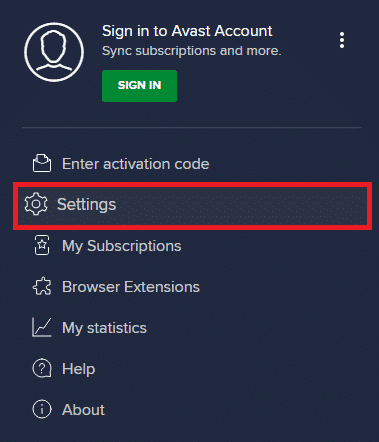
1. Launch Avast Antivirus and click on the menu item in the top right corner as highlighted.

2. Here, click "Settings" in the drop-down list.
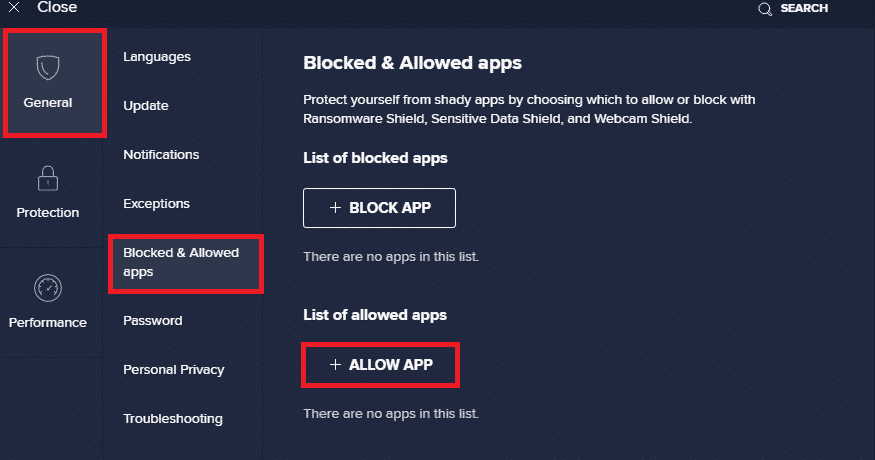
3. In the "General" menu, go to the "Blocked and Allowed Applications" section.
4. Then click "ALLOW APP" in the "List of Allowed Applications" section. Refer to the figure below
5A. Now click ADD corresponding to the path to the Origin application to add it to the whitelist.
Note. We have shown that the app installer is added as an exception below.
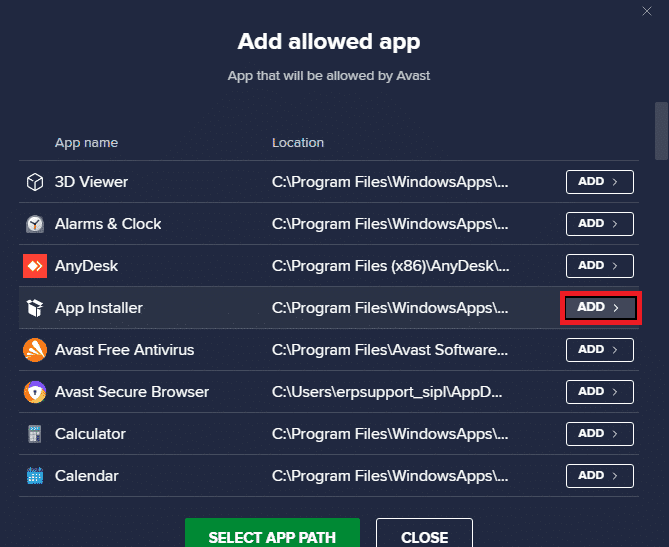
5 B. Alternatively, you can also find the Origin app by selecting the SELECT APP PATH option, and then clicking the ADD button.
Method 12: Disable DX12
Several users have suggested that disabling DX12 for any specific games in Origin helped them fix their Origin overlay not working issue. Here are the steps to disable DX12 specifically for Battlefield games as shown. If you are facing the same problem in other games, the steps will be similar.
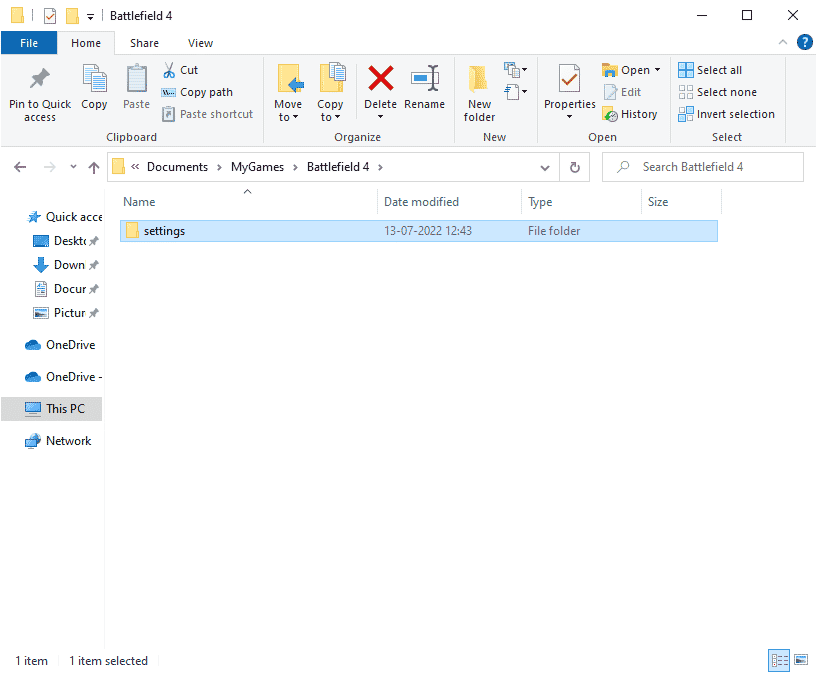
1. Press the Windows + E keys at the same time to launch File Explorer.
2. Now go to the next location path.
C:UsersUSERNAMEDocumentsMyGamesBattlefield 4settings
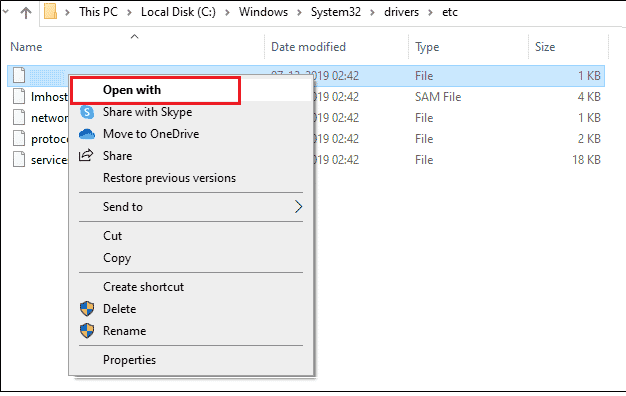
3. Now right-click on the PROFSAVE_profile file and select the "Open With" option as shown in the figure.
4. Now select the Notepad option from the list and click OK as shown in the picture.
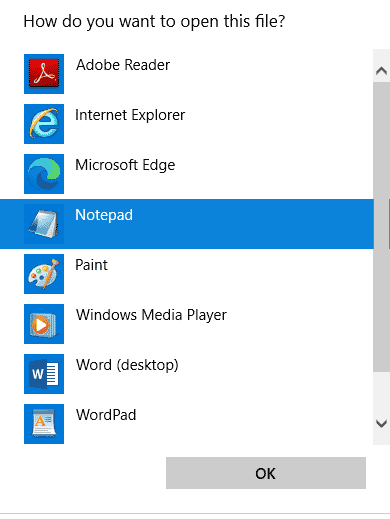
5. Find the text Dx12Enabled in the file, change the value from 1 to 0 and press the Ctrl + S keys at the same time to save the changes. Restart Origin and check if you fixed the issue or not.
Method 13: Create a new admin user
If none of the methods helped you solve the problem with the Origin overlay not working in the game, in some cases your user account is corrupted or some of its configurations do not fit and do not sync with the operating system. In this case, you need to create a new administrator account as mentioned below in order to fix this issue.
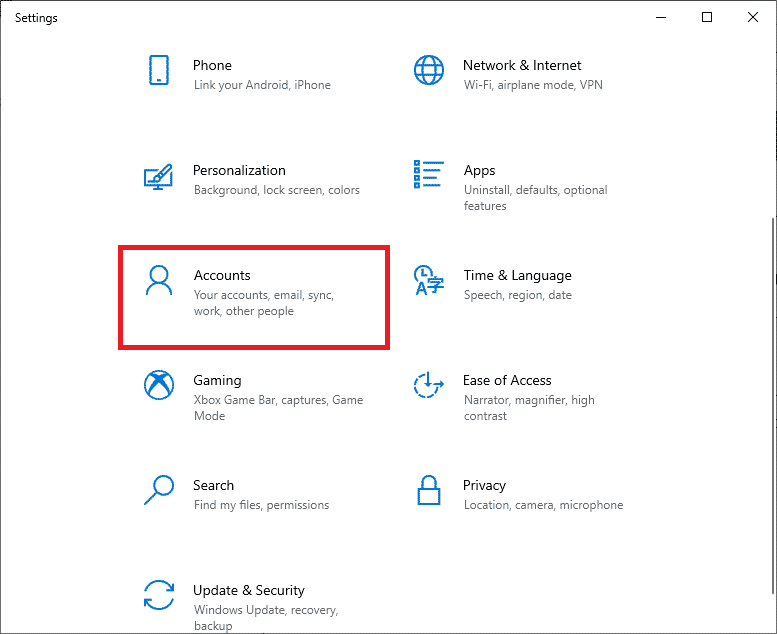
1. Press Windows Key + I at the same time to open Settings.
2. Click on account settings.
3. Then select the "Family and other users" menu from the menu on the left.
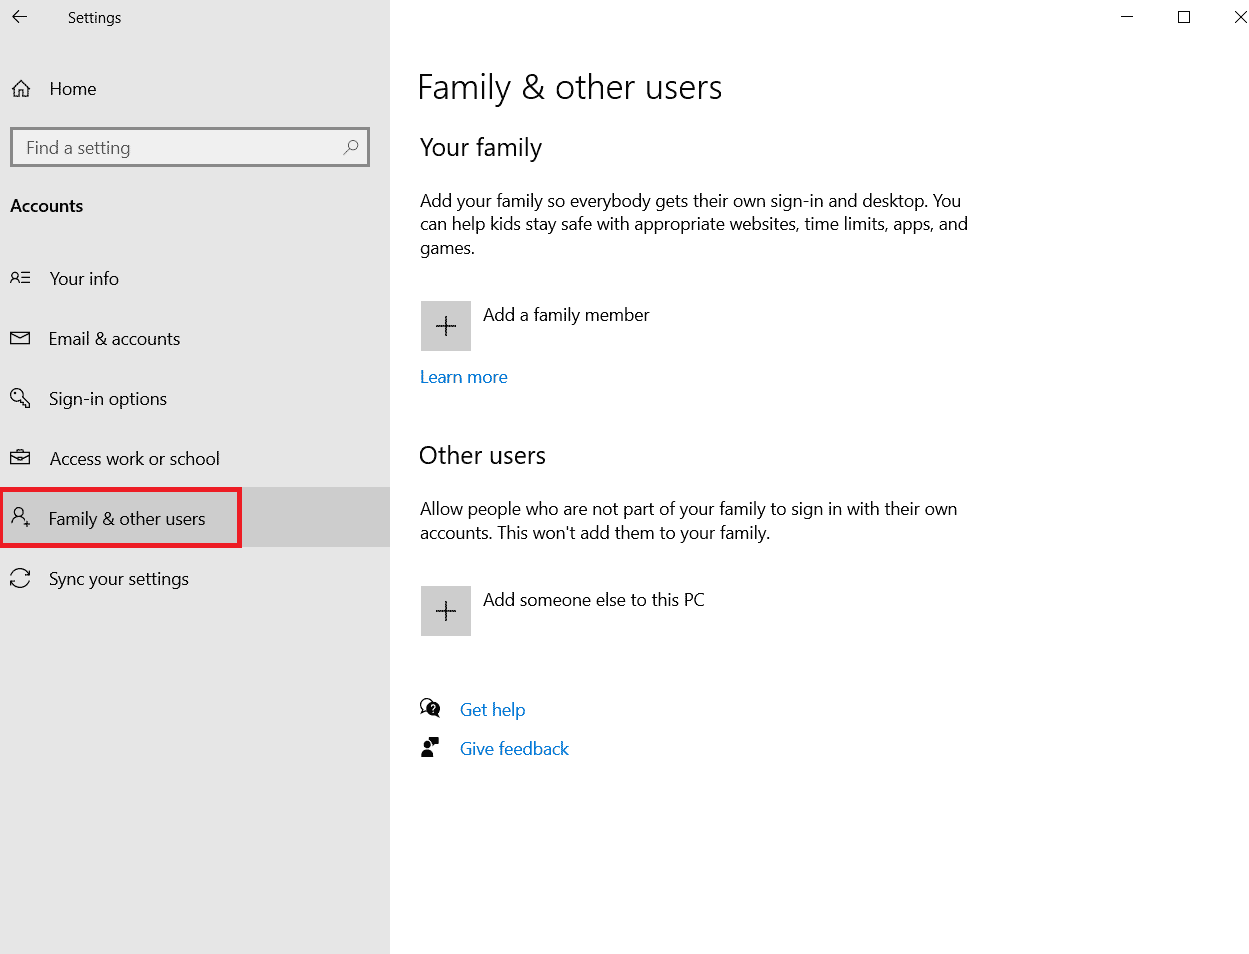
4. In the "Other people" section, select an account, then click "Change account type".
Note. If you don't find any account, you can follow our guide to create a local account in Windows 10.

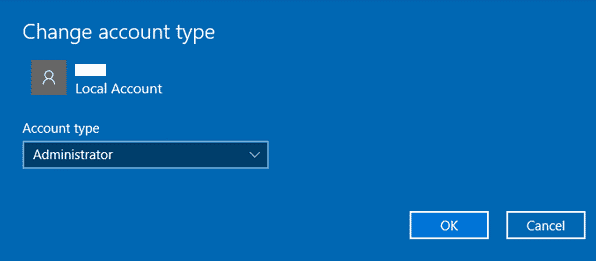
5. Finally, select "Administrator" under "Account Type" and click "OK".
Note. This does not apply to standard account users.
6. Finally, check if you have fixed the Origin overlay not working with Windows 10 issue or not.
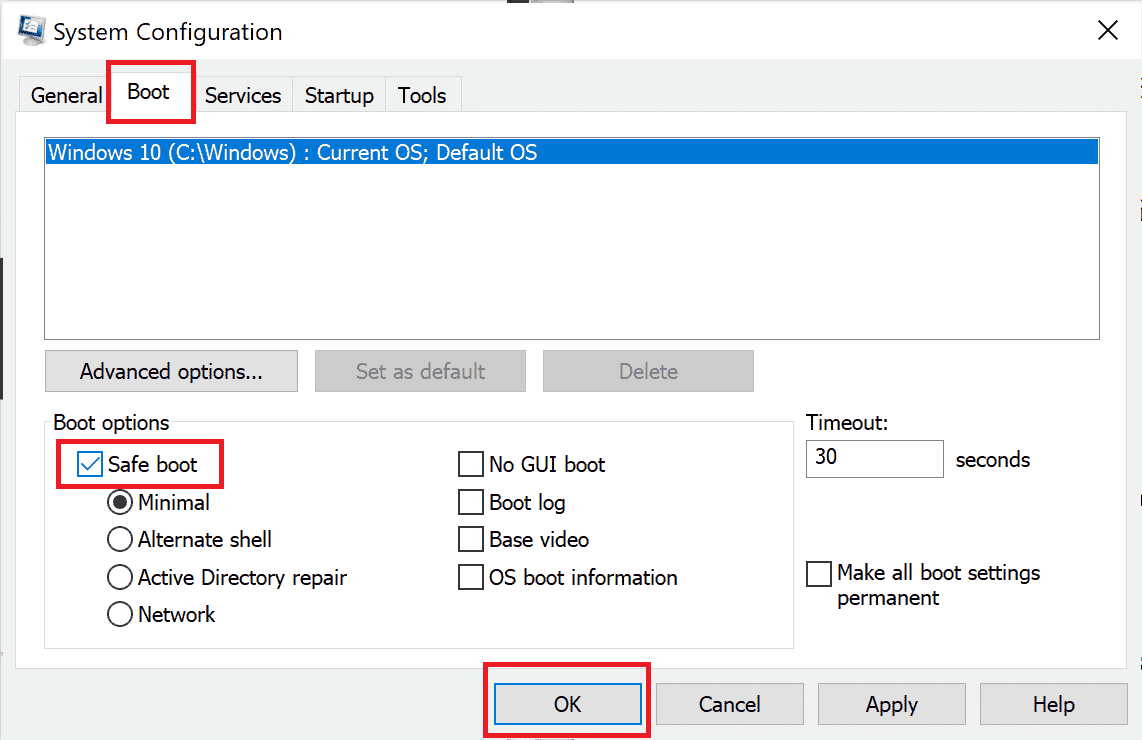
Method 14: Remove Conflicting Apps in Safe Mode
Some apps and programs may interfere with Origin. To confirm and fix this, you need to boot into Safe Mode in Windows 10. Windows PC Safe Mode will close all non-essential tasks and run with the most stable drivers. In safe mode, the Windows PC will be in the most stable environment and hence you can find which app is conflicting with Origin. You can boot your computer by following our guide How to Boot into Safe Mode on Windows 10, and after all third party software is disabled, check if you are facing the Origin overlay not working again on Windows 10.
Once your computer enters Safe Mode, check if you encounter the problem again. If you are not facing the problem, uninstall any recent programs or applications that you have added to your computer.
Method 15: Reinstall Origin
If none of the methods helped you, then try uninstalling the software and reinstalling it. Any common software-related crashes can be resolved by reinstalling the program. Below are the steps to reinstall Origin to fix the Origin overlay not working issue in the game.
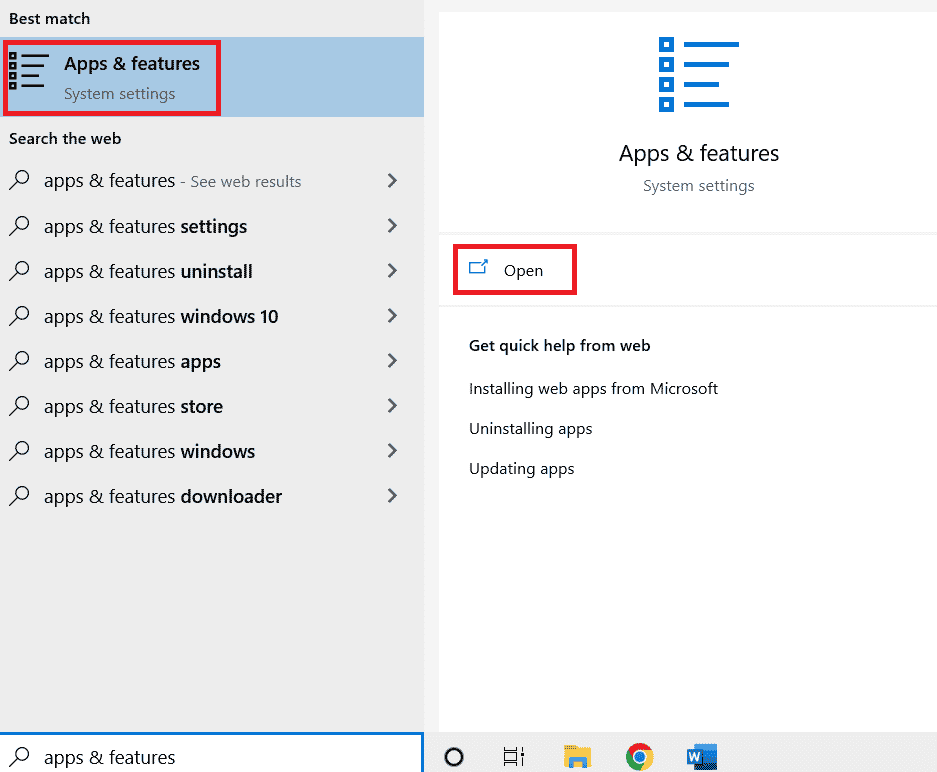
1. Press the Windows key, type apps and features, and click Open.
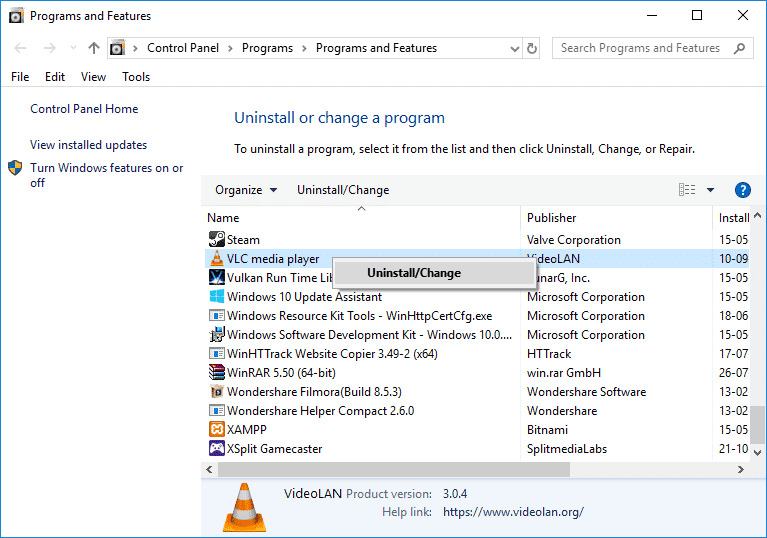
2. Find the item "Origin" in the field "Search in this list".
3. Then select Origin and click the highlighted Remove button.

4. Click "Delete" again to confirm.
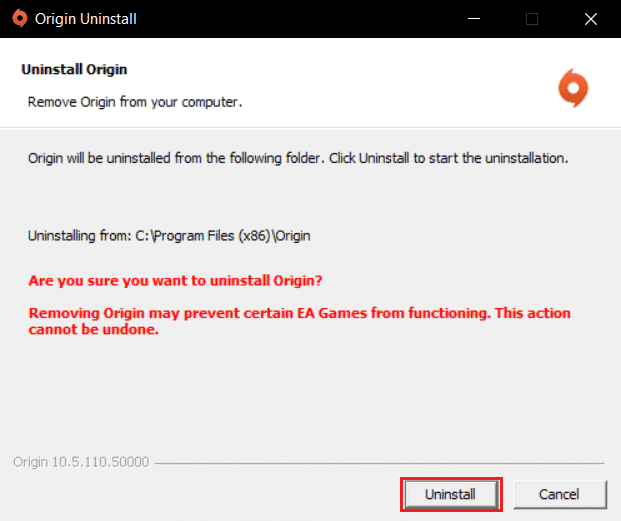
5. Now click the Uninstall button in the Origin uninstall wizard.
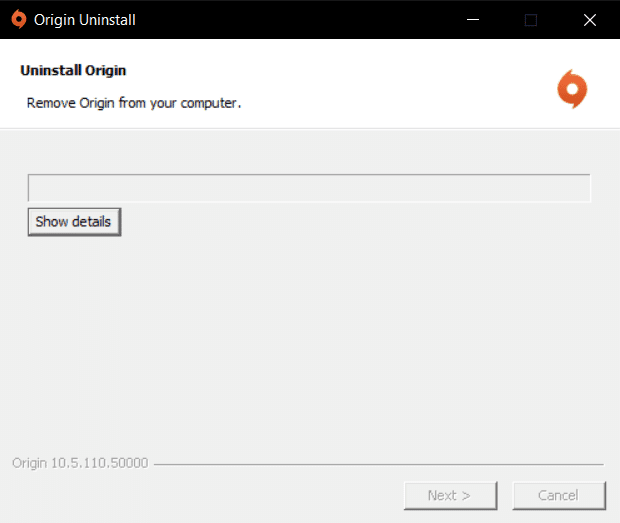
6. Wait for the Origin uninstall process to complete.
7. Finally, click "Finish" to remove the app from your device and then restart your computer.

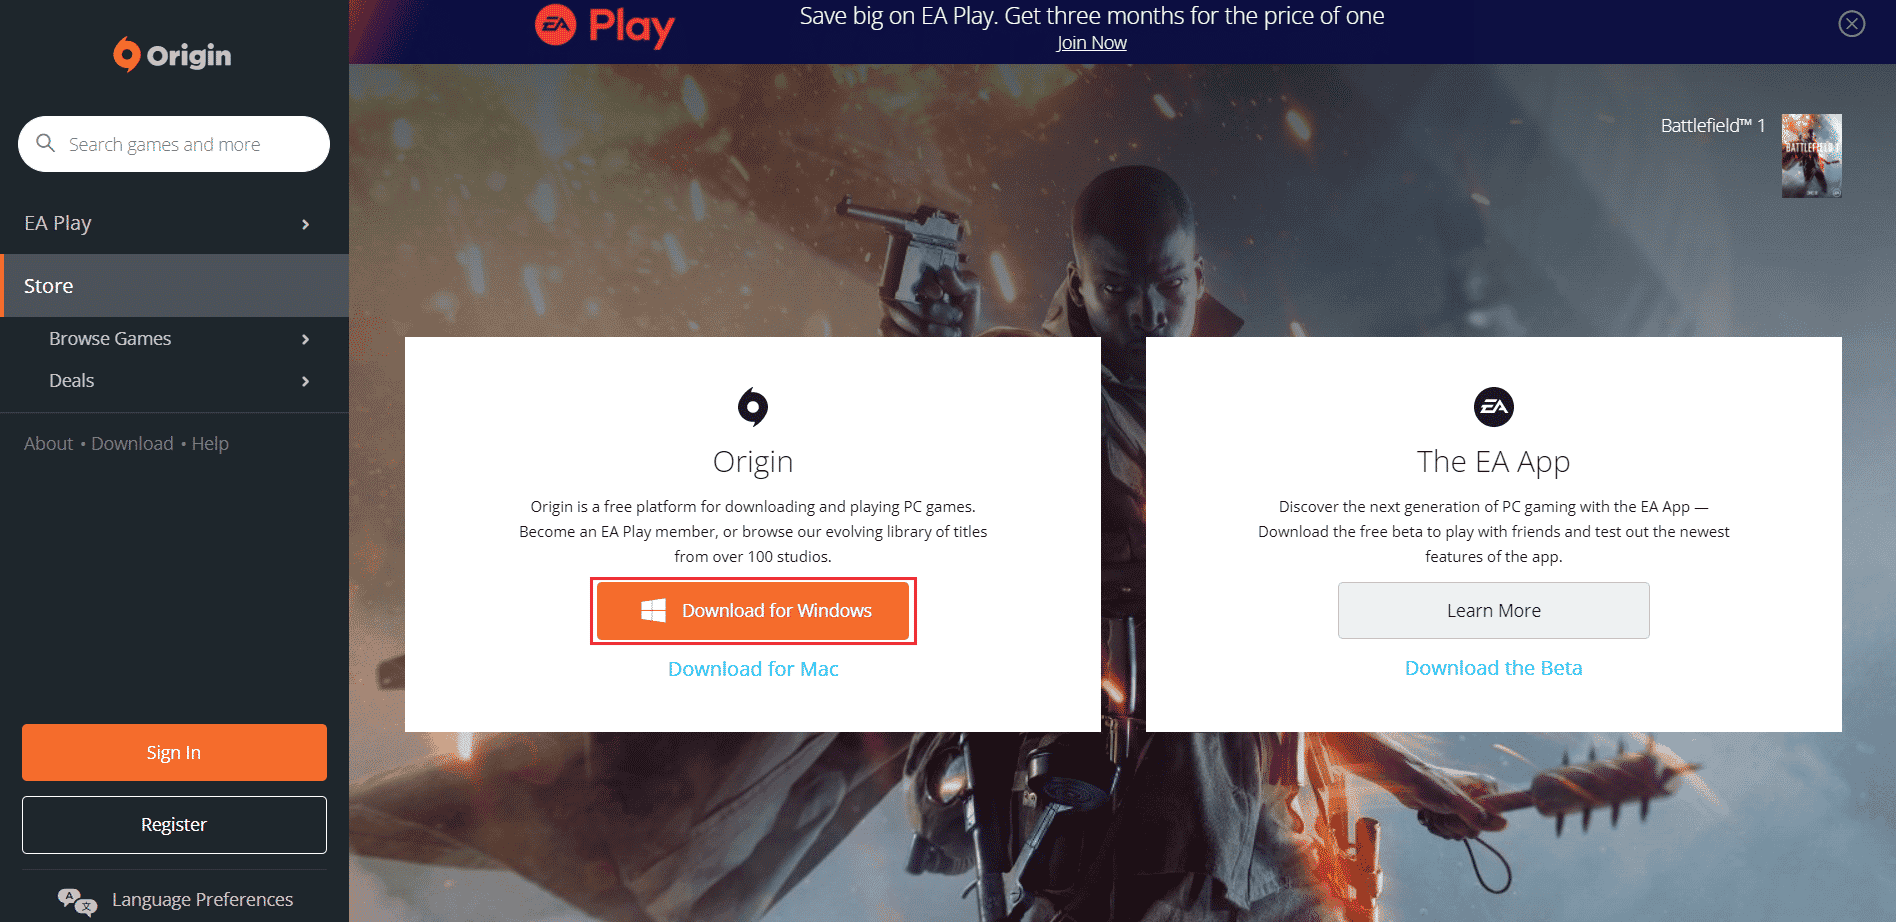
8. Download Origin from the official website by clicking the "Download for Windows" button as shown in the picture.
9. Wait for the download to complete and run the downloaded file by double-clicking on it.
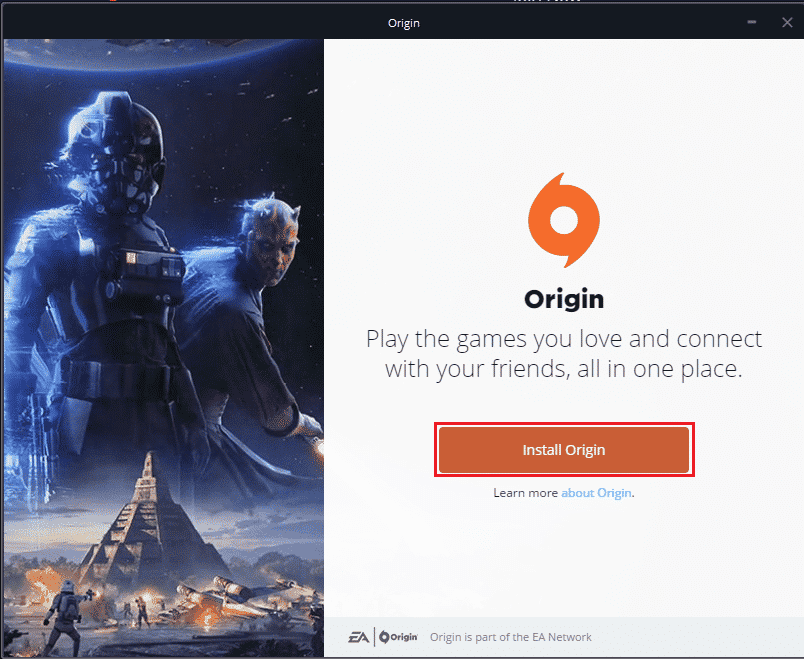
10. Here, click "Install Origin" as shown in the picture.
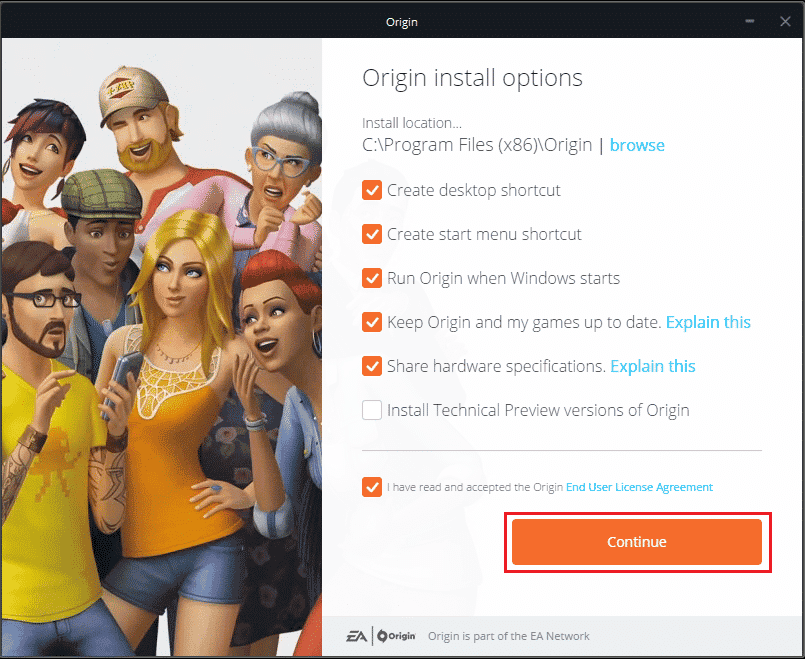
11. Select installation location... and change other options as per your requirement.
12. Then check the End User License Agreement to accept it and click Continue as shown below.
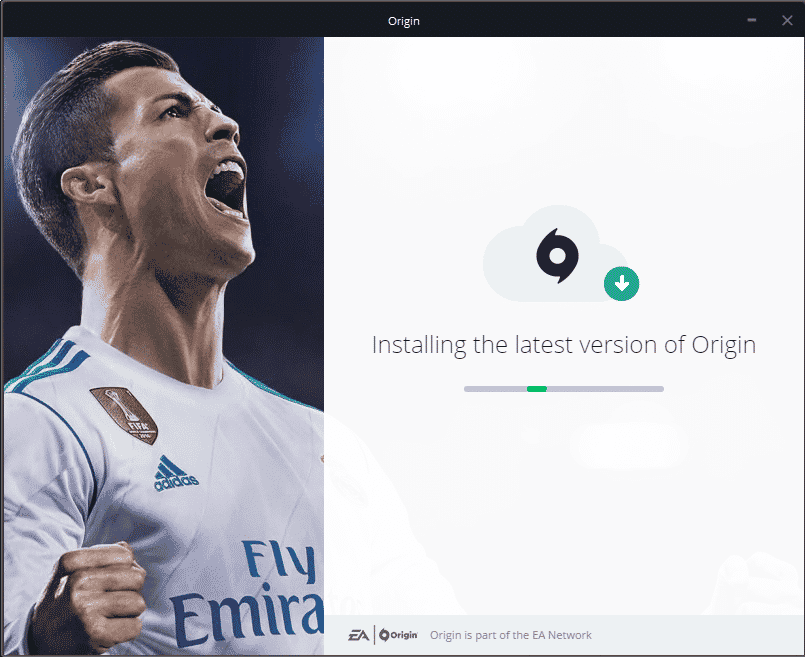
13. The latest version of Origin will be installed as shown in the picture.
14. Finally, you can sign in to your EA account and start playing games.
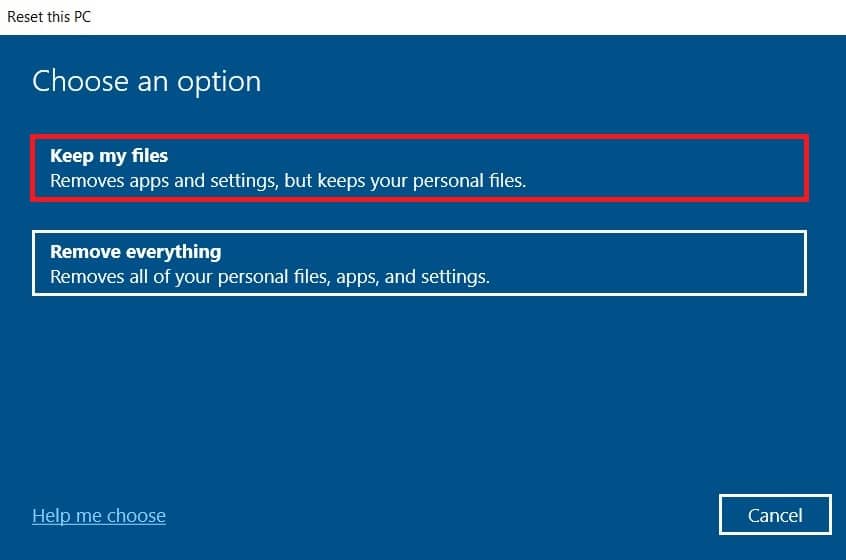
If all of the above methods failed to resolve the issue in question, restart your computer by following our How to Reset Windows 10 Without Losing Data guide and check if that works.
***
We hope this guide was helpful and you were able to fix the Origin overlay not working on Windows 10. Let us know which method worked best for you. Also, if you have any questions/suggestions regarding this article, feel free to post them in the comments section.