Fix error setting custom settings for driver in Windows 10
Many Windows users, especially those using Lenovo and Sony laptops, are reporting a strange dialog error stating that setting custom settings for a driver failed. The problem usually appears at boot time, although it can also appear at odd times. The touchpad device on your laptop is to blame for this problem. Alps Pointing Hardware is the device that usually displays this error and this is common on Lenovo computers. The observed problem occurs randomly, but most often during boot.
How to Fix Driver Custom Settings Error in Windows 10
The "Failed to set custom settings for the driver" error can be caused by various touchpad-related issues. This issue has been reported even on desktop PCs without a touchpad. There are several reasons for this problem in Windows 10.
- Installing Touchpad Drivers on a Desktop PC: You can easily notice this error on your computer if your computer doesn't even have a touchpad and you somehow downloaded these drivers.
- No need for Alps drivers: If you have problems with the first scenario, or if you are using alternative touchpad drivers, kill the main executable, block it from running, or deactivate its service to avoid repeating the problem.
- Drivers not installed correctly: If you are using Alps pointing device drivers and they are causing you this problem, try reinstalling the driver to see if it fixes the problem.
In this article, we will show you in detail how to fix the "Set custom settings for driver failed" problem on Windows computers. Make sure you carefully follow the steps below to properly resolve this issue on your computer.
Method 1: Rename the problematic file
If you have competing touchpad drivers, you can try modifying the apoint.exe executable in the appropriate subdirectory to resolve the driver custom settings fail issue. This can be handy because many users' touchpad drivers are incompatible. Here is the main overview.
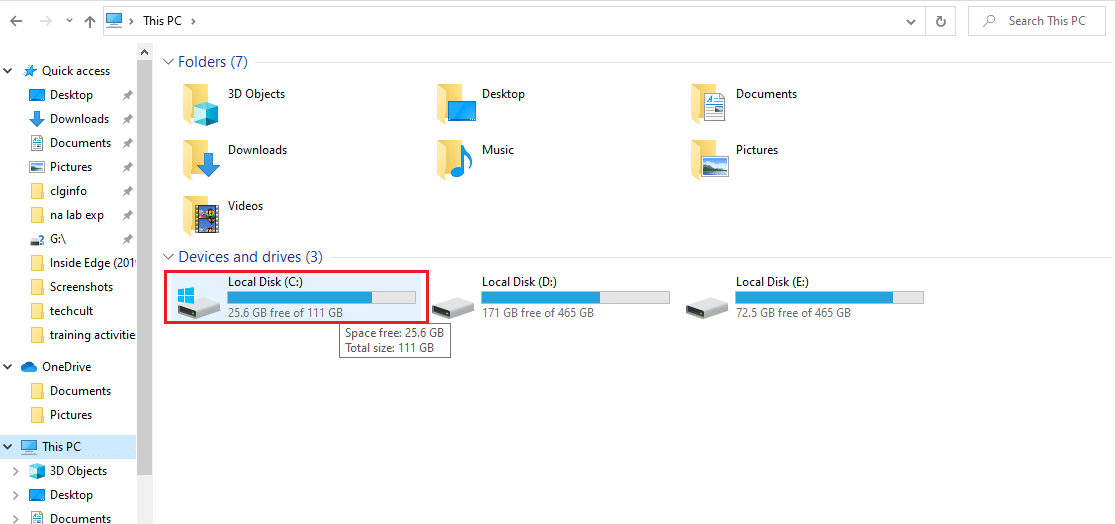
1. Go to This PC and double-click Local Disk.
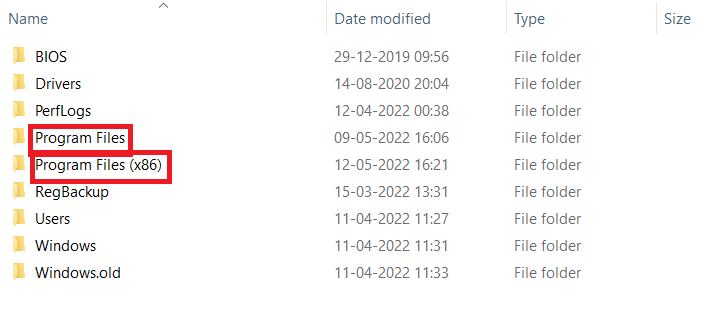
2. Click Program Files or Program Files (x86).
3. Double click the Apoint2K folder to open it.
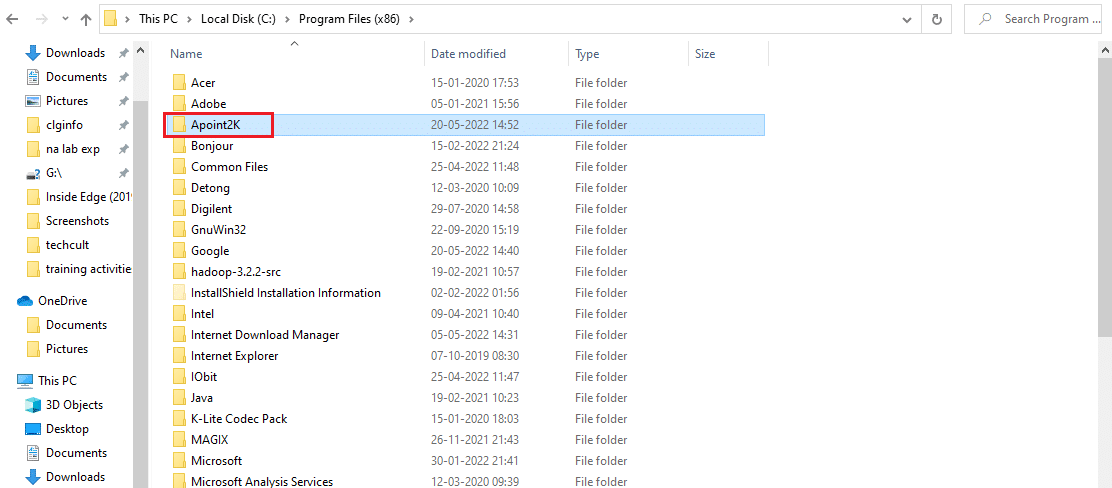
Note. You can use the procedures below if you cannot find this folder or if you have installed it elsewhere.
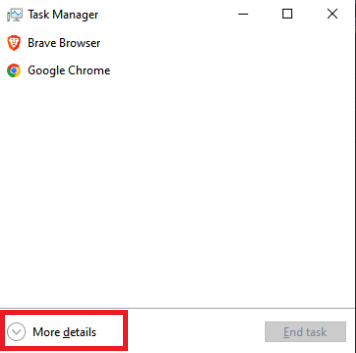
4. Allow the error notification to appear. When it appears, press the Ctrl + Shift + Esc keys at the same time to open Task Manager.
5. Click More.
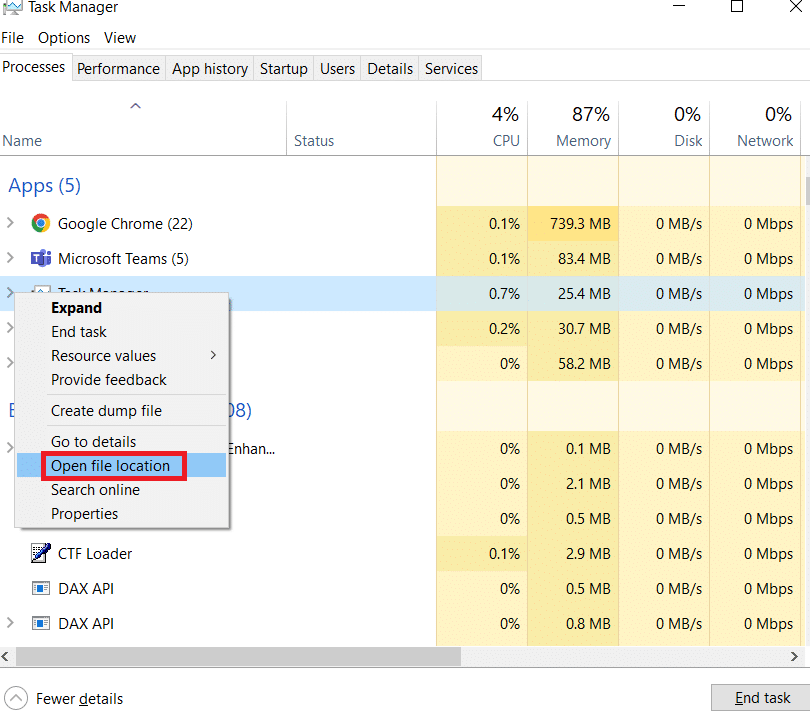
6. Right-click the Alps Pointing-device process element and select Open File Location.
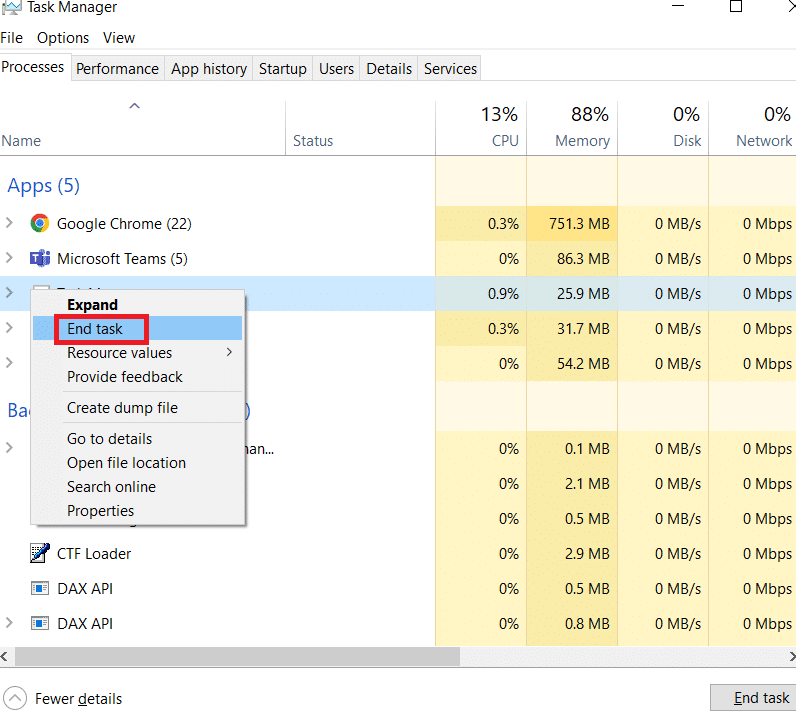
7. Right-click the same entry again once the folder opens and select End task.
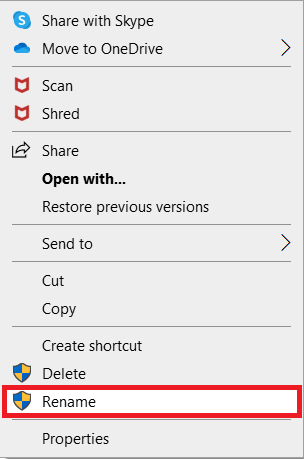
8. Locate the apoint.exe file in the Apoint2K folder, right-click it and select Rename from the context menu that appears.
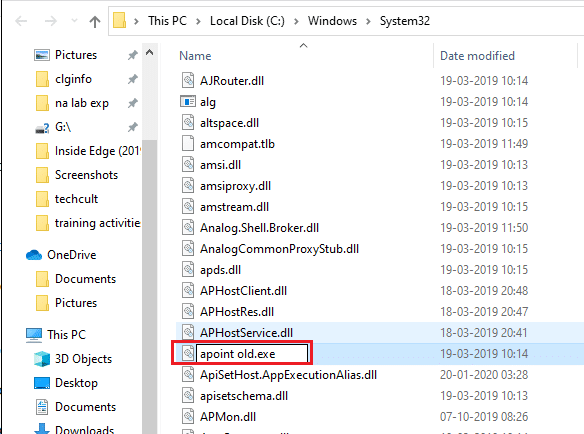
9. Rename it to apoint old.exe and recheck the changes.
Note. Some users claim that the above methods don't work because they require full ownership and control of the Apoint2K folder in Program Files. If you see any error messages related to permissions, be sure to try the following steps to fix the error setting custom settings for the driver error.
1. Before proceeding, you must determine the installation folder.
2. This should be the folder that opened when you got it in the task manager and selected the "Open file location" option.
3. You can also look in the C: folder, which is the default location for all programs on your computer.
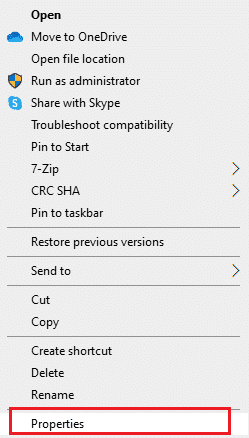
4. Once you find it, right-click on the Apoint2K folder containing the faulty executable and select Properties from the resulting context menu.
5. Select the "Security" tab in the "Properties" field.
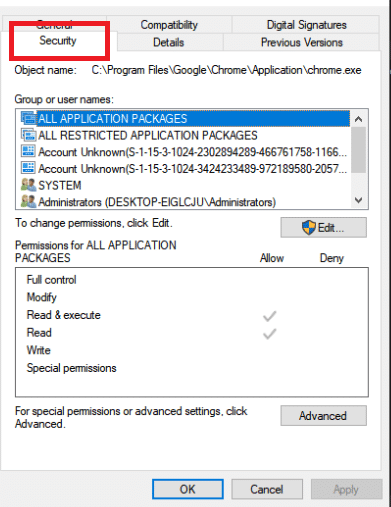
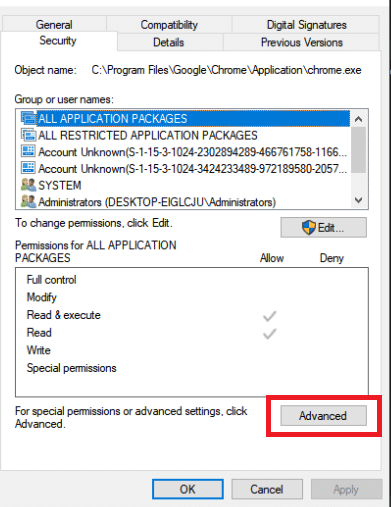
6. Click "Advanced" at the bottom.
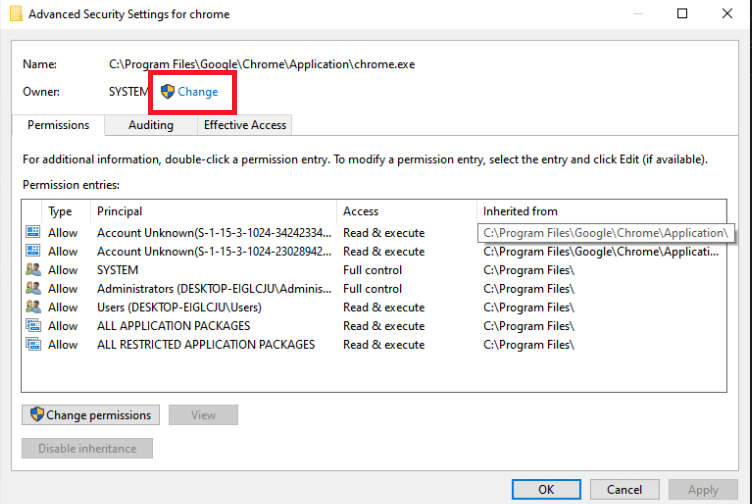
7. In the Advanced Security Settings window that appears on the screen, click Edit next to the owner entry.
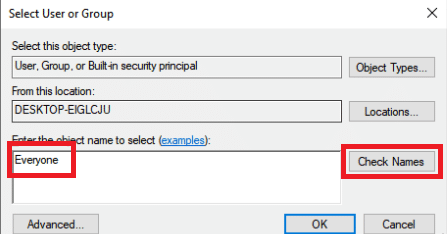
8. Enter "All" in the "Enter the name of the object to select" field and click the "Check Names" button. Text All should be selected.
9. To make everyone the owner of the folder, click OK.

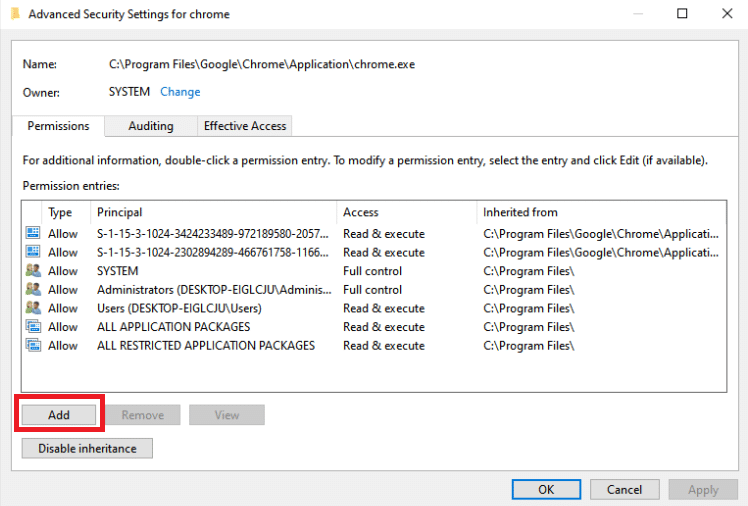
10. To add more permissions to the folder, click the Add button in the Advanced Security Options field.
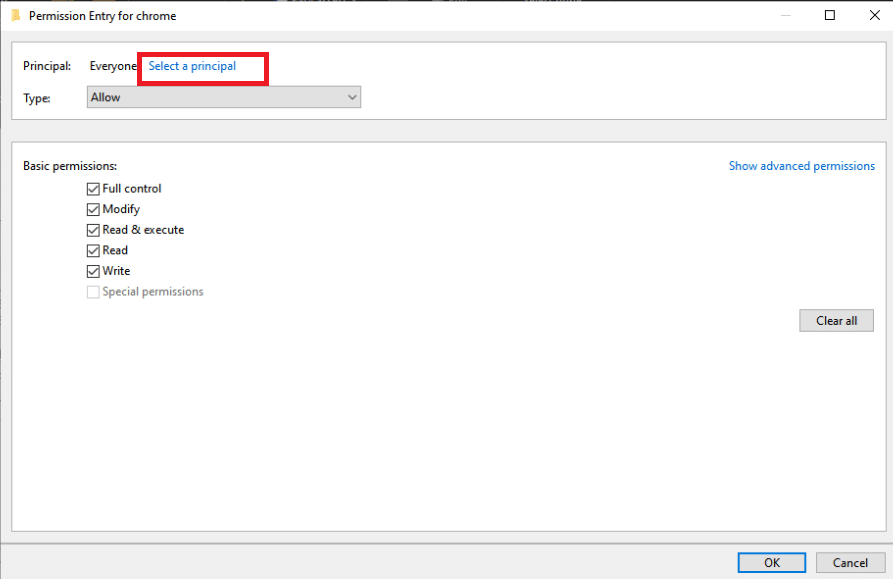
11. At the top, click the Select Principal button.
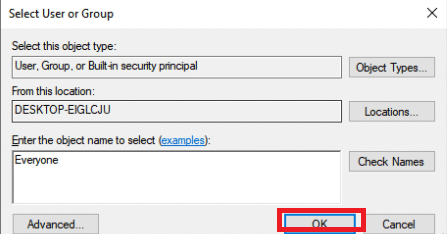
12. Type "Everyone" again and click "Check Names".

13. Select the OK option.
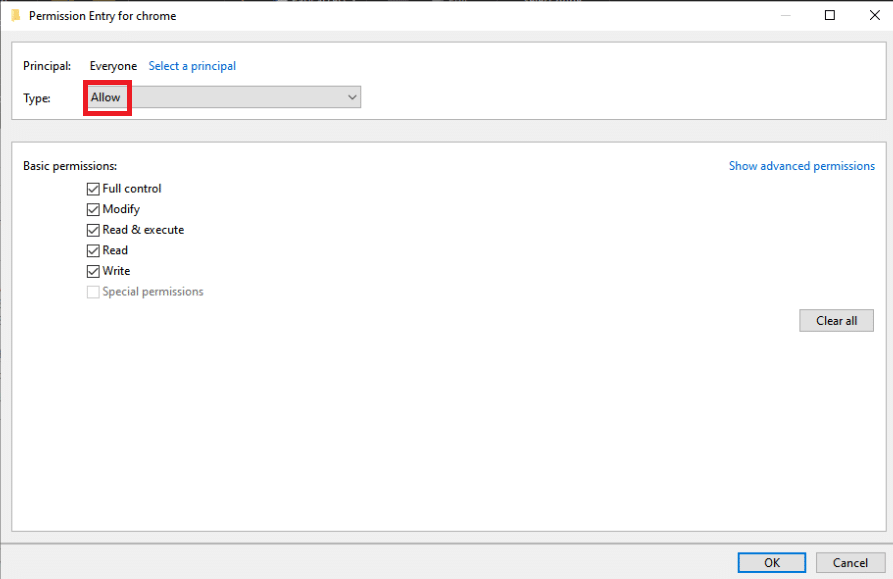
14. Verify that Allow is selected as the type.
15. Check the "Full Control" checkbox in the "Basic Permissions" panel. To add full rights, click OK.
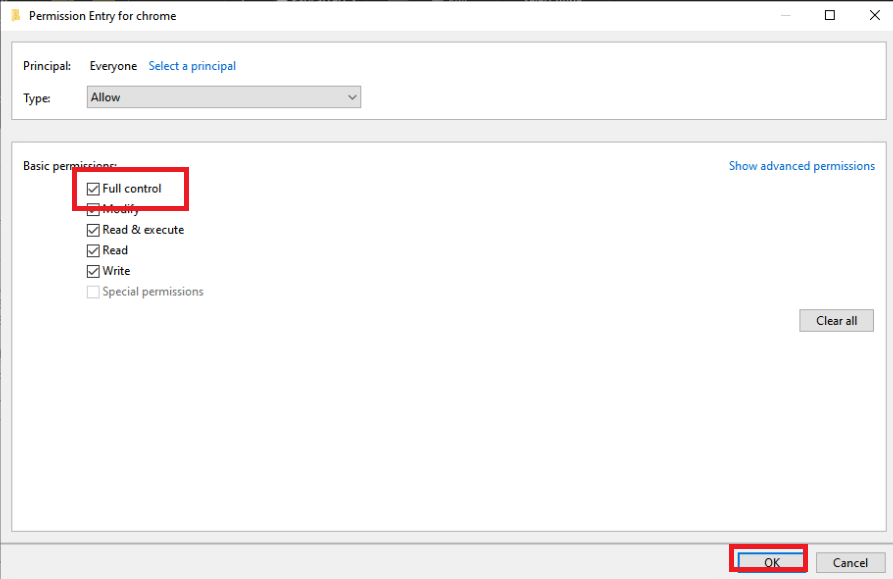
16. Click the OK button twice more to close any windows that appear, then restart your computer to check if the Set custom driver settings issue is still there.
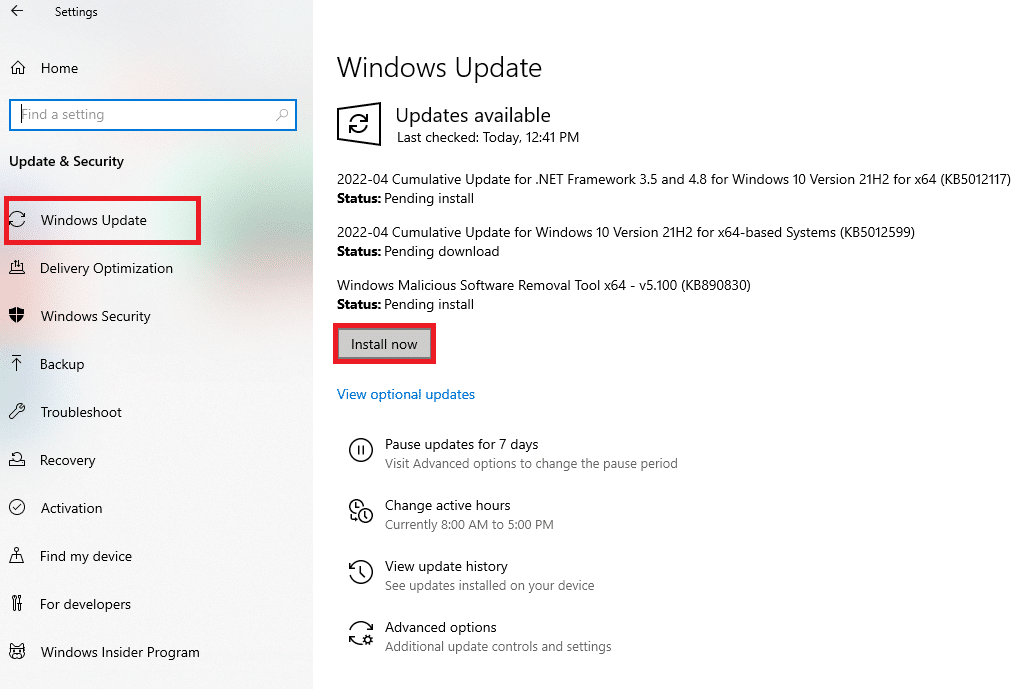
Method 2: Update Windows
Before we look at any additional options, you must update Windows to the most recent version. According to Microsoft developers, this was a bug that affected many versions of Windows. Read our guide on how to download and install the latest Windows 10 update to fix installed custom settings for driver crash error.
Method 3: Reinstall your touchpad drivers
Problem Set driver custom settings failed, usually always related to touchpad drivers. You can try reinstalling these drivers and try again to fix the problem. You can either use Microsoft's default touchpad drivers or go online and find the manufacturer's website to get the drivers. Follow the steps below.
1. First of all, you need to remove all installed drivers.
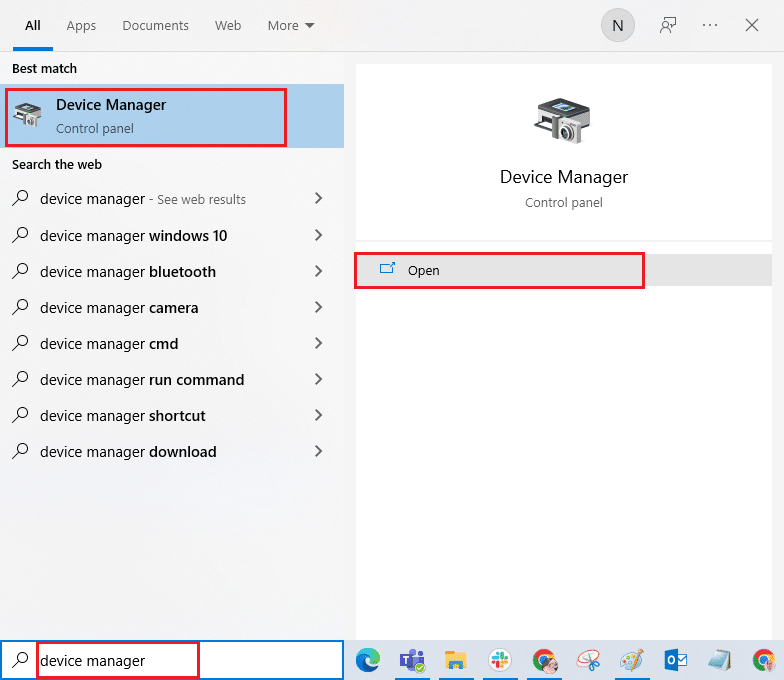
2. Press the Windows key, type "Device Manager" and click "Open".
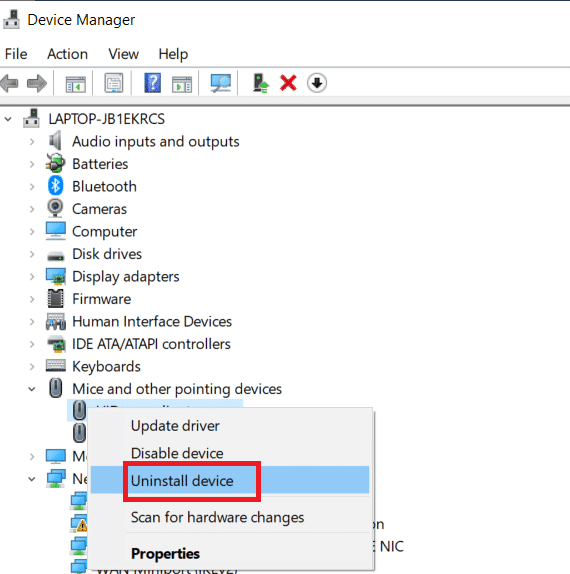
3. Double-click Mice and other pointing devices to expand the drivers.

4. Right-click the driver and select Uninstall device from the context menu that appears.
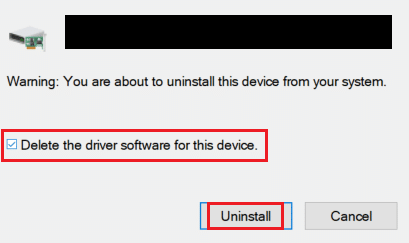
5. Uncheck "Remove the driver software for this device" and click "Remove".
6. Finally, restart your computer.
7. Now open Device Manager again and click the Action menu, then select Scan for hardware changes.
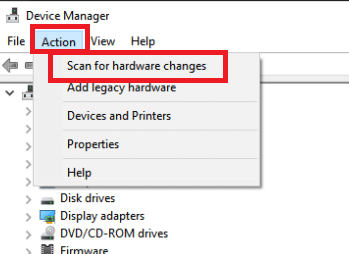
The touchpad driver will be reinstalled.
Method 4: Update device drivers
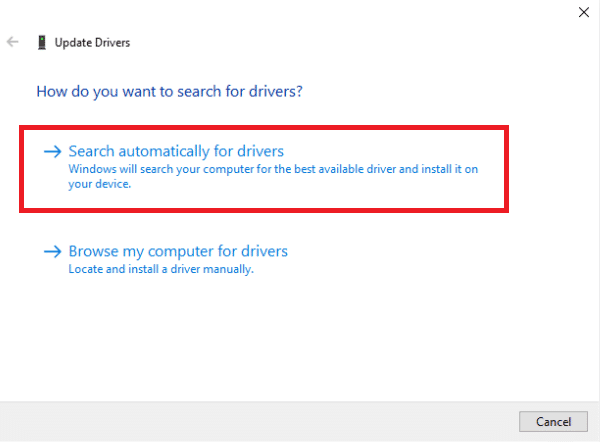
Corrupted or outdated device drivers are one of the most common causes of this issue. So, before doing anything more complicated, try updating your touchpad driver. Follow our guide to updating device drivers in Windows 10.
Method 5: Disable App Autostart
This issue often occurs when touchpad drivers are installed on a machine that does not have a touchpad. It may also be difficult to uninstall Alps manipulator drivers. Therefore, it is preferable to simply prevent them from loading at all.
1. Press the Ctrl + Shift + Esc keys at the same time to open the Task Manager.
2. Go to the "Startup" tab.
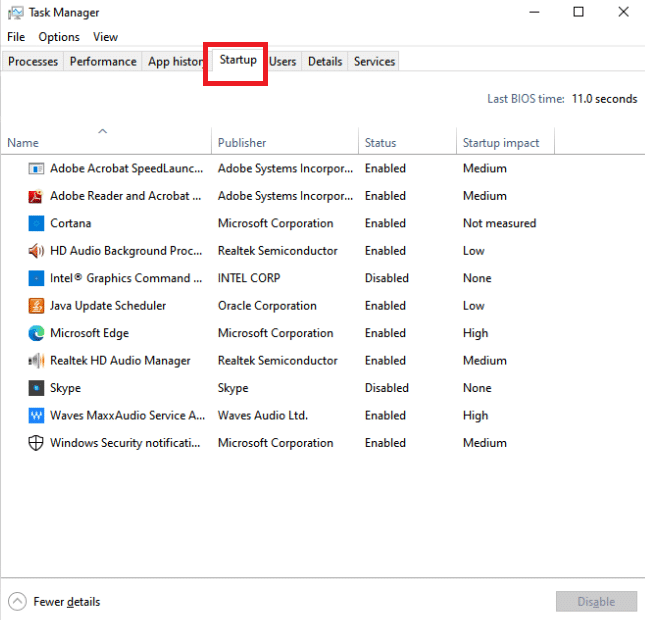
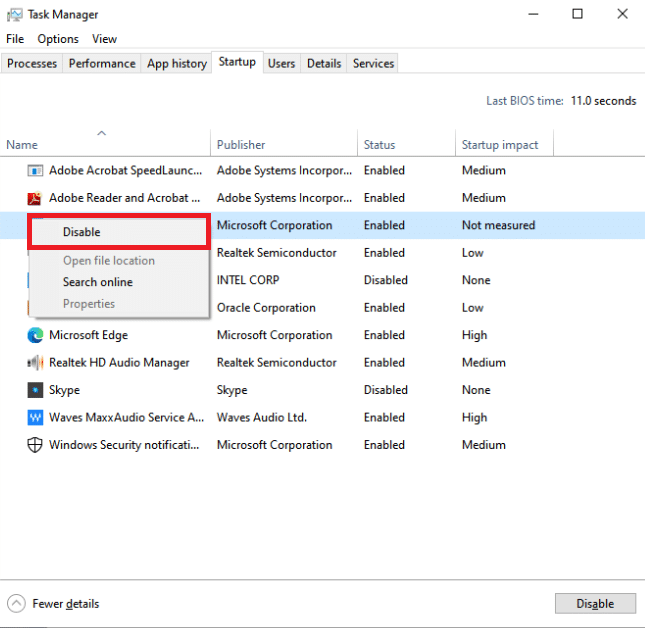
3. Find the Alps manipulator in the list. Once you find it, right-click it and select the Disable option in the bottom right corner of the window.
Check if the user setting error for the driver error persists after restarting the computer.
Method 6: Disable the Alps Service
The services installed on your computer will continue to run until you instruct them to stop. This also applies to Alps products. Whatever you do, its main service will keep running. It's better if you just stop doing it. As a result, you can try to disable the main Alps device service. To do this, follow the instructions below.
1. First of all, you need to remove all installed drivers.
2. Press the Windows + R keys at the same time to open the Run dialog box.
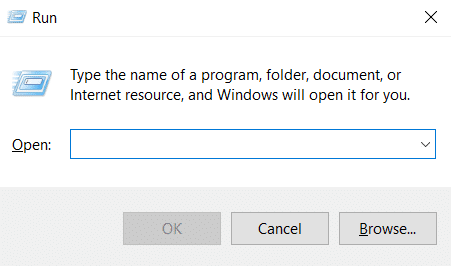
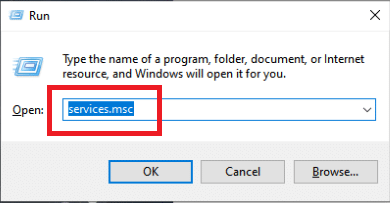
3. Type services.msc and press the Enter key to open the Services window.
4. Find Alps SMBus Monitor Service in the list.
5. Right-click it and select Properties from the menu that appears.
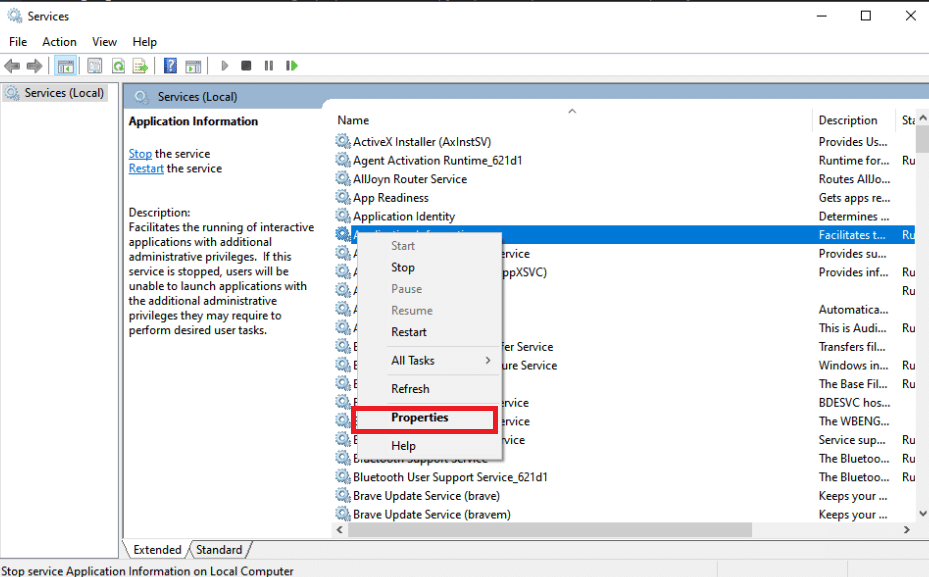
6. If the service status is already Running, click the Stop button.
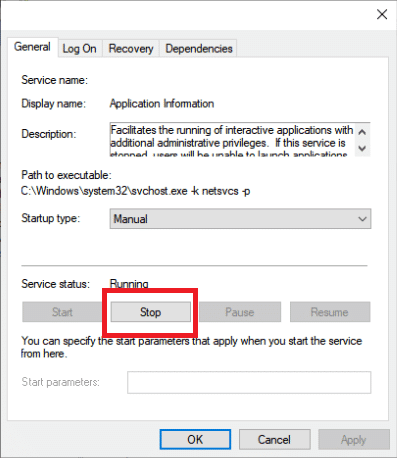
7. Click to open the menu, then select "Disabled" from the drop-down menu.
8. Verify that the problem with setting custom settings for the driver is still displayed after restarting the computer.
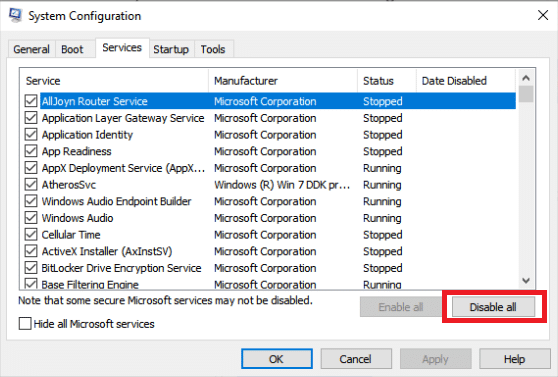
Method 7: Perform a Clean Boot
A clean boot can help you troubleshoot and determine which application or software is causing the problem. Read our guide on how to clean boot on Windows 10.
Frequently Asked Questions (FAQ)
Q1. What does it mean when a PC driver fails?
A Driver power state failure issue in Windows 10 can indicate faulty drivers, mismatched hardware, or, in rare cases, incorrect power settings.
Q2. What causes a driver to fail?
Answer If your computer hardware is not working correctly, you are probably experiencing device driver problems. Missing, corrupted, or outdated drivers cause most Windows device driver problems. This is just one of the many reasons why you should update your device drivers.
***
We hope you found this information useful and that you were able to resolve the Windows 10 driver error setting custom settings error. Please let us know which strategy worked best for you. If you have any questions or comments, please use the form below.