Fix Check Disk Failed Because Windows Can't Access The Drive
Connecting a hard drive to the system is an easy way to transfer important documents or files. When an external hard drive is connected to the desktop, it, along with its partition, is displayed on the computer. But on some systems, users see the disk, but with null bytes, and usually an error is displayed saying that the disk check could not be performed. If you are someone who is dealing with the same problem, then you are in the right place. We have the perfect guide for you to help you learn 6 fixes for Check Disk Cannot Be Performed Because Windows Cannot Access Disk Problem.
How to fix a disk check that can't be done because Windows can't access the drive
The reasons listed below caused the disk check to fail in Windows 10.
- Incorrect connection of the hard drive to the computer may be one of the reasons for the error to appear in the system.
- Another reason for the error is an inconvenience with the drive letter.
- If the external hard drive connected to your system is damaged, this could be the reason why it won't open or shows null bytes.
If, for any reason, you are unable to run a disk check on your system when you connect an external drive, or you are unable to transfer files, the problem can be solved using disk repair methods. Let's reveal the methods and successfully start the hard disk in the system.
Method 1: Troubleshoot hardware issues
One of the main reasons why the hard drive shows Windows cannot access the drive Windows 10 error is due to problems connecting the drive to the system. If somehow the connection is loose or broken by some external factors, this may be the cause of the problem. Hence, make sure your hard drive is properly connected to your computer. To do this, you can follow the following mentioned steps and apply them to test the connection.
1. Carefully check all cables to make sure they properly connect the hard drive to the system. If there is a problem with the cable, replace it and see if the problem is resolved.
2. Insufficient USB power can also cause the drive to become unavailable. Therefore, check the power supply to the port.
Method 2: Change Drive Letter
The disk check could not be performed because Windows cannot access the disk. It has been observed that the problem with the drive is effectively resolved by changing the letter of the affected drive in the system. Each hard drive is assigned a drive letter by Windows, which the user can change or modify as they choose. You can also change the drive letter by following these steps.
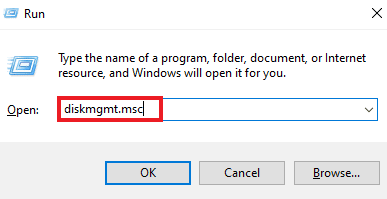
1. Open the Run dialog box by pressing the Windows + R keys at the same time.

2. Type diskmgmt.msc and press the Enter key to open Disk Management.
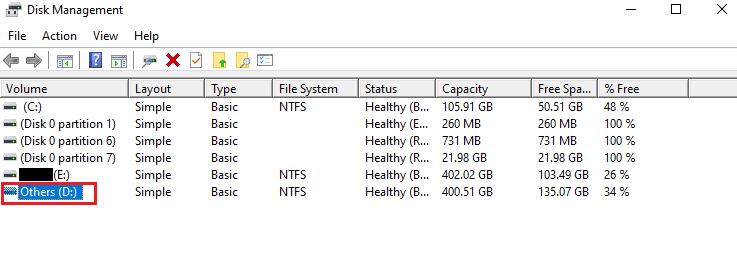
3. Locate and right-click the appropriate hard drive.
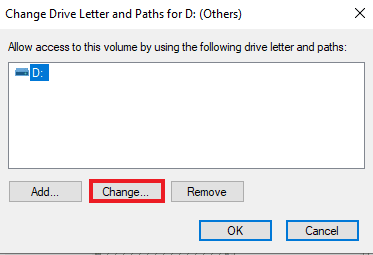
4. Click "Change Driver Letter and Path".
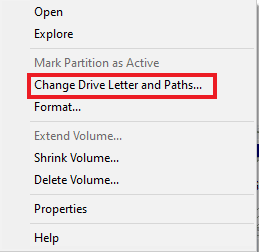
5. Select Edit and press OK.
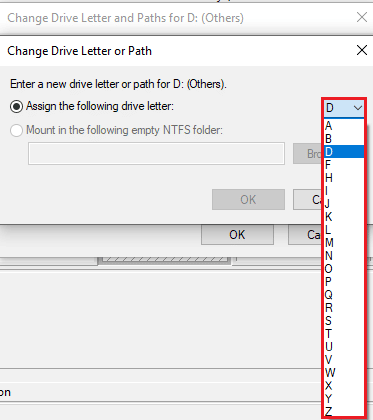
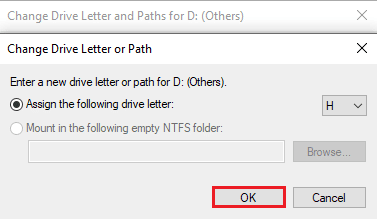
6. Open the "Assign next drive letter" drop-down menu and select an alphabet from the list.
7. Click OK.
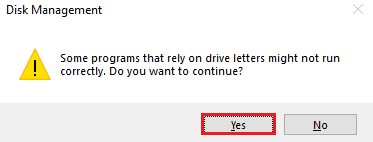
8. Confirm the same by clicking Yes.
Method 3: run the chkdsk command
If Windows cannot access the drive due to a Windows 10 error, try running the drive operation using the command prompt on your system. This method has been observed to show effective results and can be done using the steps given below.
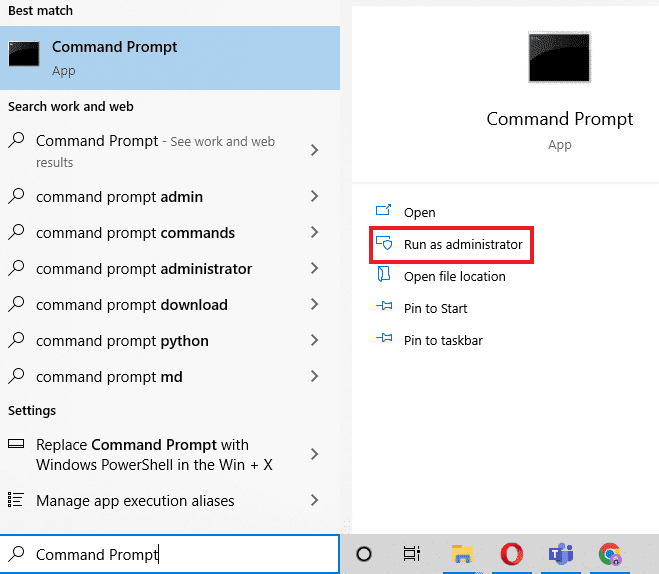
1. Press the Windows key, type "Command Prompt" and click "Run as administrator".
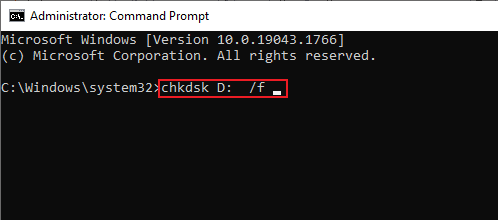
2. Type chkdsk D: /f and press the Enter key.
Note. You can change the drive letter D to the letter of the problematic drive on your system.
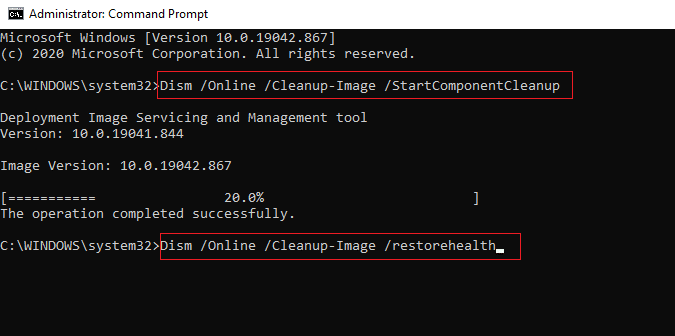
3. Now follow our guide to restore system files in Windows 10.
4. Finally, restart your computer.
Method 4: Use Windows PowerShell to Repair the Drive
If the Check Disk issue cannot be completed because Windows cannot access the drive is not resolved by command prompt, you can also use Windows PowerShell to repair the device. The following steps will help you understand how to do this.
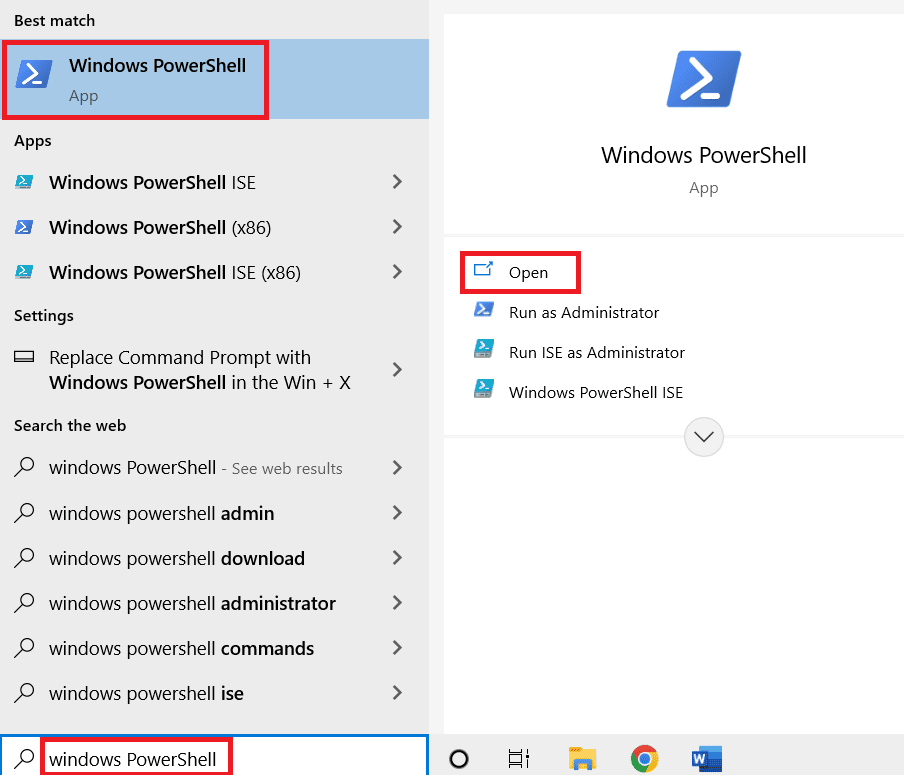
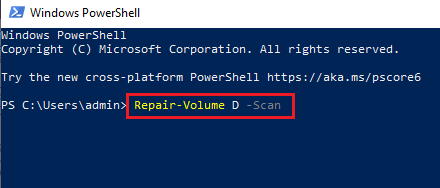
1. Press the Windows key, type Windows PowerShell and click Open.
2. Enter Repair-Volume D -Scan in it and press the Enter key.
Note. Change the drive letter to the letter of the problematic drive.
Method 5: Format the drive
If you haven't already, it's time to format the drive if the hard drive isn't available. Formatting a drive will remove all data from it, so back up the files you want to keep.
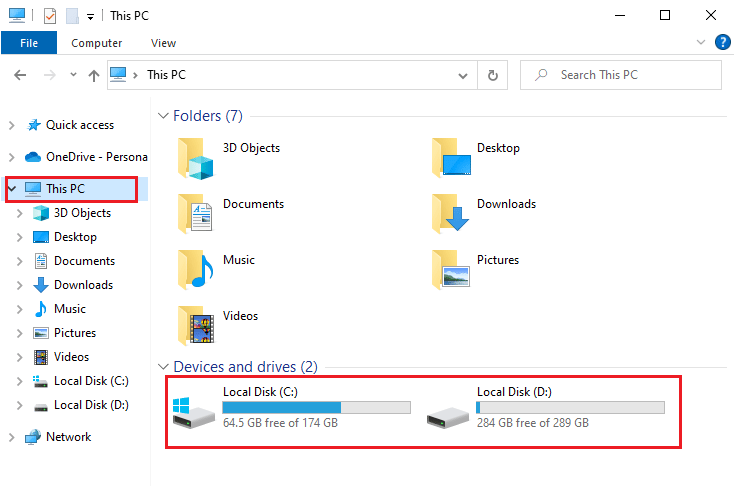
1. Open File Explorer by pressing the Windows + E keys at the same time.
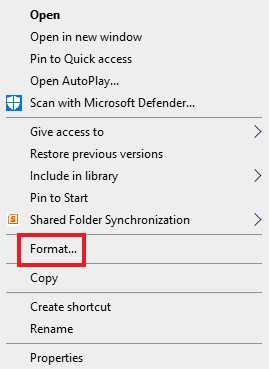
2. Locate the problematic file and right-click it.
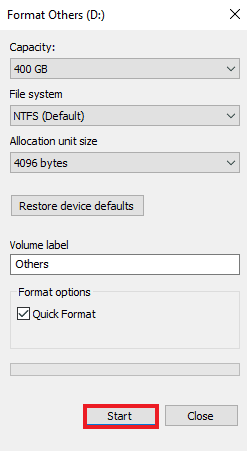
3. Click "Format" in the menu.
4. Then click "Start".
Method 6: Use Third Party Tools
If none of the methods helped you fix your disk problem, check failed because Windows can't access the disk problem, it's time to seek professional help. DiskGenius is one of those applications that can professionally help you check and repair your hard drive.
1. Download DiskGenius Free Edition to your system.
2. Run the application, open the problematic file in it and start recovery.
Frequently Asked Questions (FAQ)
Q1. Can chkdsk damage a drive?
Answer The Chkdsk utility in Windows is designed to check and repair problematic disks in the system. Before using it, make sure that all the data on your drive is backed up. Using chkdsk repairs the drive, not damages it.
Q2. Can I run a disk check on an external hard drive?
Answer Yes, the disk check can be run on an external hard drive. You can do this by opening the properties of the problematic drive in File Explorer and running a check on it.
Q3. Why can't Windows access an external hard drive?
Answer There can be many reasons why Windows cannot access an external hard drive, including bad sectors, file corruption, problematic connections, and a corrupted file system.
Q4. Can I fix chkdsk error?
Answer Yes, you can fix the chkdsk error by repairing the problematic file or by using a third-party disk repair application such as DiskGenius.
Q5. I can see the hard drive, but I can't access it.
Answer If you can see the hard drive but can't access it, it's probably due to connection problems or hard drive damage.
Q6. Can I recover data from a damaged hard drive?
Answer Yes, you can recover data from a damaged hard drive using a third party application such as Disk Drill for Windows or Mac.
***
Hard drive problems in Windows are not new, some of them occur due to technical errors and some due to hard drive failures. If you are facing the same problem, we hope this guide helped you fix the error that could not check disk because Windows cannot access disk problem in Windows 10. If you have any further questions or suggestions about it, let us know by leaving them in the comments section below.