Fix Battle.net update stuck at 0% on Windows 10
Battle.net by Blizzard Entertainment is a service that allows you to enjoy online games with others. This service provides incredible support for popular games such as World of Warcraft, StarCraft II, Diablo III, Overwatch, Destiny 2, and Call of Duty: Black Ops 4. However, like all games and services, Battle.net is not without bugs. . Many users have complained that Battle.net update gets stuck at 0% when the service is updated in any of the games listed above. If you are also facing the same problem, this guide will help you solve it with effective troubleshooting methods. So keep reading!
How to fix Battle.net update stuck at 0% on Windows 10
Read and apply the methods discussed below on your Windows 10 PC to fix and prevent Battle.net update stuck issue.
Method 1: Basic Troubleshooting Methods
Follow these basic methods to fix the error.
1A. Restart your computer
A common trick to fix all temporary glitches related to Battle.net is to restart your computer. You can restart your computer by doing the following.
1. Go to the Windows Power User menu by pressing the Windows and X keys at the same time.
2. Select Shut down or sign out.
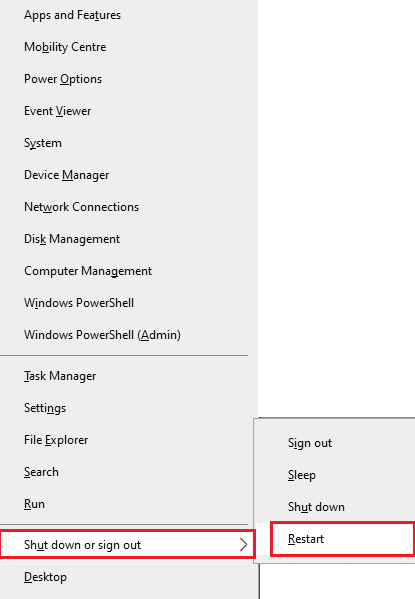
3. Finally, click "Restart".
After restarting the service, check if you can access the game without any errors.
1B. Check system requirements
If you're experiencing Battle.net update stuck at 0% on startup, you need to check the basic requirements for Battle.net games and make sure your PC meets them.
Minimum requirements:
- CP: Intel Core i5-760 or AMD FX-8100 or newer
- CPU SPEED: Information
- RAM: 4 GB RAM (8 GB for integrated graphics such as Intel HD Graphics)
- OS: Windows 7/Windows 8/Windows 10 64 bit
- VIDEO CARD: NVIDIA GeForce GTX 560 2GB or AMD Radeon HD 7850 2GB or Intel HD Graphics 530 (45W)
- PIXEL SHADER: 5.0
- VERTEX SHADER: 5.0
- FREE DISK SPACE: 70 GB
- DEDICATED VIDEO MEMO: 2 GB
Recommended requirements:
- CPU: Intel Core i7-4770 or AMD FX-8310 or higher
- CPU SPEED: Information
- RAM: 8 GB
- OS: Windows 10 64 bit
- VIDEO CARD: NVIDIA GeForce GTX 960 or AMD Radeon R9 280 or higher
- PIXEL SHADER: 5.1
- VERTEX SHADER: 5.1
- FREE DISK SPACE: 70 GB
- DEDICATED VIDEO MEMO: 4 GB
1C. Make sure your network connection is correct
An unstable internet connection causes Battle.net update to hang, and if there are any obstructions between your router and your computer, they can interfere with your wireless signal and cause intermittent connection problems.
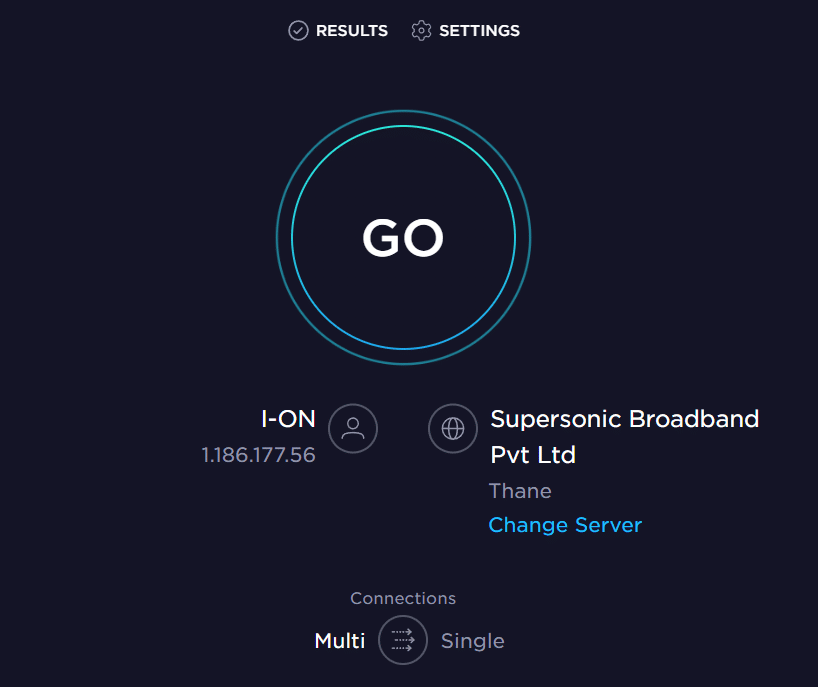
You can run a Speed Test to know the optimal network speed level required for a proper connection.
Make sure your device meets the criteria below.
- Find your network's signal strength and if it's very low, remove any obstacles in the way.
- Avoid having too many devices connected to the same network.
- Always buy a modem/router that is verified by your Internet Service Provider (ISP) and they do not conflict.
- Do not use old, broken or damaged cables. Replace cables if necessary.
- Make sure the wires from the modem to the router and from the modem to the wall are stable and free from interference.
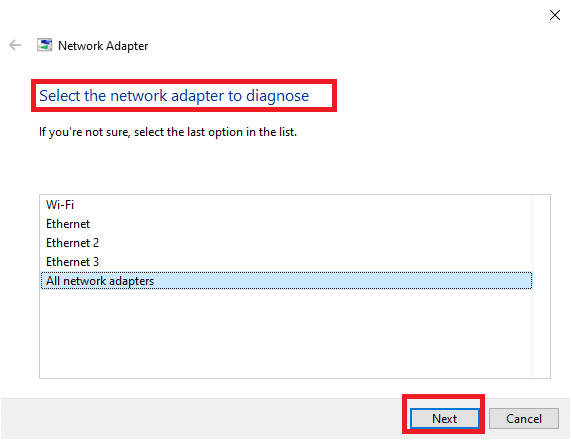
If there are any internet connection issues, check out our Fix Network Connection Issues in Windows 10 guide to fix them.
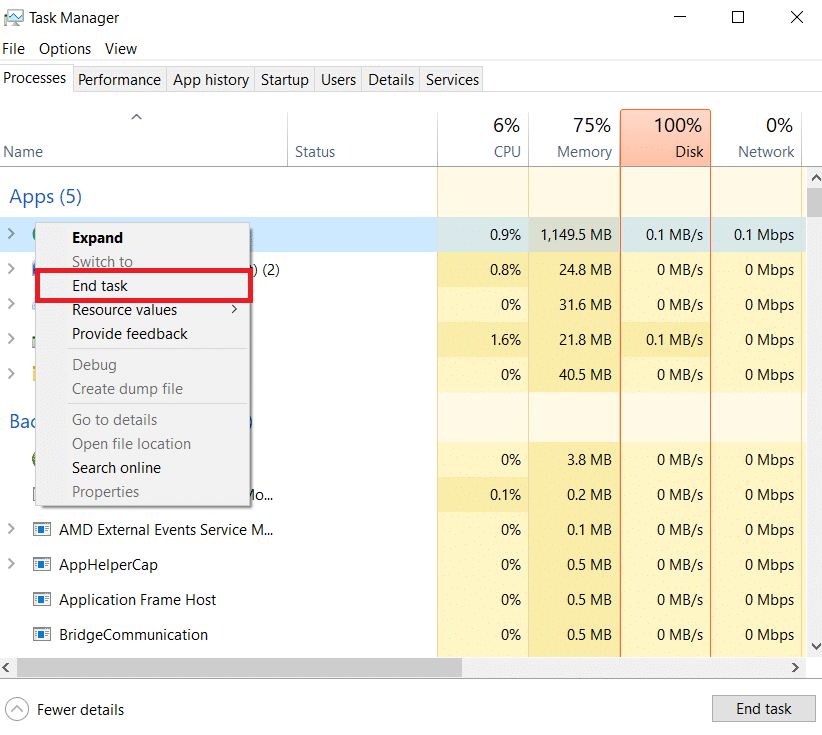
1D. Close background processes
Several users have confirmed that the update stuck at 0% issue can be resolved by closing all background tasks running on your PC. To complete a task, follow our guide How to complete a task in Windows 10 and proceed according to the instructions.
After you have closed all background processes, check if you were able to fix the error code in question.
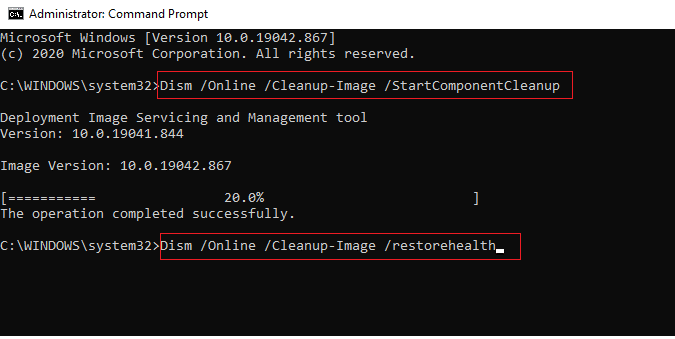
1E. Restore system files
If files are missing or corrupted on your Windows 10 PC, you will encounter Battle.net update stuck. However, you can repair these corrupted files using the built-in utilities, namely System File Checker and Deployment Image Servicing and Management.
Read our guide to restoring system files in Windows 10 and follow the steps to repair any corrupted files.
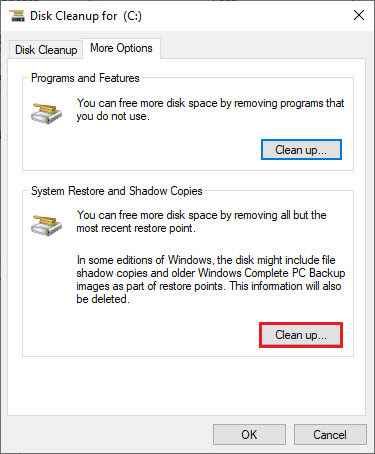
1 floor Run a full disk cleanup
Few users have suggested that clearing the disk space on the PC helped them deal with the discussed update stuck problem. This will allow your computer to install new files when needed, which will help you fix the problem.
If you don't have enough free space on your PC, causing the Battle.net update error code to appear, follow our 10 Ways to Free Up Hard Drive Space in Windows guide to help you clean up all the junk files on your PC.
1g Update Windows
You can also fix errors on your computer and in the game by updating your operating system. Always check if you have updated your Windows operating system, and if there are any pending updates, use our guide to download and install the latest Windows 10 update.
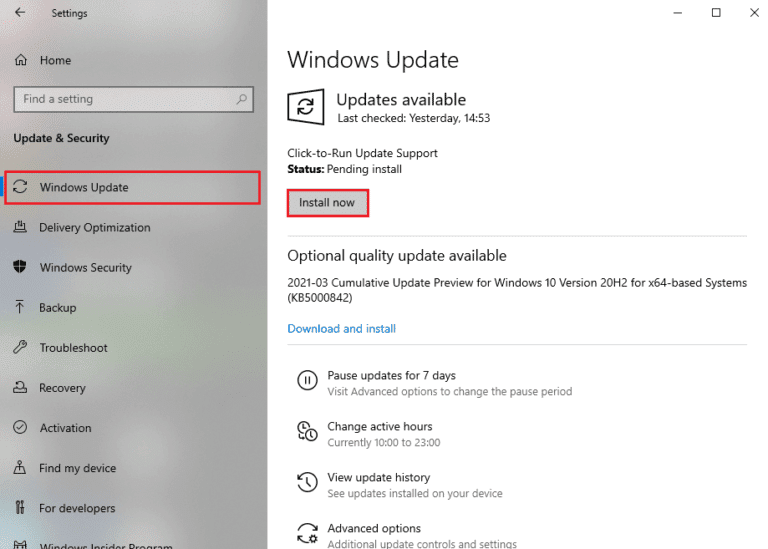
After updating the Windows operating system, check if you can connect to the Battle.net game server without errors.
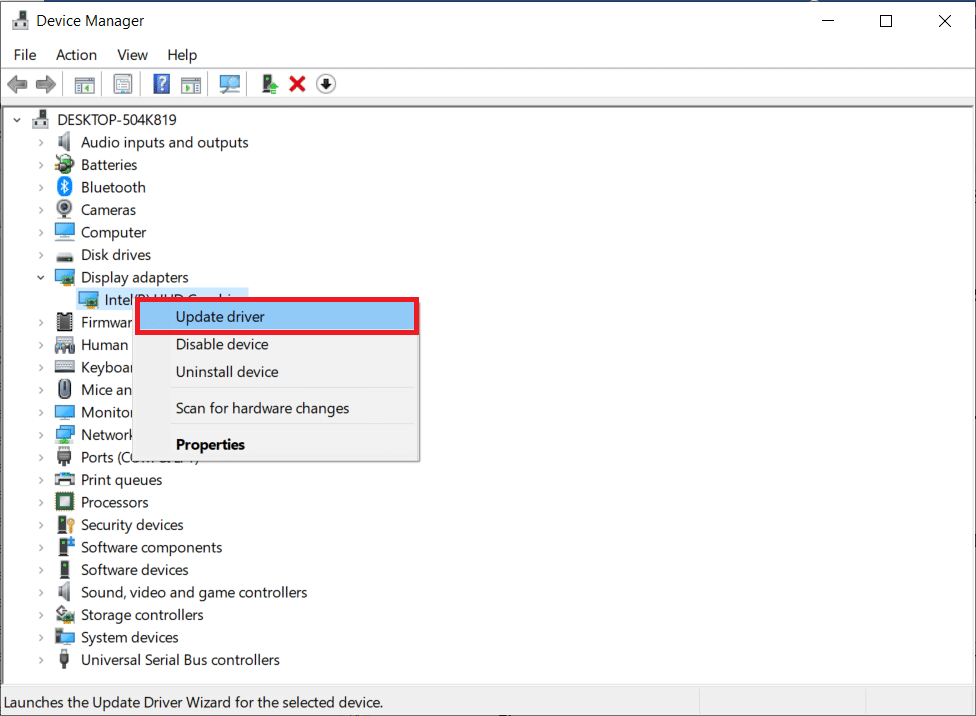
1 hour Update your graphics drivers
World of Warcraft, a graphics intensive game, your graphics driver is essential to your gaming experience. If the drivers are outdated or faulty, be sure to update them. You can search for the latest driver releases on its official websites or manually update them. Follow our 4 Ways to Update Graphics Drivers in Windows 10 guide to update your driver and check if Battle.net update stuck with 0% issue.
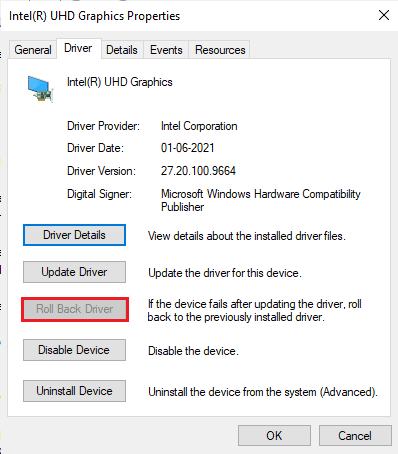
1I. Rollback GPU driver updates
Sometimes the current version of the GPU drivers can cause the update to be stuck at 0%, in which case you need to restore the previous versions of the installed drivers. This process is called driver rollback and you can easily roll back your computer drivers to their previous state by following our guide How to roll back drivers in Windows 10.
1J. Reinstall your graphics drivers
If you're still experiencing battle.net update freezes after updating your graphics drivers, reinstall your device drivers to fix incompatibility issues. There are several ways to reinstall drivers on your computer. However, you can easily reinstall your graphics drivers by following the instructions in our How to Uninstall and Reinstall Drivers in Windows 10 guide.
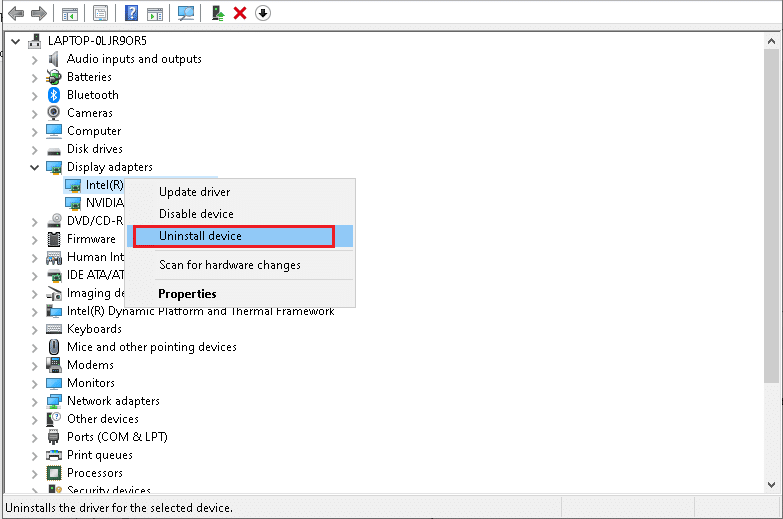
After reinstalling your GPU drivers, check if you can access Battle.net games without errors.
1 to. Clear DNS cache and data
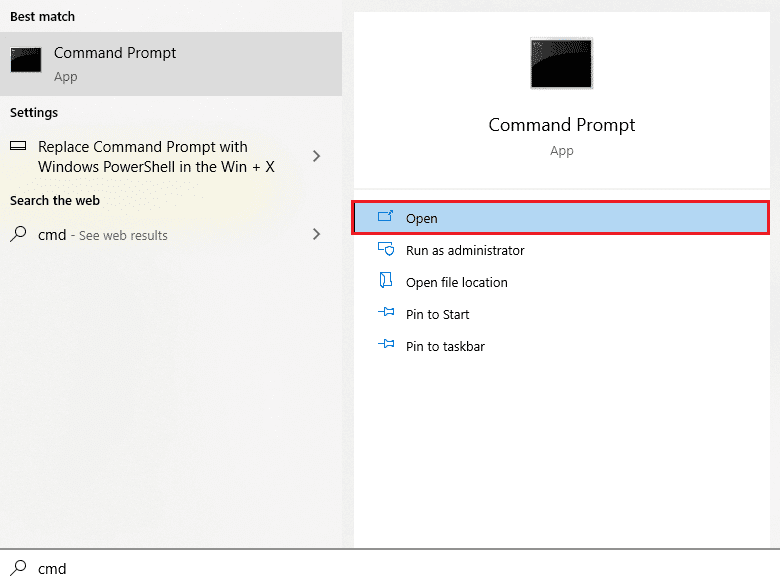
Few users have suggested that clearing the DNS cache and data on your PC helped them solve why Battle.net updates are stuck. Follow the instructions.
1. Press the Windows key and type cmd, then click Open.
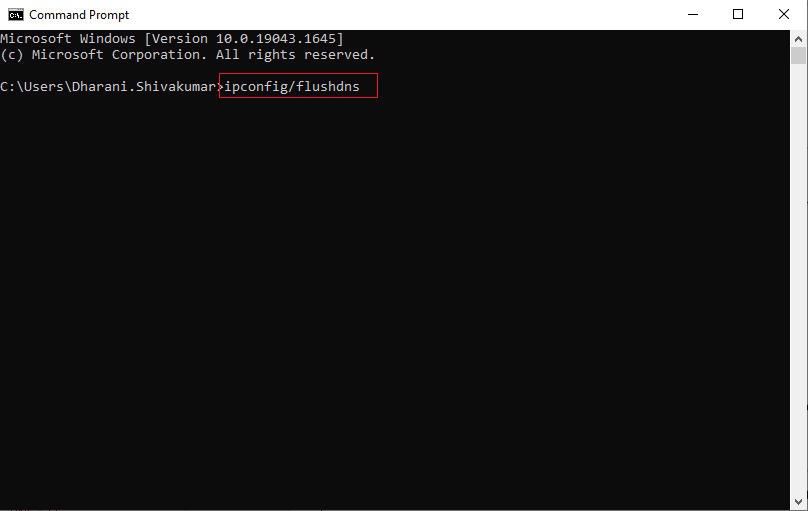
2. Now enter the following commands one by one and press the Enter key after each command.
ipconfig/flushdnsipconfig/registerdns ipconfig/release ipconfig/renew netsh winsock reset
3. Wait for the commands to complete and restart your computer.
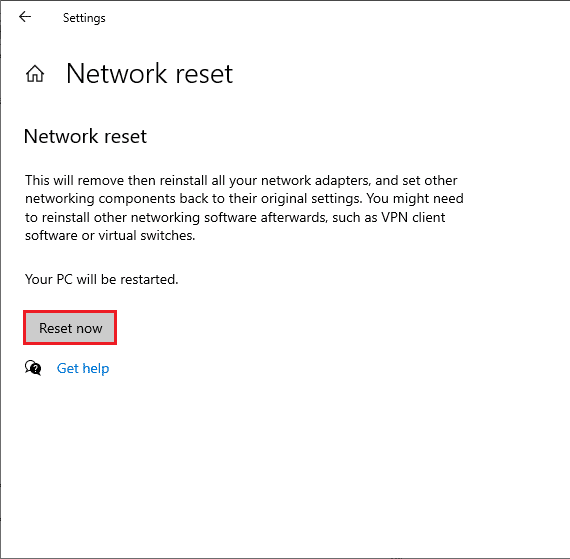
1l. Reset network settings
Several users have stated that resetting network settings will fix strange network connection issues. This method will forget all network configuration settings, saved credentials, and many other security software such as VPN and antivirus programs. It will also help you fix update stuck at 0% problem on your Windows 10 PC. To do this, follow our guide How to reset network settings in Windows 10.
Method 2: Run Battle.net as an Administrator
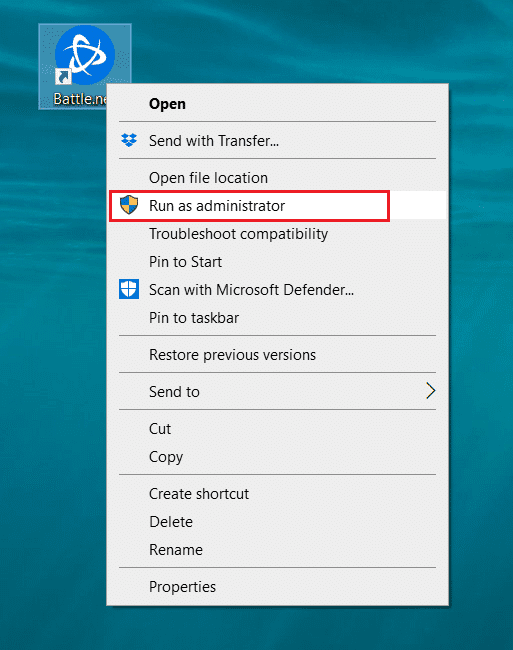
This is one of the most common reasons why Battle.net update gets stuck at 0% on your Windows 10 PC. Some permissions and features can only be accessed if you have granted administrator rights to the World of Warcraft game. In this case, you can fix the issue in question by following the instructions below.
1. Right-click the Battle.net application.
2. Select the "Run as administrator" option.
Method 3: Run the Blizzard Repair Tool
If you are still unable to fix Battle.net update stuck at 0% error, there is a chance that you have corrupted game files on your PC. Corrupted files can fill up your PC due to overprotection of an antivirus package or due to an update failure. Thankfully, you can automatically resolve all of these corrupted game files using Blizzard's built-in tool. Here are some instructions for running the Battle.net Repair Tool.
1. Run the Battle.net app as an administrator.
2. Now go to the "Games" tab in the top corner of the window and select any of the games (eg World of Warcraft) from the list.
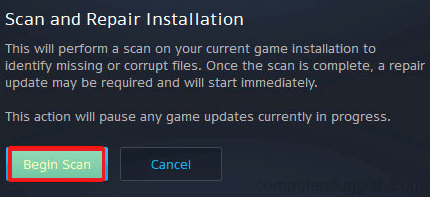
3. Then click "Options" and then "Scan and Repair" from the drop-down list.
4. At the next prompt, click "Start Scan" and wait for the process to complete.
5. Finally, restart the game and see if you can fix the update stuck on 0% issue on Battle.net.
Method 4: Change Windows Defender Firewall settings
You will also face the issue of Battle.net update stuck at 0% due to an overly reactive or overly protective antivirus package on your Windows 10 PC. This prevents the connection between the game launcher and the server. So, to fix this problem, you can whitelist Battle.net in your firewall settings or disable the problem temporarily.
Option I: Whitelist Battle.net
To allow Battle.net in Windows Defender Firewall, follow our guide Allow or block apps through Windows Firewall and follow the steps as instructed.

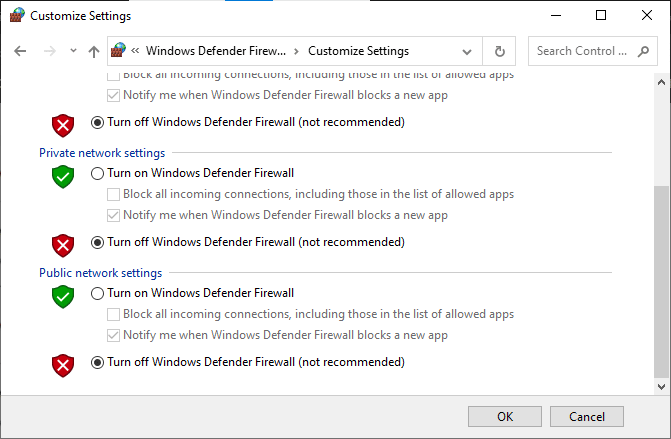
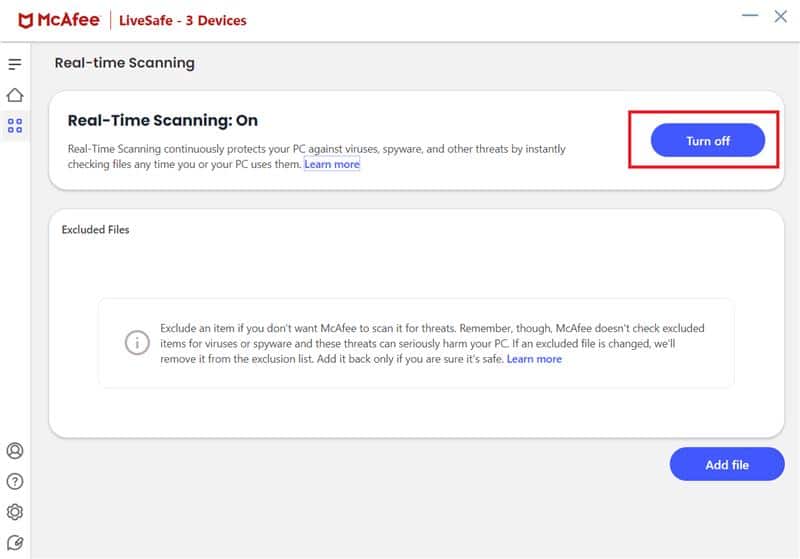
Option II: Turn off the firewall (not recommended)
If you don't know how to turn off Windows Defender Firewall, our How To Turn Off Windows 10 Firewall guide will help you with that.
Option III: Create a New Rule in the Firewall
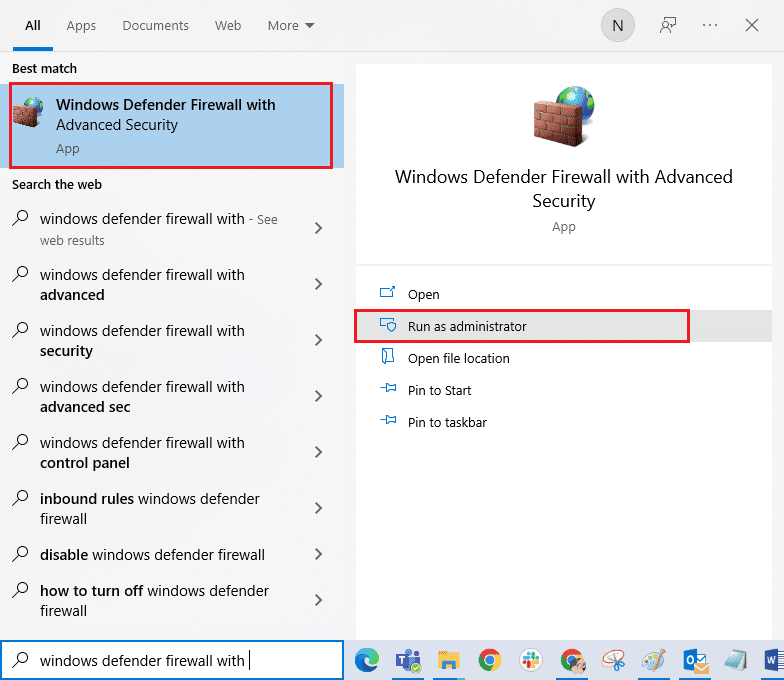
1. Press the Windows key, type Windows Defender Firewall with Advanced Security and click Open.
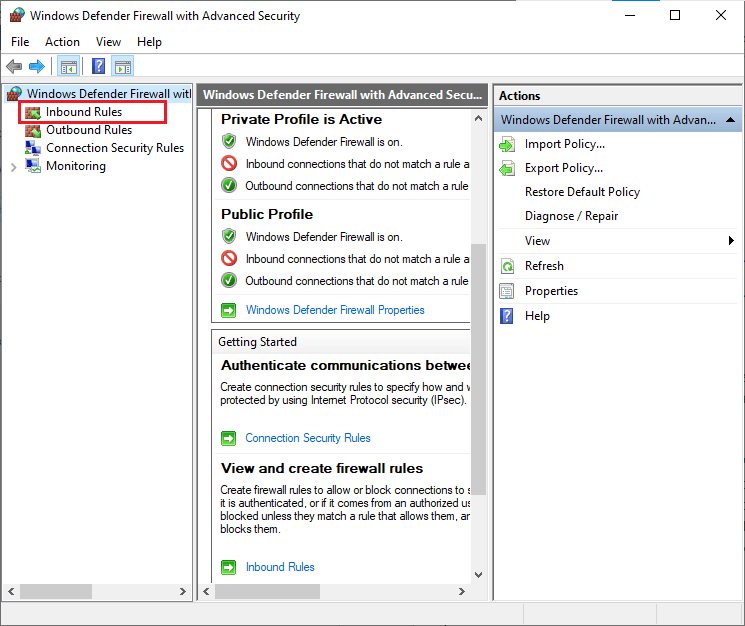
2. Now in the left pane, click Inbound Rules as shown in the figure.
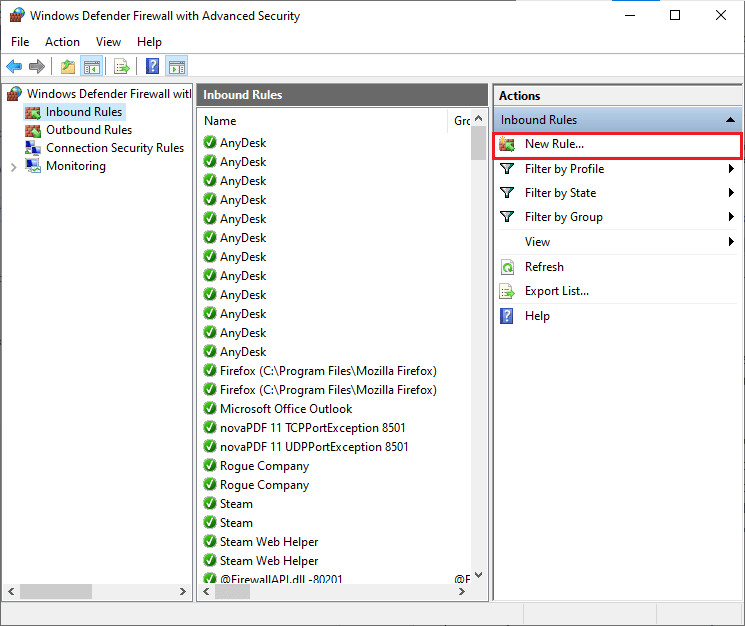
3. Then, in the right pane, click New Rule… as shown.
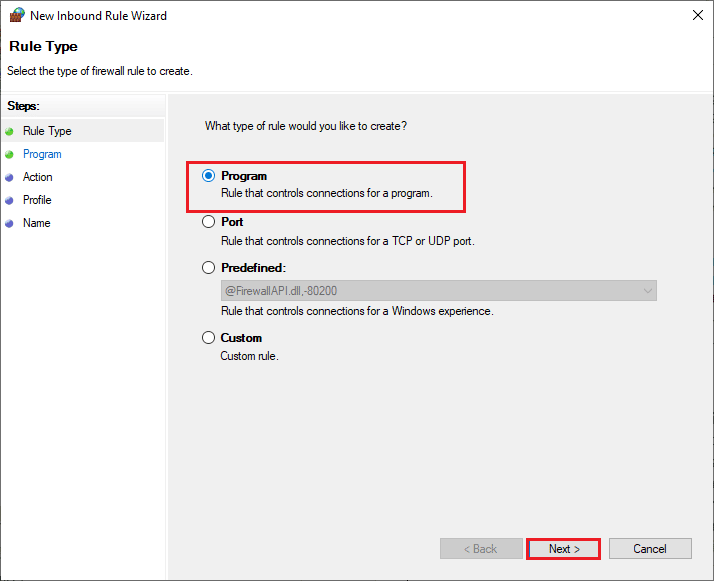
4. Now make sure you have selected the "Program" option under "What type of rule do you want to create?". menu and click "Next>" as shown in the figure.
5. Then click the "Browse..." button corresponding to the Path to this program: as shown.
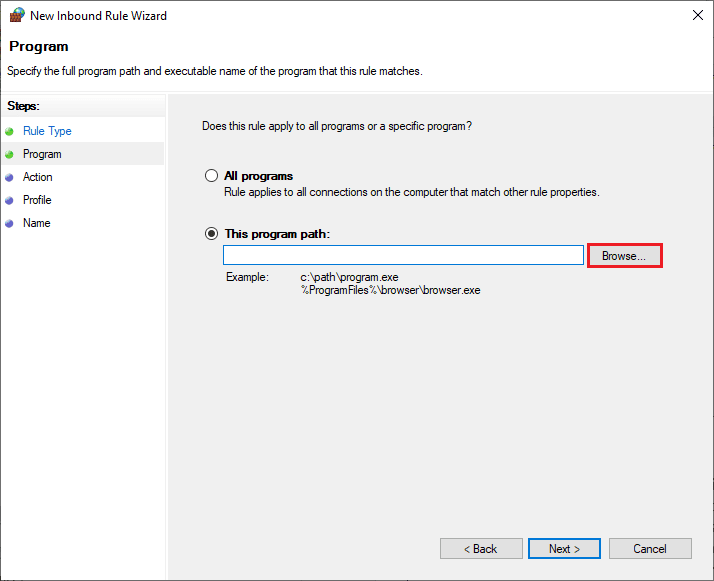
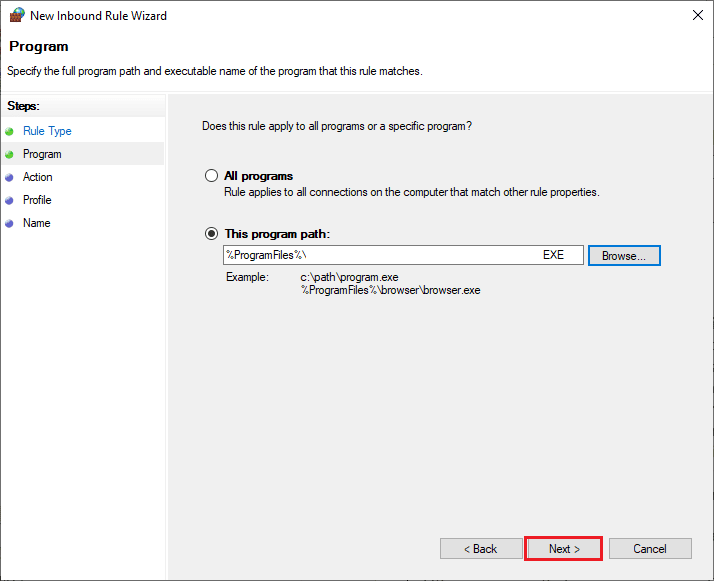
6. Then navigate to the path C:Program Files (x86) Battle.net and double click on the installation file. Then click on the Open button.
7. Then click Next > in the New Inbound Rule Wizard window as shown in the figure.
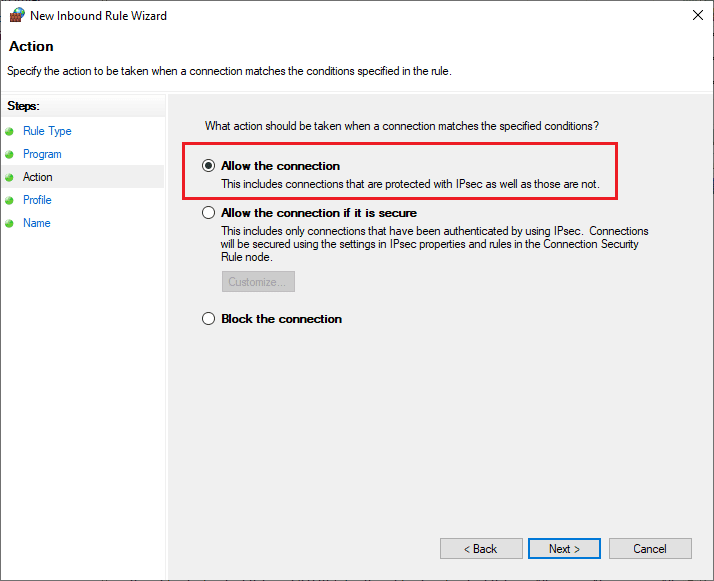
8. Now select the radio button next to Allow the connection and click Next > as shown.
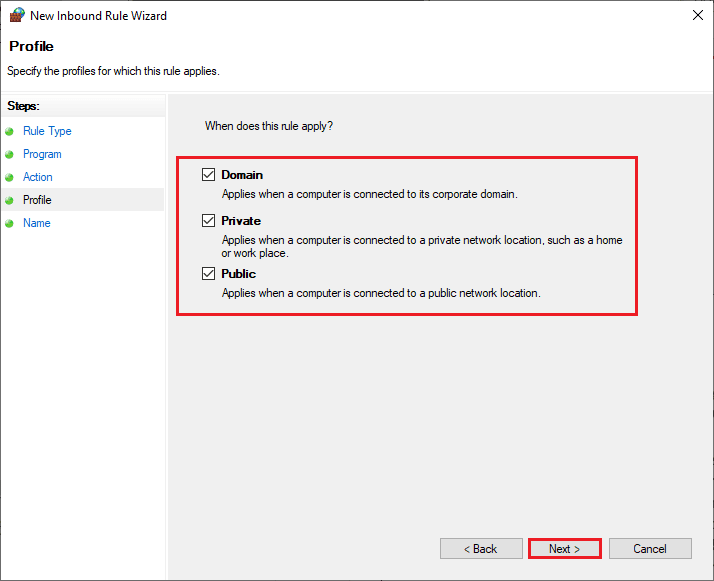
9. Make sure the Domain, Private, Public fields are selected and click Next > as shown.
10. Finally, add a name to the new rule and click Finish.
Done! Check if you have fixed the Battle.net update stuck issue or not.
Method 5: Temporarily disable your antivirus (if applicable)
Some incompatible antivirus programs installed on your computer will trigger the question why Battle.net updates are stuck. To avoid conflicts, you should verify the security settings of your Windows 10 computer and check if they are stable or not. To find out if the antivirus package is causing the update to hang with a 0% error, disable it once and try connecting to the network.
Read our guide on how to temporarily disable your antivirus in Windows 10 and follow the instructions to temporarily disable your antivirus program on your PC.
If you have a solution to your problem after disabling the antivirus program on your computer, then you are advised to completely uninstall the program from your PC.
Read our guide to force removal of programs that won't remove in Windows 10 to remove your antivirus program from your computer.
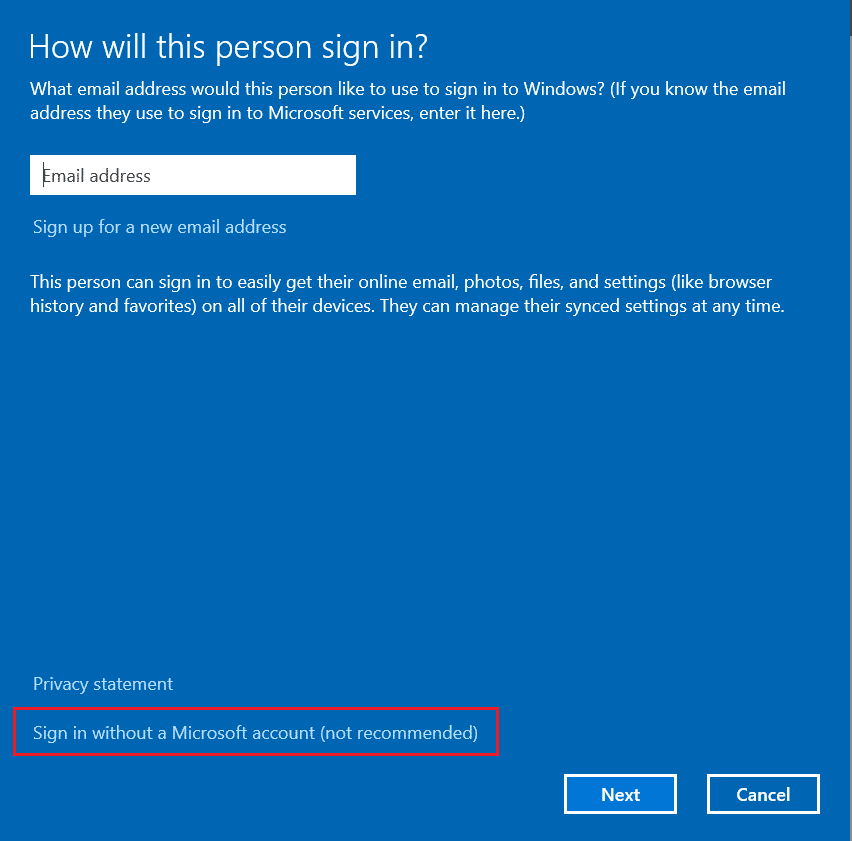
Method 6: Create a new user profile
Creating a new user account can fix any errors and crashes related to the profile. This will help you fix the Battle.net update stuck at 0% issue. You can create a new user profile by following the steps in our How To Create a Local User Account in Windows 10 guide.
After creating a new user profile, check if you have fixed the issue in question or not.
Method 7: Reinstall Battle.net
Any misconfigured files in Battle.net will result in the issue discussed, even if you've followed all the methods above and updated any pending actions. So in this case, you have no other choice but to reinstall the game. Here's how you do it.
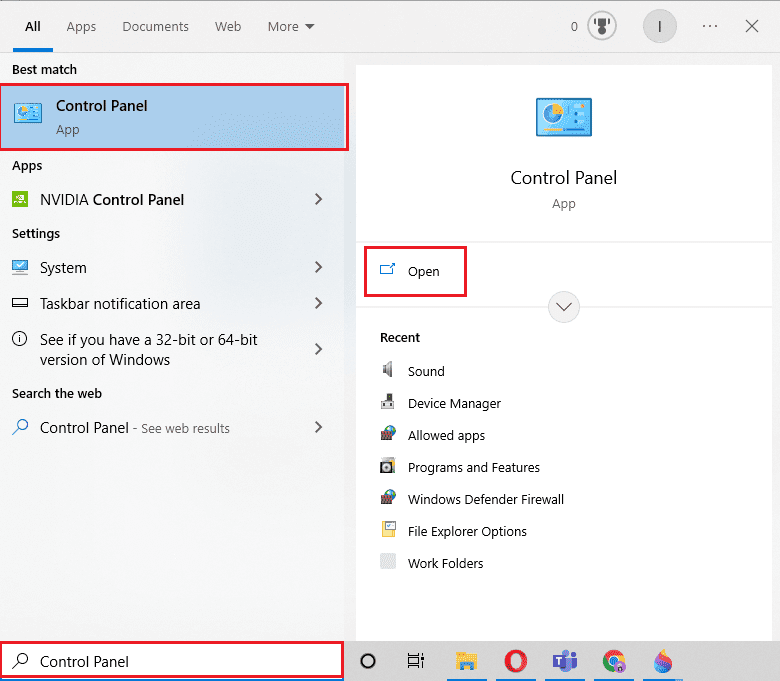
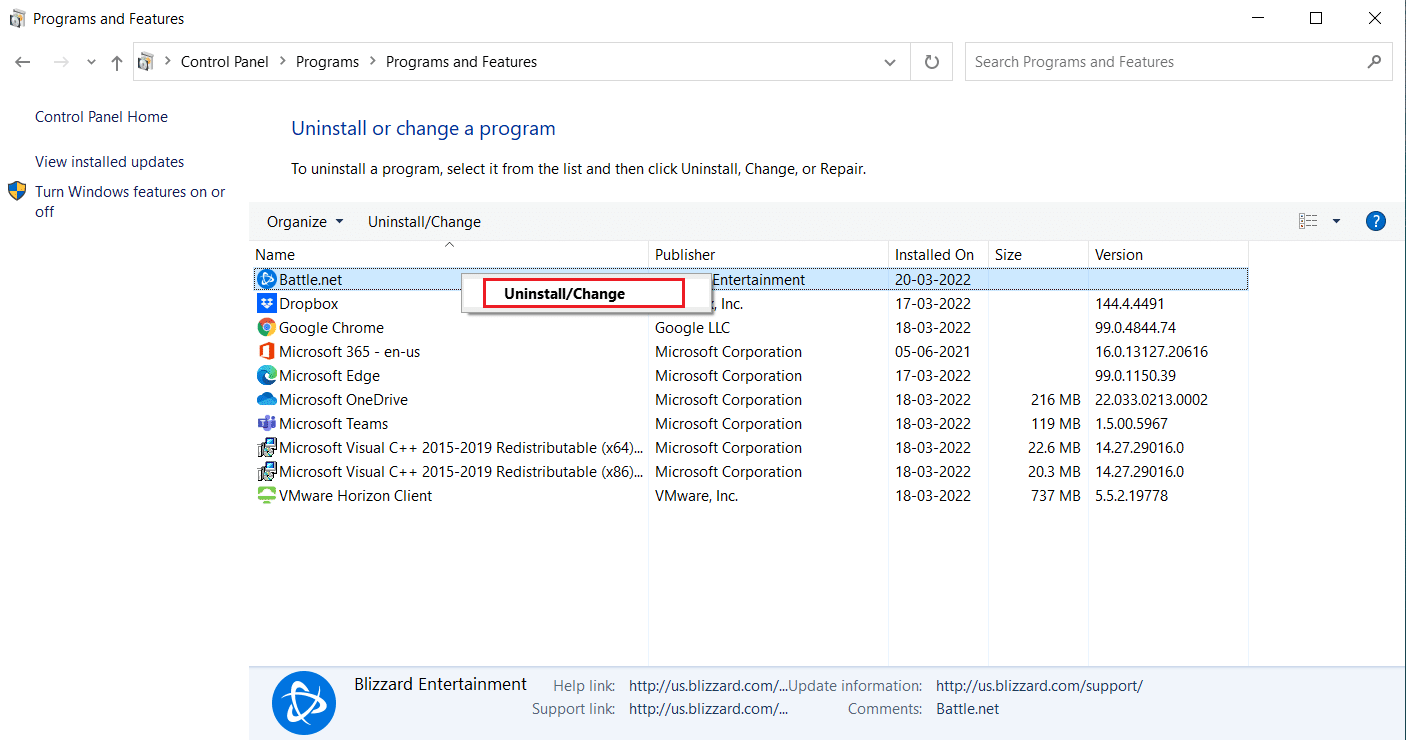
1. Press the Windows key, type "Control Panel" and click "Open".
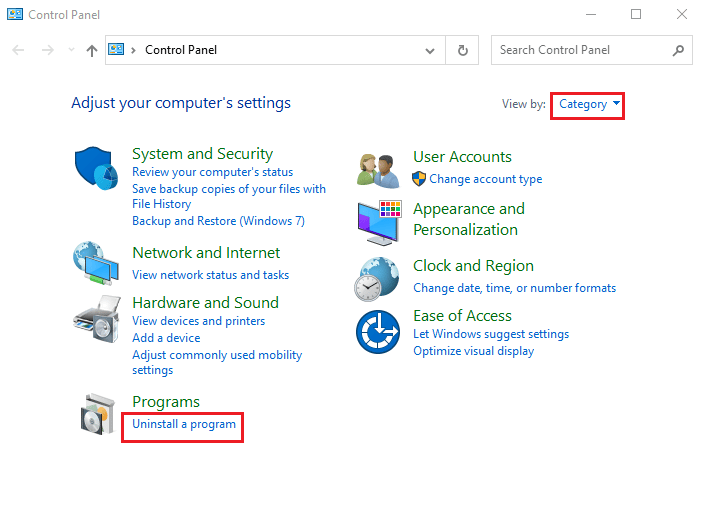
2. Set View by > Category, then click Uninstall a program.
3. Right-click the Battle.net program and select Uninstall/Change.
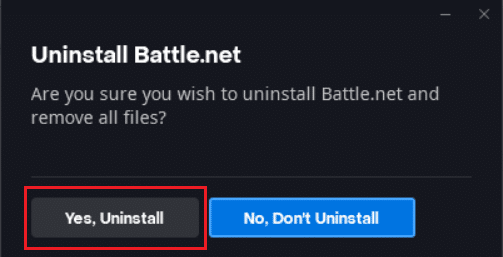
4. Click "Yes, delete" to confirm the deletion process.
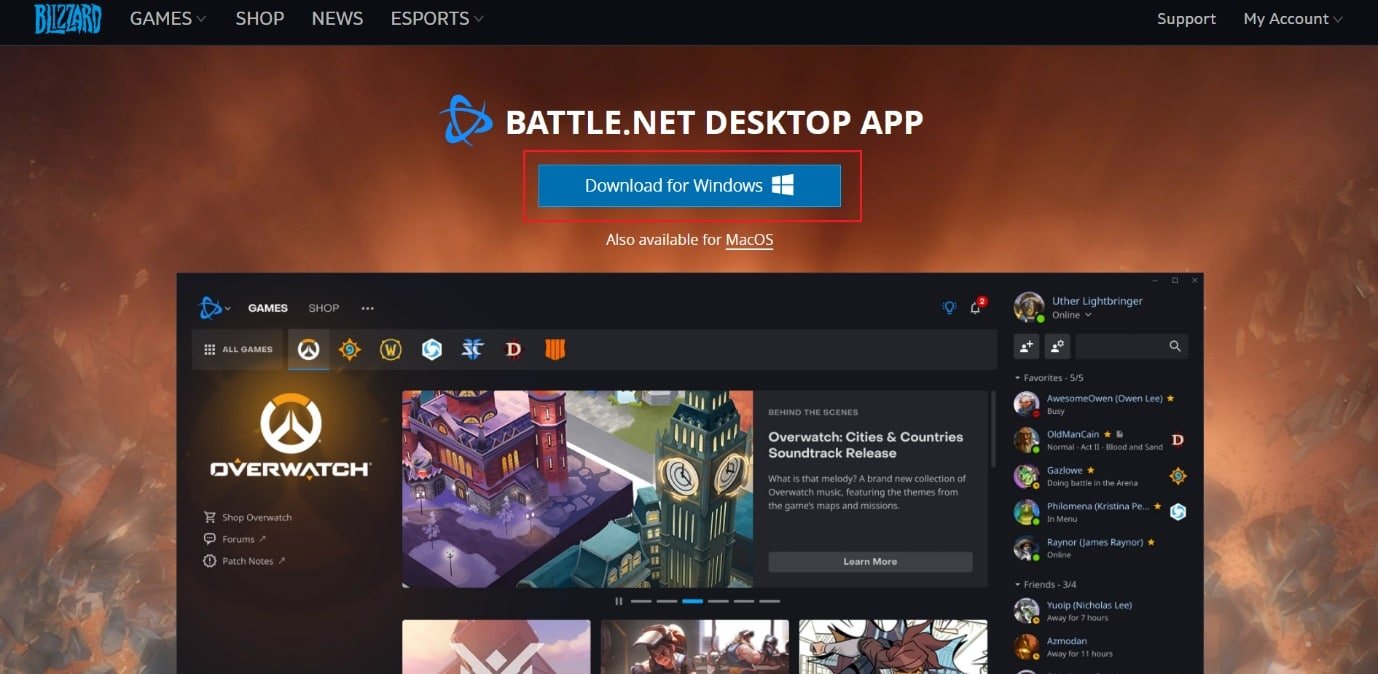
5. After uninstalling the app, go to the official Battle.net web page to download its latest version.
6. Click Download for Windows. It will download a file called Battle.net-setup.exe.
7. Run Battle.net-setup.exe. Select your preferred language and click Continue.
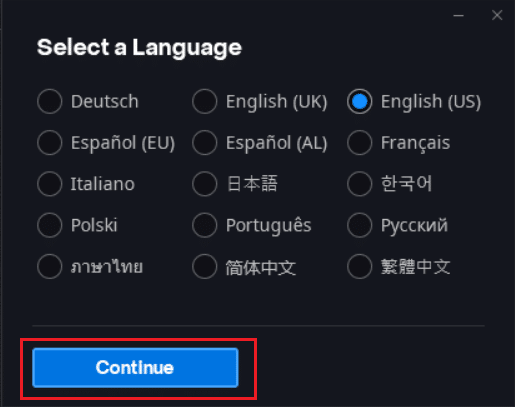
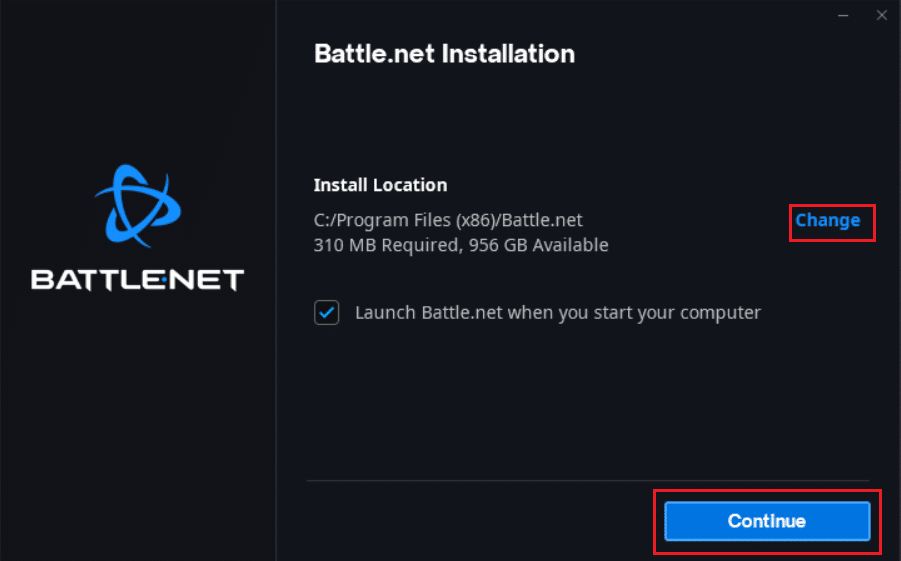
8. Click Change if you want to change the installation location. Click Continue.
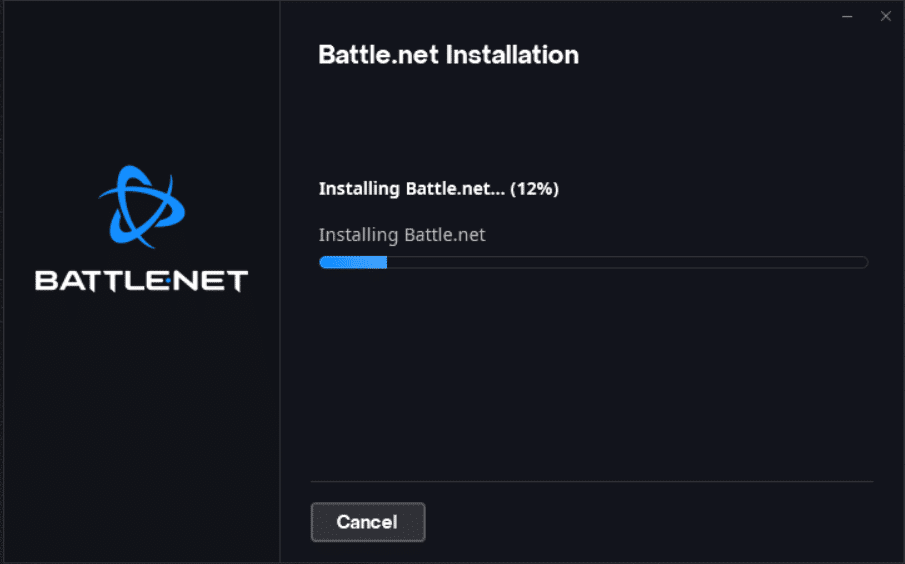
9. Wait for the installation process to complete.
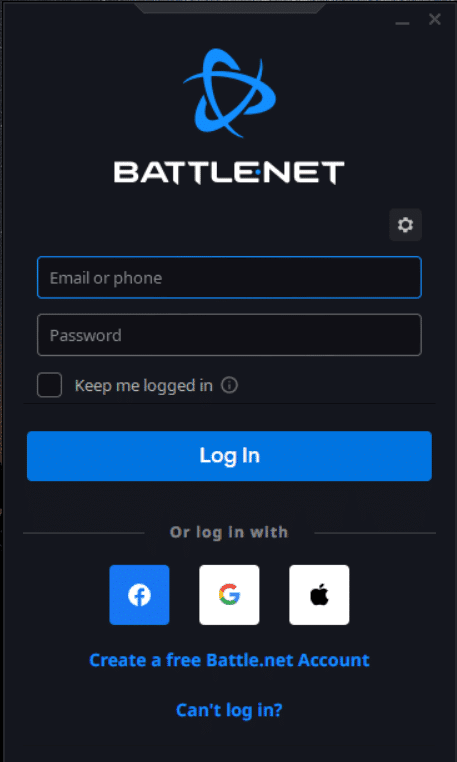
10. Once installed, enter your Battle.net credentials to sign in.
11. Finally, restart the game and you will now have the Battle.net update stuck issue fixed.
***
We hope this guide was helpful and you were able to fix Battle.net update stuck at 0% on your Windows 10 PC. Let us know which method worked best for you. Also, if you have any questions/suggestions regarding this article, feel free to post them in the comments section.